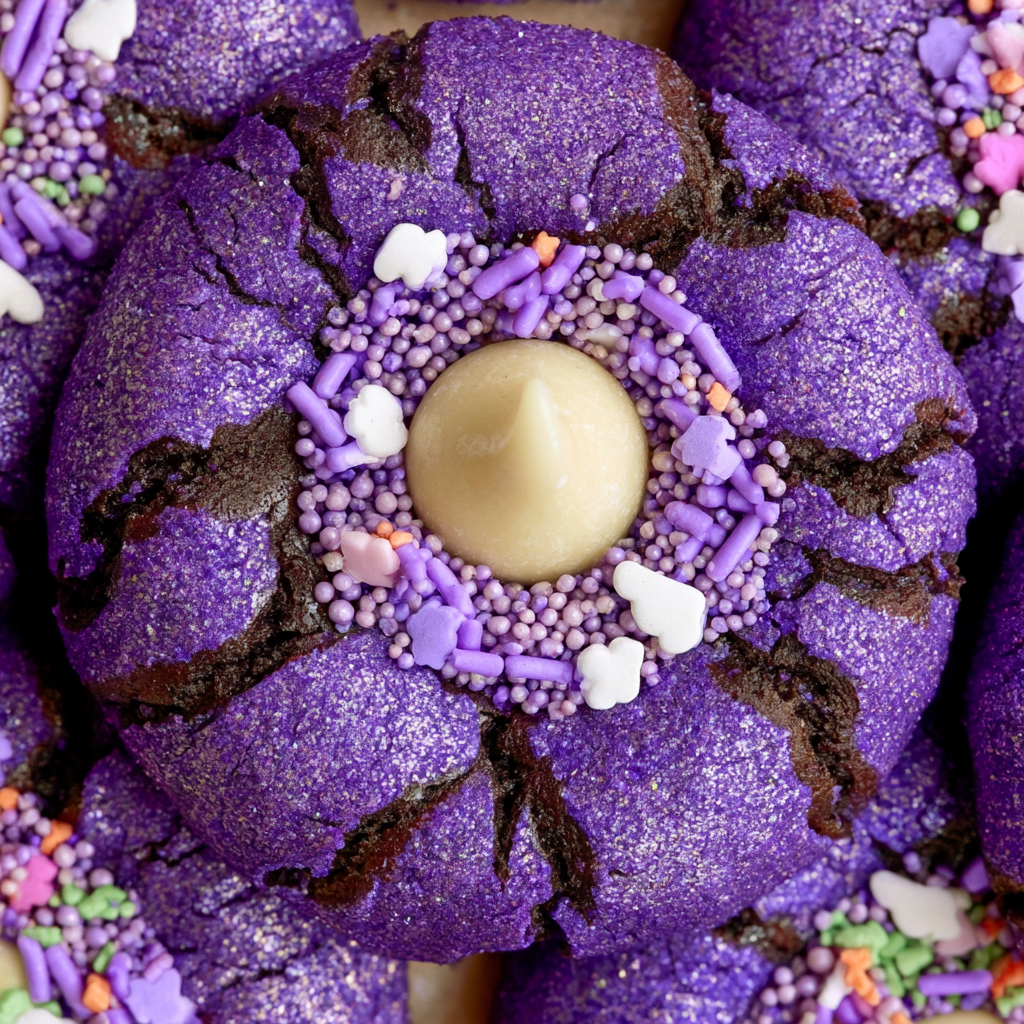
Witch Hat Halloween Cookies
Festive purple peanut butter cookies coated with Halloween sprinkles or sanding sugar and topped with chocolate candies to resemble miniature witch hats. Chilling the dough helps maintain the cookies’ shape, while the warm centers secure the chocolate “crowns” after baking.
Pin it to remember it!
Print Recipe
Ingredients
For the Cookie Dough
- 3/4 cup creamy peanut butter natural or conventional
- 1 large egg brought to room temperature
- 1/8 teaspoon fine sea salt
- 1 cup granulated sugar
- 2 teaspoons cornstarch
- 1 teaspoon vanilla extract
- 1/2 cup unsalted butter softened to room temperature
- Purple gel food coloring several drops or as needed for a vivid purple shade
- 1/4 teaspoon baking powder
- 1 1/2 cups all-purpose flour
- 1/2 teaspoon baking soda
For Decorating
- Halloween-themed sprinkles or purple sanding sugar as needed for coating
- 33 chocolate kisses or hugs candies wrappers removed
Instructions
- Line baking trays with parchment paper and set them aside. In a medium mixing bowl, thoroughly whisk together the 1 1/2 cups all-purpose flour, 2 teaspoons cornstarch, 1/2 teaspoon baking soda, 1/4 teaspoon baking powder, and 1/8 teaspoon fine sea salt. Whisk until the leavening ingredients and salt are evenly dispersed throughout the flour.
- Place the softened 1/2 cup unsalted butter and 1 cup sugar in a large bowl. Cream them together for approximately 2 minutes, or until the mixture becomes pale, light, and fluffy.
- Add the room-temperature egg and mix until well incorporated. Stir in the 3/4 cup smooth peanut butter and 1 teaspoon vanilla extract, continuing until the mixture is uniform and smooth.
- Add the prepared dry mixture and stir only until the dough begins to come together. Incorporate several drops of purple gel food coloring, mixing until the dough has an evenly distributed purple color.
- Scoop the purple cookie dough into portions measuring approximately 1 tablespoon each and arrange them directly on the prepared parchment-lined baking trays, leaving several inches between portions.
- Cover the trays with plastic wrap and refrigerate the portioned dough for a minimum of 2 hours. The dough may also be chilled overnight. This refrigeration period firms the dough, makes shaping easier, and reduces excessive spreading in the oven.
- Preheat the oven to 350°F (175°C).
- Remove the chilled dough from the refrigerator and roll each portion between your hands to form a smooth ball. Roll every ball in Halloween sprinkles or purple sanding sugar until the exterior is coated, creating the decorative “brim” of each witch hat.
- Arrange the coated dough balls approximately 2 inches apart on fresh parchment-lined baking trays. Bake for 9–11 minutes, until the edges appear set while the centers remain slightly soft when gently touched.
- Remove the cookies from the oven and allow them to remain on the baking tray for approximately 5 minutes. They will continue to firm slightly from the residual heat.
- While the cookies are still warm, firmly press one unwrapped chocolate kiss or hug candy into the center of each cookie. The warmth will soften the base of the chocolate enough to help it adhere while forming the pointed “crown” of the witch hat.
- Place the entire tray of chocolate-topped cookies in the freezer for approximately 10 minutes. This brief chilling period allows the chocolate candies to set while helping the cookies retain their finished shape.
- Transfer the cookies to a wire cooling rack and allow them to return completely to room temperature before serving or storing.
Notes
Room-temperature butter is easier to cream smoothly with the sugar.
Bringing the egg to room temperature encourages more even incorporation into the dough.
Either natural or conventional smooth peanut butter may be used.
A few drops of purple gel coloring generally produce a vibrant shade; adjust the amount as needed.
Allowing the baked cookies to stand for approximately 5 minutes before adding the chocolate is important. If they are excessively hot, the candies may melt too much; if they cool for too long, the chocolate may not adhere as securely.
Bringing the egg to room temperature encourages more even incorporation into the dough.
Either natural or conventional smooth peanut butter may be used.
A few drops of purple gel coloring generally produce a vibrant shade; adjust the amount as needed.
Allowing the baked cookies to stand for approximately 5 minutes before adding the chocolate is important. If they are excessively hot, the candies may melt too much; if they cool for too long, the chocolate may not adhere as securely.