
Witch Hat Halloween Cookies
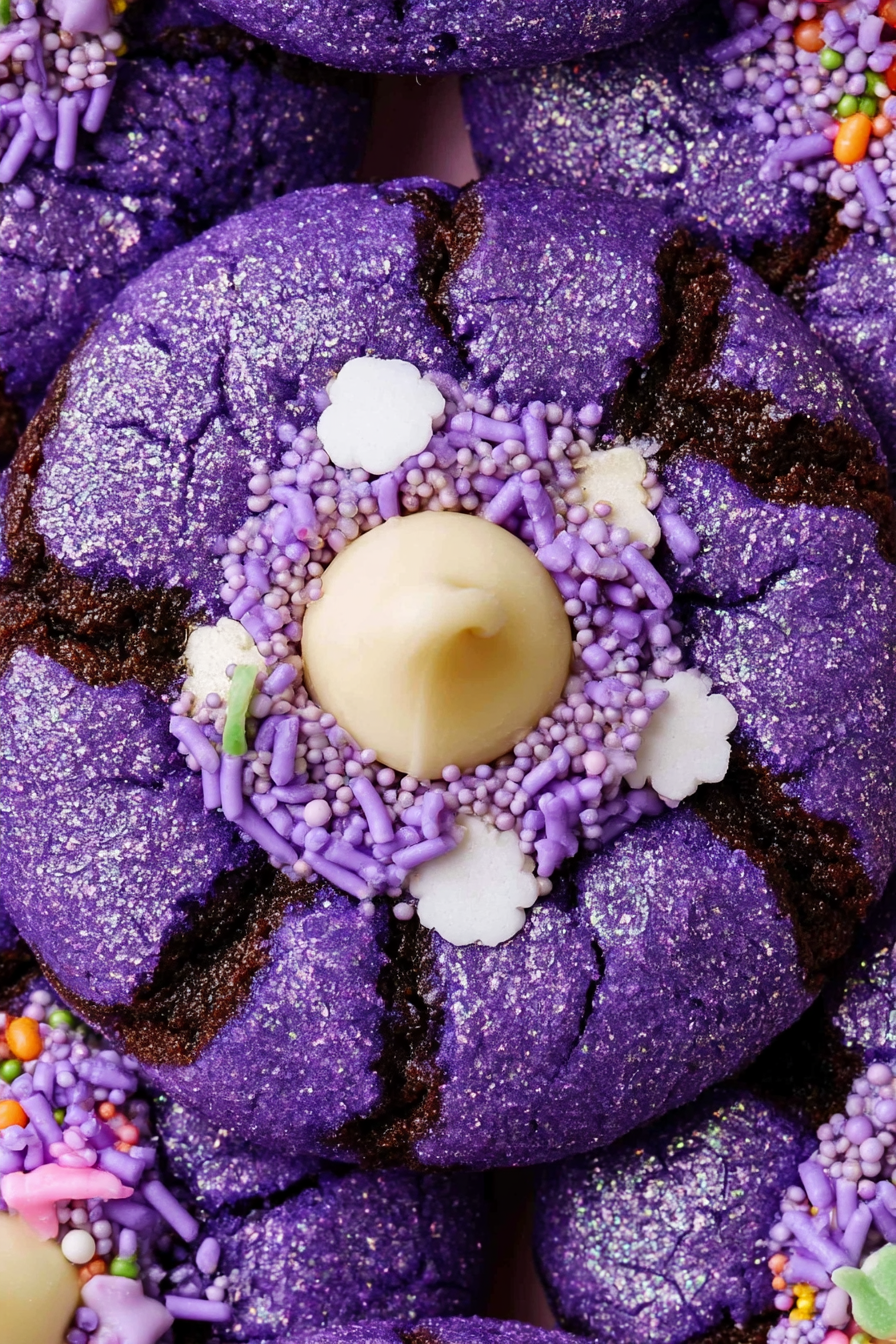
Witch Hat Halloween Cookies are a fun make-ahead Halloween treat with soft peanut butter centers, bright purple color, crunchy sprinkle-coated edges, and chocolate candy tops that instantly turn each cookie into a tiny witch hat. Chilling the dough keeps the cookies neatly shaped and makes decorating much easier.
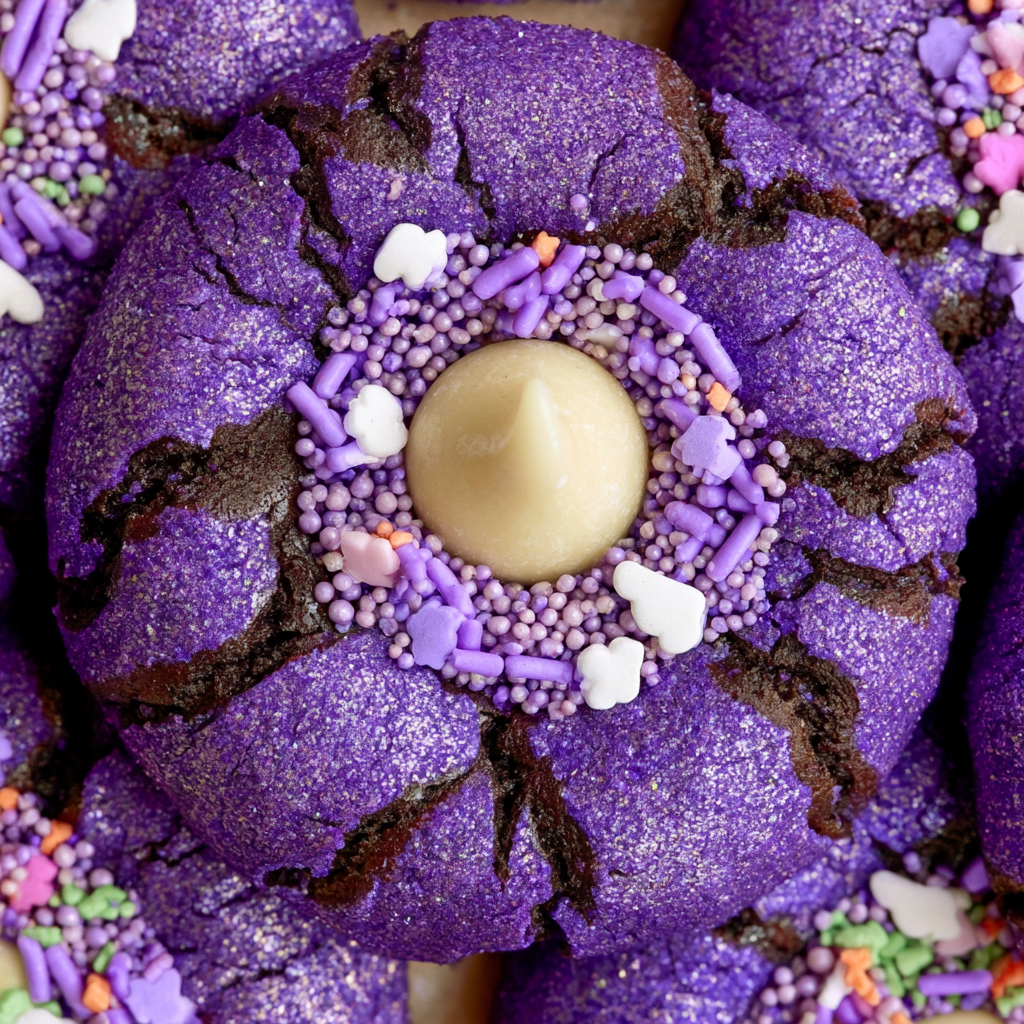
These cookies are especially handy when you want a festive dessert that can be prepared in stages. You can mix and portion the dough earlier in the day or refrigerate it overnight, then roll, coat, and bake when you are ready.
The combination of butter and creamy peanut butter gives the cookies a rich, tender texture, while cornstarch helps keep the centers pleasantly soft. A quick coating of sanding sugar or Halloween sprinkles adds contrast around the edges, and the chocolate center provides the recognizable pointed witch-hat shape.
The most important part is timing the chocolate topping. Giving the cookies a few minutes to cool before pressing in the candies prevents excessive melting while still leaving enough warmth to anchor each chocolate crown securely.
Witch Hat Halloween Cookies Ingredients
You only need a straightforward peanut butter cookie dough plus a few colorful decorating ingredients to create the finished witch hats.
- All-purpose flour: Provides the main structure so the cookies can hold their shape beneath the chocolate topping.
- Creamy peanut butter: Gives the dough its nutty flavor and contributes to the soft, rich consistency.
- Unsalted butter: Adds tenderness and helps create a light cookie dough when creamed with the sugar.
- Granulated sugar: Sweetens the cookies while helping the edges develop a delicate texture.
- Egg: Binds the dough together and helps the cookies stay tender after baking.
- Cornstarch: Encourages a softer center and helps control the texture of the finished cookies.
- Baking soda and baking powder: Provide just enough lift without making the cookies spread excessively.
- Fine sea salt: Balances the sweetness and strengthens the peanut butter flavor.
- Vanilla extract: Rounds out the peanut butter and chocolate flavors.
- Purple gel food coloring: Gives the dough its bold Halloween color without introducing much extra liquid.
- Halloween sprinkles or purple sanding sugar: Form the decorative outer brim around each cookie.
- Chocolate kiss-shaped candies: Create the pointed center that transforms an ordinary round cookie into a witch hat.
Step-by-Step Witch Hat Halloween Cookies
STEP 1: Line your baking trays with parchment paper. In a separate bowl, whisk the flour with the cornstarch, baking soda, baking powder, and salt until the dry ingredients are evenly blended. Mixing them separately helps prevent pockets of leavening in the finished dough.
STEP 2: Beat the softened butter and granulated sugar together for about 2 minutes, until the mixture looks lighter and fluffier. Add the room-temperature egg and mix until smooth, then blend in the creamy peanut butter and vanilla.
STEP 3: Gradually add the flour mixture to the peanut butter mixture. Mix only until no obvious streaks of dry flour remain. Add purple gel coloring a little at a time until the dough reaches the Halloween shade you want. Avoid excessive mixing once the flour has been incorporated.
STEP 4: Scoop the dough into portions of roughly 1 tablespoon each and place them on the prepared trays. Cover the trays and refrigerate for at least 2 hours. You can also leave the dough refrigerated overnight when preparing the cookies ahead.
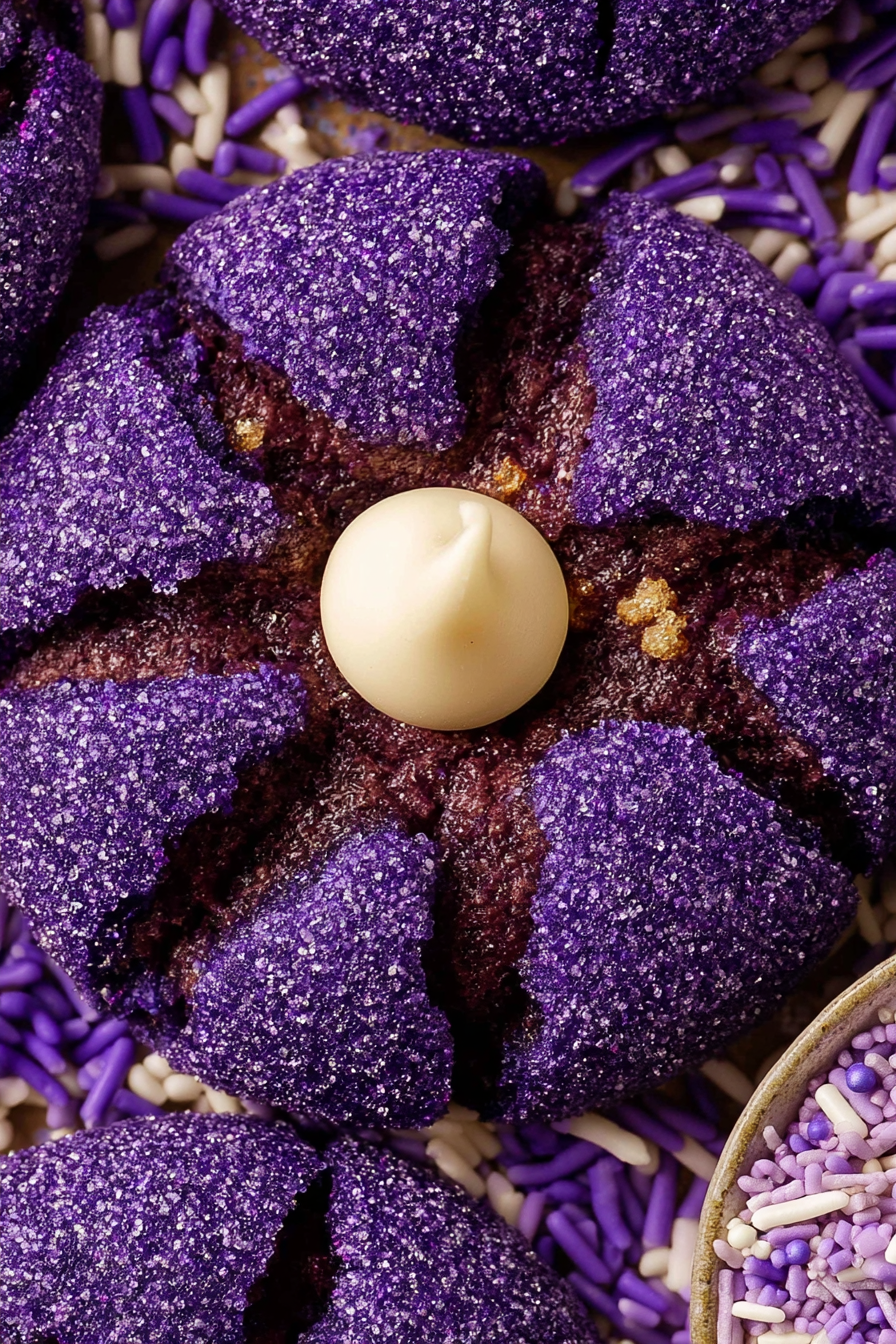
STEP 5: Heat the oven to 350°F (175°C). Roll each chilled dough portion between your palms to create a smooth ball, then coat the outside with Halloween sprinkles or purple sanding sugar. Arrange the coated balls about 2 inches apart on parchment-lined trays.
STEP 6: Bake for approximately 9–11 minutes. Look for edges that are set while the middle still appears slightly soft. Avoid waiting for the centers to become firm in the oven, since the cookies continue cooking as they rest on the hot baking sheet.
STEP 7: Leave the baked cookies on the tray for about 5 minutes. Then gently press one unwrapped chocolate candy into the middle of each cookie. Press firmly enough to secure it without flattening the cookie completely.
STEP 8: Place the finished tray in the freezer for around 10 minutes so the softened chocolate can set quickly. Transfer the cookies to a cooling rack afterward and allow them to reach room temperature before arranging, serving, or storing them.
Can I make the cookie dough ahead?
Yes. The portioned dough can be covered and refrigerated overnight, which makes these cookies especially convenient for Halloween parties. When you are ready to bake, shape the chilled portions into balls, coat them in sprinkles, and continue with the baking instructions.
Because cold dough spreads less readily, the overnight chilling period can actually make shaping the cookies easier.
Serving Ideas for Witch Hat Halloween Cookies
These colorful cookies work well as part of a Halloween dessert spread because their shape makes them decorative without requiring complicated frosting.
Serve them alongside a platter of simple chocolate cookies or other Halloween treats so the purple color stands out. They also look festive arranged on a dark serving tray with the pointed chocolate centers facing upward.
For parties, you can prepare the entire batch ahead and arrange the witch hats shortly before guests arrive. Since the recipe makes about 33 cookies, it is also a practical choice for classroom celebrations, family gatherings, or Halloween dessert tables.
Why does the dough need to chill for two hours?
Chilling firms both the butter and peanut butter in the dough. That makes each portion easier to roll while helping the cookies keep a compact round shape in the oven.
Skipping or greatly shortening the chill can produce cookies that spread more than intended, leaving less structure around the chocolate center. For the clearest witch-hat appearance, use thoroughly chilled dough.
Helpful Tips
- Use gel coloring rather than a thin liquid coloring. Gel provides a strong purple shade without adding much moisture or changing the consistency of the dough.
- Watch the cookies rather than relying only on the timer. Remove them when the edges are set but the centers remain slightly soft so they stay tender as they cool.
- Time the chocolate topping carefully. Waiting around 5 minutes gives the cookies enough time to stabilize while leaving them warm enough for the chocolate bases to adhere.
Can I use natural peanut butter?
Yes. Both natural and conventional creamy peanut butter can work in these Halloween cookies. If your natural peanut butter has separated, stir it very thoroughly before measuring so the oil and peanut solids are evenly combined.
The dough should be thick enough to portion and should become noticeably firmer after chilling.
How do I keep the chocolate candies from melting?
Do not press them into the cookies immediately after the trays leave the oven. Allow the cookies to cool on the baking sheet for roughly 5 minutes first.
After adding the chocolates, place the tray in the freezer for about 10 minutes. The quick chill helps stop the residual cookie heat from continuing to soften the candies and sets the chocolate in place.
How do I know when witch hat cookies are done?
Check the cookies near the lower end of the 9–11 minute baking window. The outside should look set, but the middle can still seem slightly soft.
A cookie that looks completely firm while still inside the oven may become drier after cooling. Remember that the hot baking tray continues transferring heat to the cookies during their first few minutes outside the oven.
Keeping Leftovers Fresh
Let the Witch Hat Halloween Cookies cool completely before putting them into a storage container. This is particularly important for the chocolate centers because storing them while warm can cause condensation or smudging.
Keep the finished cookies in an airtight container at room temperature for several days. Separate layers with parchment paper if needed so the chocolate crowns do not rub against neighboring cookies.
For longer storage, freeze the fully cooled cookies in a freezer-safe airtight container. Arrange them carefully so the chocolate points are protected from pressure. Let frozen cookies thaw at room temperature before serving.
Reheating is generally unnecessary for these Halloween cookies. In fact, warming them could soften or melt the chocolate decorations. For the neatest appearance and texture, serve them once they have naturally returned to room temperature.
Witch Hat Halloween Cookies
Ingredients
For the Cookie Dough
- 3/4 cup creamy peanut butter natural or conventional
- 1 large egg brought to room temperature
- 1/8 teaspoon fine sea salt
- 1 cup granulated sugar
- 2 teaspoons cornstarch
- 1 teaspoon vanilla extract
- 1/2 cup unsalted butter softened to room temperature
- Purple gel food coloring several drops or as needed for a vivid purple shade
- 1/4 teaspoon baking powder
- 1 1/2 cups all-purpose flour
- 1/2 teaspoon baking soda
For Decorating
- Halloween-themed sprinkles or purple sanding sugar as needed for coating
- 33 chocolate kisses or hugs candies wrappers removed
Instructions
- Line baking trays with parchment paper and set them aside. In a medium mixing bowl, thoroughly whisk together the 1 1/2 cups all-purpose flour, 2 teaspoons cornstarch, 1/2 teaspoon baking soda, 1/4 teaspoon baking powder, and 1/8 teaspoon fine sea salt. Whisk until the leavening ingredients and salt are evenly dispersed throughout the flour.
- Place the softened 1/2 cup unsalted butter and 1 cup sugar in a large bowl. Cream them together for approximately 2 minutes, or until the mixture becomes pale, light, and fluffy.
- Add the room-temperature egg and mix until well incorporated. Stir in the 3/4 cup smooth peanut butter and 1 teaspoon vanilla extract, continuing until the mixture is uniform and smooth.
- Add the prepared dry mixture and stir only until the dough begins to come together. Incorporate several drops of purple gel food coloring, mixing until the dough has an evenly distributed purple color.
- Scoop the purple cookie dough into portions measuring approximately 1 tablespoon each and arrange them directly on the prepared parchment-lined baking trays, leaving several inches between portions.
- Cover the trays with plastic wrap and refrigerate the portioned dough for a minimum of 2 hours. The dough may also be chilled overnight. This refrigeration period firms the dough, makes shaping easier, and reduces excessive spreading in the oven.
- Preheat the oven to 350°F (175°C).
- Remove the chilled dough from the refrigerator and roll each portion between your hands to form a smooth ball. Roll every ball in Halloween sprinkles or purple sanding sugar until the exterior is coated, creating the decorative “brim” of each witch hat.
- Arrange the coated dough balls approximately 2 inches apart on fresh parchment-lined baking trays. Bake for 9–11 minutes, until the edges appear set while the centers remain slightly soft when gently touched.
- Remove the cookies from the oven and allow them to remain on the baking tray for approximately 5 minutes. They will continue to firm slightly from the residual heat.
- While the cookies are still warm, firmly press one unwrapped chocolate kiss or hug candy into the center of each cookie. The warmth will soften the base of the chocolate enough to help it adhere while forming the pointed “crown” of the witch hat.
- Place the entire tray of chocolate-topped cookies in the freezer for approximately 10 minutes. This brief chilling period allows the chocolate candies to set while helping the cookies retain their finished shape.
- Transfer the cookies to a wire cooling rack and allow them to return completely to room temperature before serving or storing.
Notes
Bringing the egg to room temperature encourages more even incorporation into the dough.
Either natural or conventional smooth peanut butter may be used.
A few drops of purple gel coloring generally produce a vibrant shade; adjust the amount as needed.
Allowing the baked cookies to stand for approximately 5 minutes before adding the chocolate is important. If they are excessively hot, the candies may melt too much; if they cool for too long, the chocolate may not adhere as securely.