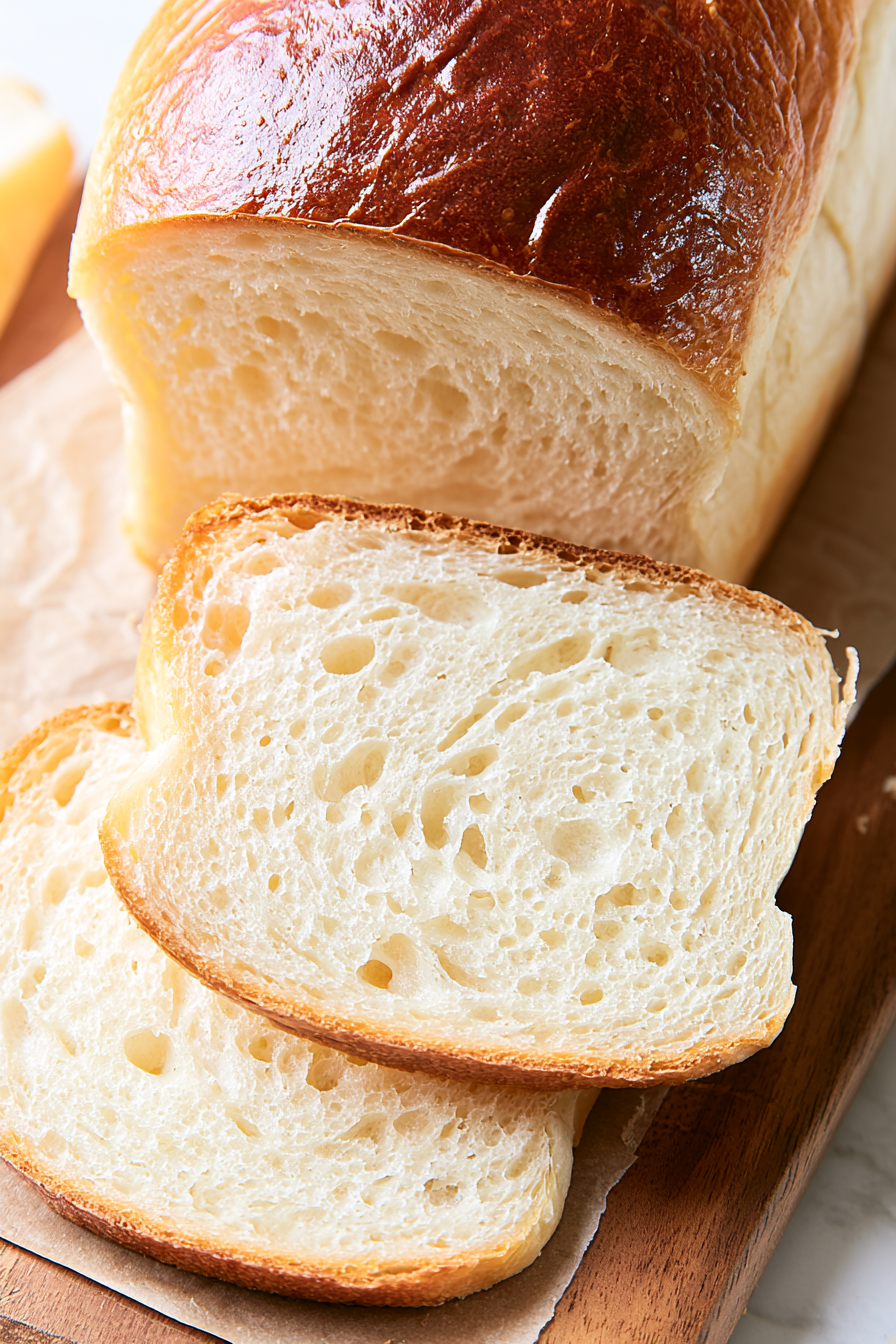
Cottage Cheese Yeast Bread
This cottage cheese yeast bread produces soft, supple loaves with a tender interior and a lightly golden crust. Cottage cheese contributes moisture and richness to the dough, while a thorough kneading and two-stage rise create the elasticity and structure needed for a well-shaped loaf.
Pin it to remember it!
Print Recipe
Ingredients
- 3 tablespoons granulated sugar
- 16 ounces low-fat cottage cheese with small curds
- 1 teaspoon fine salt preferably fine sea salt
- 4 cups bread flour sifted (King Arthur all-purpose flour may be used as noted in the original recipe)
- 2 teaspoons instant yeast
- ¼ cup lukewarm water approximately 105–115°F, plus an additional 1–2 tablespoons if the dough requires more moisture
Optional crust finish:
- 1 tablespoon non-dairy milk
- 1 tablespoon maple syrup
- Regular milk or an egg wash may be substituted if preferred
Instructions
- Place the sifted flour, instant yeast, granulated sugar, and salt in the bowl of a stand mixer and blend the dry ingredients together. Add the cottage cheese along with ¼ cup of the lukewarm water.
- Using the stand mixer on low speed, approximately speed 2, knead the mixture for about 1 minute, or until the ingredients have come together. If the dough appears excessively dry, gradually incorporate another 1–2 tablespoons of water as necessary while continuing to knead at the same speed
- Keep kneading for an additional 8–10 minutes. The dough is ready when it releases from the sides of the mixing bowl and develops into a smooth, pliable ball. This extended kneading period is important for building the dough's elasticity and proper texture.
- Transfer the dough from the mixer bowl to a lightly greased bowl. Cover with clean plastic wrap or a kitchen towel and leave it in a warm location protected from drafts for approximately 90–120 minutes, or until it has doubled in volume.
- Once the first rise is complete, gently punch down the dough and remove it from the bowl. Set it on a generously floured work surface and divide it evenly into four portions. With a small rolling pin, shape each portion into a rectangle measuring approximately 6 × 9 inches. Fold every rectangle into thirds in the manner of folding a letter.
- Step 6: Beginning at the long edge of each folded piece, roll the dough firmly into a cylindrical shape. Pinch the ends closed so that each loaf remains securely formed during baking
- Arrange each shaped cylinder in a thoroughly oiled bread pan. Loosely cover the pans with plastic wrap or a clean kitchen towel, then allow the dough to rise in a warm, draft-free location for about 60 minutes. The loaves should become visibly puffy and expand to fill the pans.
- Near the end of the second rising period, heat the oven to 350°F (180°C). Position the oven rack in the center to promote uniform baking.
- If a glossy, golden finish is desired, combine 1 tablespoon of non-dairy milk with 1 tablespoon of maple syrup and lightly brush the mixture over the tops of the risen loaves. Regular milk or an egg wash may be used instead.
- Transfer the bread pans to the preheated oven and bake for 15 minutes. After this initial baking period, loosely cover the loaves with aluminum foil to keep the crust from becoming overly brown. Continue baking for approximately 15 minutes more, or until the center of the bread registers 190°F (88°C).
- Remove the pans from the oven and carefully release the loaves onto a wire cooling rack. Let the bread cool slightly before cutting it so that the crumb retains its moisture and structural integrity.
- Once cooled, wrap the bread securely and keep it at room temperature for up to 3–4 days. For extended storage, place the loaves in an airtight container or freezer-safe plastic bag and freeze them for as long as 3 months. Thaw at room temperature, or warm portions in the microwave before serving.
Notes
The extra 1–2 tablespoons of water should be added only when the dough appears too dry during the initial kneading stage.
Covering the bread with foil after the first 15 minutes of baking helps protect the crust from excessive browning while the interior finishes baking.
Allowing the loaves to cool before slicing helps preserve moisture and keeps the crumb from compressing.