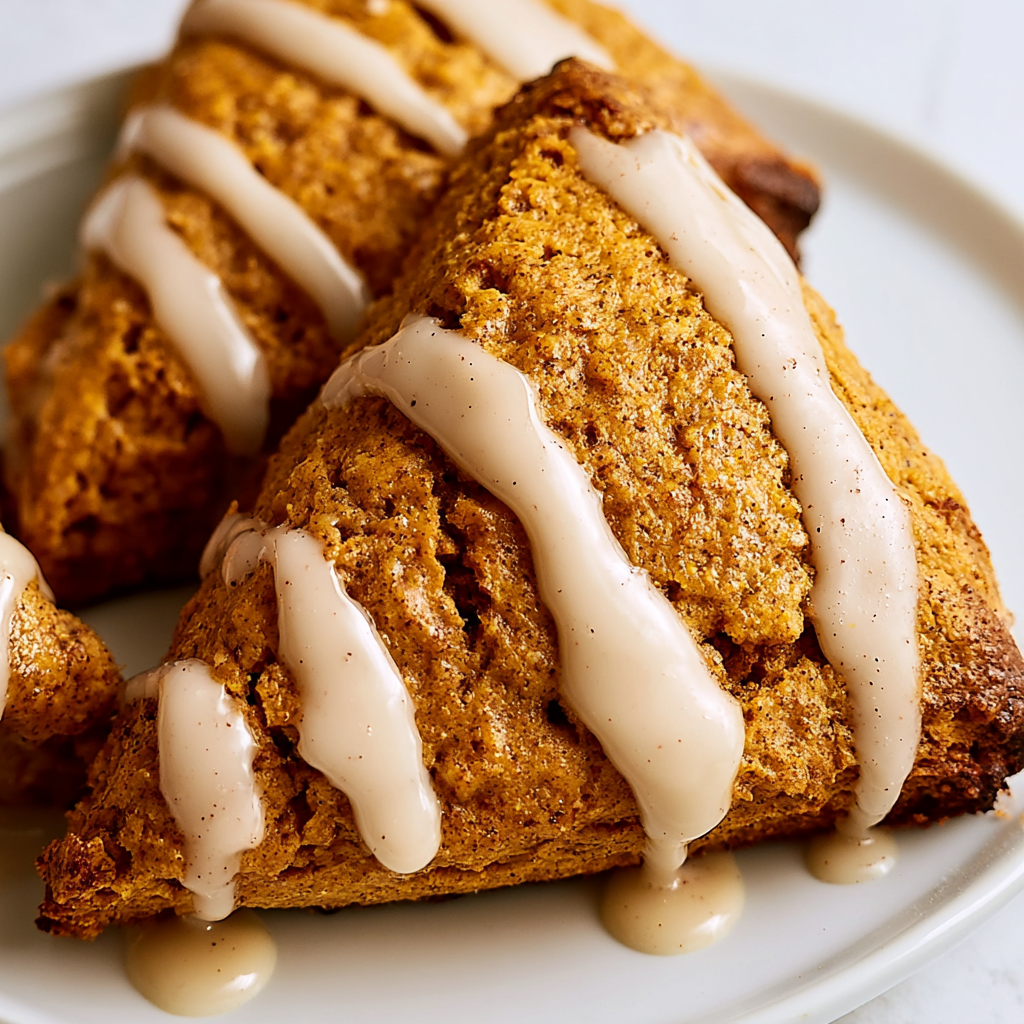
Paleo Pumpkin Scones
Tender and warmly spiced, these grain-free pumpkin scones combine almond, tapioca, and coconut flours for a delicate crumb. Chilled butter creates flaky layers, while a maple-spiced glaze provides a smooth, lightly sweet finish.
Pin it to remember it!
Print Recipe
Ingredients
For the Scone Dough
- ½ cup well-drained pumpkin purée
- 1¼ cups finely milled blanched almond flour
- 6 tablespoons cold grass-fed butter diced into small cubes
- 1 large egg beaten
- ½ cup maple sugar or coconut sugar
- 1 teaspoon ground cinnamon
- ¼ cup full-fat coconut milk plus additional milk for brushing
- ¾ cup tapioca starch or arrowroot starch
- ½ teaspoon fine salt
- 2 teaspoons pumpkin pie spice
- ⅓ cup coconut flour
- ½ teaspoon baking soda
- 1½ teaspoons aluminum-free baking powder
- Extra tapioca starch or arrowroot flour for shaping
For the Glaze
- ¼ teaspoon pumpkin pie spice
- ⅔ cup powdered maple sugar sifted
- 2 –3 teaspoons coconut milk
- ¼ teaspoon pure vanilla extract
Instructions
- Measure all ingredients before beginning. Sift the powdered maple sugar to eliminate any clumps, then return it to a dry bowl until needed. Keep the cubed butter refrigerated so it remains firm.
- In a large mixing bowl, thoroughly whisk together the almond flour, tapioca starch, coconut flour, maple or coconut sugar, baking powder, baking soda, salt, cinnamon, and pumpkin pie spice. Continue mixing until the spices and leavening agents are evenly dispersed.
- Add the chilled butter cubes to the flour mixture. Using a pastry blender, fork, or cool fingertips, work the butter into the dry ingredients until the mixture resembles coarse crumbs with visible pea-sized pieces of butter. Handle the mixture quickly to prevent the butter from softening.
- In a separate small bowl, combine the beaten egg, drained pumpkin purée, and coconut milk. Stir until the mixture is smooth and evenly blended.
- Form a hollow in the center of the dry mixture and pour in the pumpkin mixture. Fold gently with a spatula or wooden spoon just until a cohesive dough develops. Avoid excessive mixing; a few faint traces of dry flour may remain.
- Cover the bowl and place the dough in the freezer for 30 minutes. During the chilling period, preheat the oven to 400°F (204°C) and line a baking sheet with parchment paper.
- Dust the prepared parchment lightly with tapioca starch or arrowroot flour. Transfer the chilled dough to the baking sheet with dampened hands and carefully form it into a round disk measuring approximately 7–8 inches across and ¾ inch thick.
- Moisten a knife and slice the disk into 8 evenly sized wedges, wetting the blade again between cuts when necessary. Gently move the wedges apart, leaving enough space for them to expand and brown during baking.
- Using a pastry brush, lightly coat the surface of each wedge with coconut milk. Bake for approximately 20 minutes, or until the tops are pale golden and the scones are set while remaining tender in the center.
- Allow the scones to rest on the baking sheet for 5–10 minutes before applying the glaze.
- While the scones cool, whisk the sifted powdered maple sugar with 2 teaspoons coconut milk, the vanilla extract, and pumpkin pie spice. Continue whisking until smooth. Add the remaining coconut milk gradually, one teaspoon at a time, only as needed to produce a thick but pourable consistency.
- Drizzle the glaze generously over the cooled scones. Leave them undisturbed for several minutes so the coating can settle into a delicate, lightly set finish.
Notes
Drain the pumpkin purée thoroughly before measuring, as excess liquid may produce a dough that is overly soft or sticky.
Keeping the butter, mixing bowl, and dough cold is essential for developing a flaky texture.
Do not overwork the dough. Gentle mixing preserves the scones’ tender consistency.
Because oven temperatures can vary, begin checking the scones near the end of the baking period. They should appear lightly golden and feel set without becoming firm or dry.