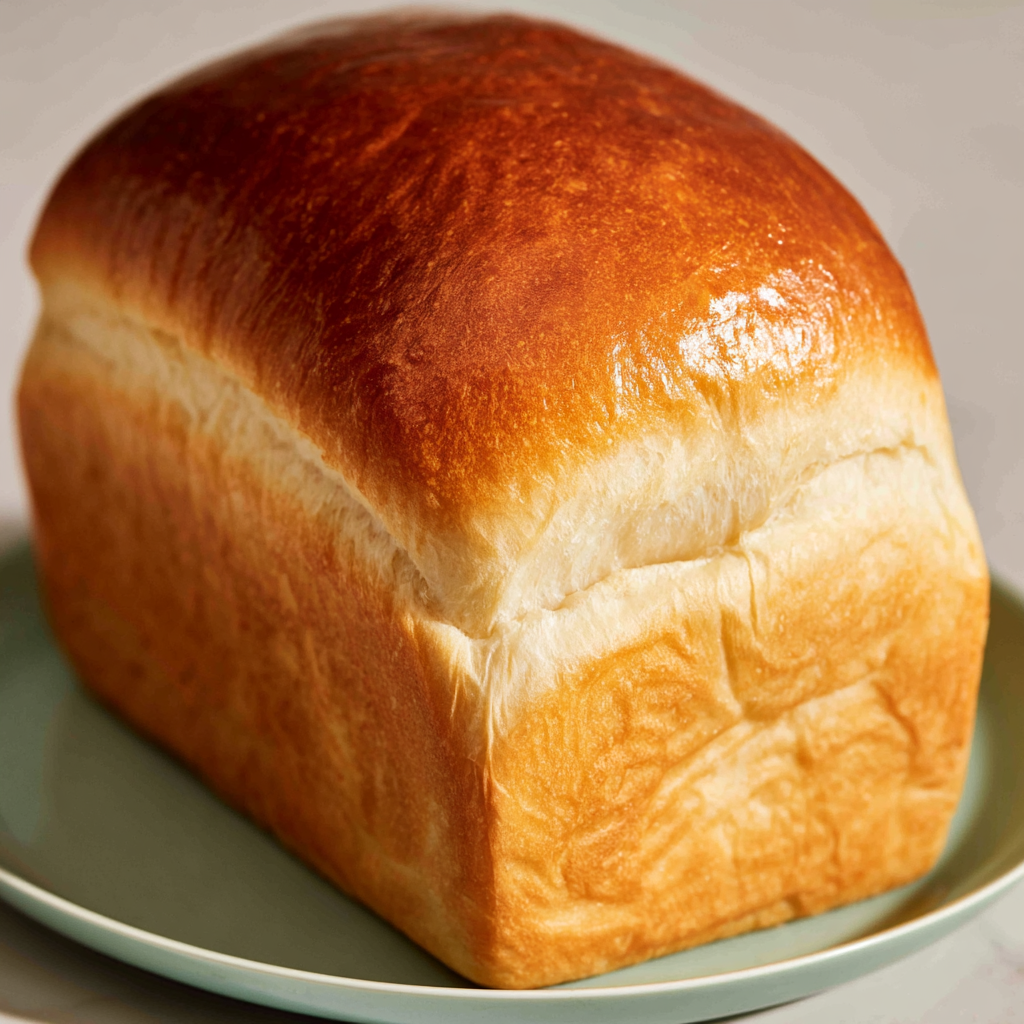
Amish White Bread
A soft, lightly sweetened homemade white bread with a tender crumb and golden crust. Two proofing stages provide structure and flavor, while a finishing layer of melted butter gives the loaf a rich, glossy top.
Pin it to remember it!
Print Recipe
Ingredients
For the Bread Dough:
- 1/3 cup granulated sugar
- 2 tablespoons canola oil
- 3/4 teaspoon salt
- 1 packet instant yeast approximately 2 1/4 teaspoons, preferably used before its expiration date
- 1 cup warm water maintained between 110–120°F
- 3 cups all-purpose flour with King Arthur flour preferred for consistent results
For the Butter Finish:
- 2 tablespoons unsalted butter melted and allowed to cool slightly
Instructions
- Pour the warm water into a mixing bowl, then add the sugar and instant yeast. Stir to combine and leave the mixture undisturbed for 10 minutes. A layer of foam should develop across the surface, indicating that the yeast is active. For reliable results, verify that the water measures between 110–120°F; excessively cool water can slow activation, while overly hot water may damage the yeast.
- Add the all-purpose flour and salt to the bowl of a stand mixer fitted with a dough hook. Pour in the activated yeast mixture along with the canola oil. Mix at low speed until the ingredients come together into a rough, shaggy dough.
- Increase the mixer to medium speed and knead for approximately 10 minutes. Continue until the dough appears smooth and elastic and begins pulling cleanly away from the sides of the bowl. Adequate kneading develops the gluten structure responsible for the bread's soft, tender crumb.
- Form the kneaded dough into a smooth ball. Transfer it to a lightly greased bowl and turn the dough once so that its entire surface receives a thin coating of oil. Cover the bowl with plastic wrap or a clean kitchen towel.
- Allow the dough to rise at room temperature for 60–90 minutes, or until it has approximately doubled in volume. To check the proof, gently press two fingers into the surface. The dough is appropriately risen when the impressions slowly recover about halfway.
- Carefully transfer the risen dough to a lightly floured work surface. Shape it gently into a loaf-shaped log sized to fit snugly inside a greased loaf pan.
- Place the shaped dough into the prepared pan and cover it loosely with a clean kitchen towel. Allow it to rise for another 50–60 minutes, until the dough extends slightly above the rim of the pan.
- Approximately halfway through the second rise, preheat the oven to 350°F so it is fully heated when the loaf is ready for baking.
- Transfer the risen loaf to the preheated 350°F oven. Bake for 25–30 minutes, until the surface becomes golden brown and the loaf produces a hollow sound when tapped on the bottom.
- If the crust begins darkening too rapidly, loosely cover the top with aluminum foil during the latter portion of baking.
- Remove the finished loaf from the oven and immediately brush the surface with the melted, slightly cooled unsalted butter.
- Leave the bread in its pan for 10 minutes to allow its structure to firm sufficiently for removal. Turn the loaf out onto a wire rack and allow it to cool completely before slicing.
Notes
Maintaining the water temperature between 110–120°F helps provide dependable yeast activation. A kitchen thermometer offers the most accurate measurement.
Consistent all-purpose flour, such as King Arthur flour, can help produce a predictable rise and texture because of its reliable protein content.
Allowing the loaf to cool fully before cutting helps preserve its crumb structure. Slicing while the bread is still warm can compress the interior and produce a denser texture.