
Pumpkin Scones with Heavy Cream bake up tender and flaky with real pumpkin, cold butter, cozy spices, and a smooth maple glaze. A quick freezer chill helps every wedge hold its shape while developing crisp, golden edges.
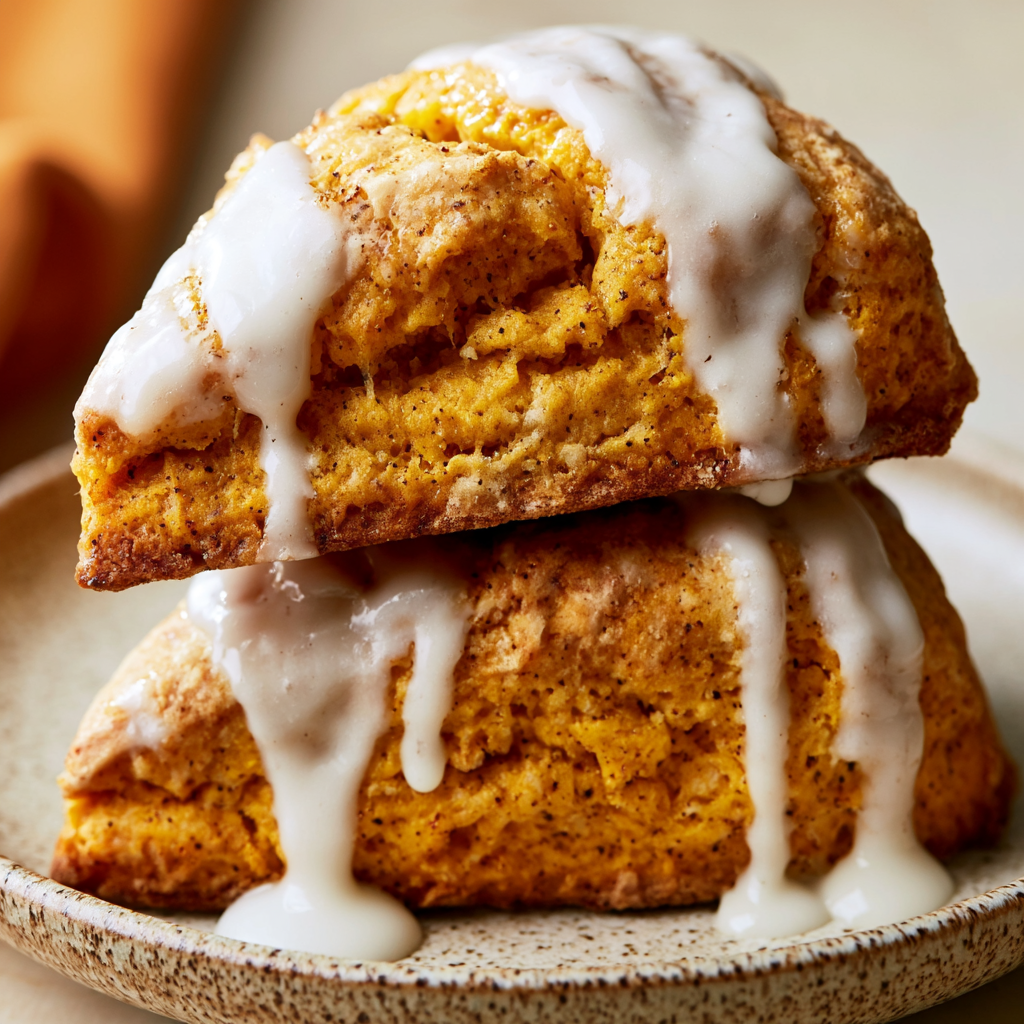
These scones are a great choice when you want a homemade fall breakfast that feels special without requiring complicated pastry techniques. The dough comes together in one bowl after the wet ingredients are mixed, and shaping it into a simple round keeps preparation manageable.
Pumpkin purée gives the centers a soft, tender texture while cinnamon and pumpkin pie spice bring warm seasonal flavor. Cold butter is especially important here because the small pieces melt in the oven, creating little pockets that help the scones feel lighter and flakier.
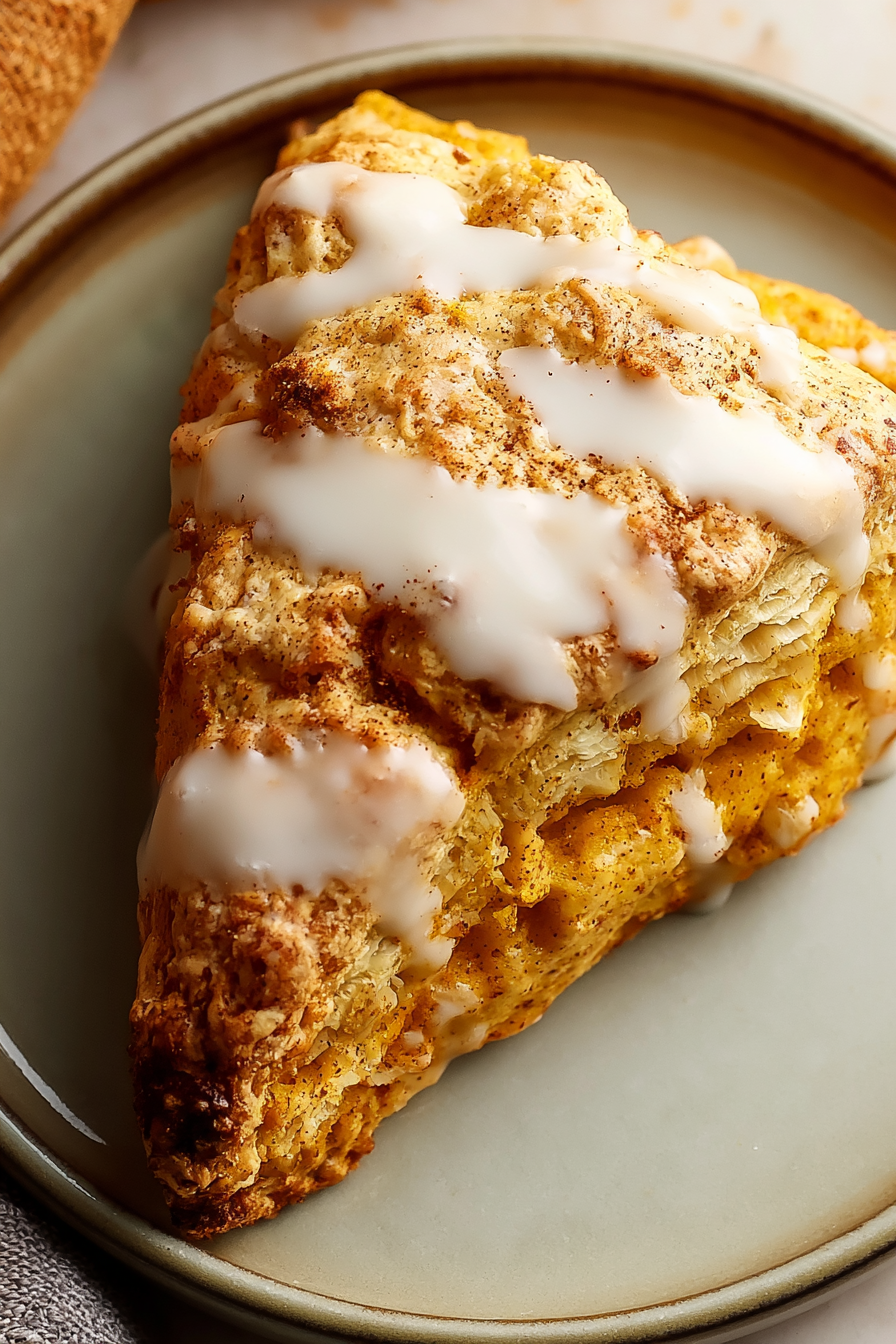
The maple glaze is simple but makes a noticeable difference. Drizzled over slightly warm scones, it settles over the tops in a thin, sweet layer that complements the pumpkin and spices without covering up their flavor.
Pumpkin Scones Ingredients
All-purpose flour: Forms the structure of the scone dough while still keeping the crumb tender when the mixture is handled gently.
Unsalted butter: Use 1/2 cup of very cold butter cut into small cubes. Leaving little pieces of butter throughout the flour mixture is one of the keys to flaky scones.
Pumpkin purée: A 1/2 cup adds pumpkin flavor, moisture, and the rich golden-orange color associated with fall baking.
Heavy whipping cream: Three tablespoons enrich the dough, while a little extra cream brushed over the tops helps them brown attractively in the oven.
Brown sugar: Adds gentle sweetness and a subtle caramel note that works especially well with pumpkin.
Egg: Helps bind the dough and gives the scones enough structure to stay tender without becoming crumbly.
Baking powder: Provides the lift needed for thicker, lighter wedges as they bake.
Cinnamon and pumpkin pie spice: These warming spices supply the familiar seasonal flavor without overpowering the pumpkin itself.
Vanilla extract: Rounds out the pumpkin, brown sugar, and maple flavors.
Salt: A small amount balances the sweetness and makes the spices more noticeable.
Turbinado sugar: Optional, but useful when you want a lightly crunchy, sparkling finish before adding the glaze.
Confectioners’ sugar: Creates the smooth base for the maple glaze.
Maple syrup: Adds a warm maple note that pairs naturally with pumpkin and cinnamon.
Milk: Loosens the glaze so it can be easily drizzled over the baked scones.

Cooking Steps
STEP 1: Line a large baking sheet with parchment paper. In a roomy mixing bowl, whisk together the flour, brown sugar, baking powder, cinnamon, pumpkin pie spice, and salt so the sugar, leavening, and spices are distributed evenly.
STEP 2: Add the thoroughly chilled butter cubes to the dry mixture. Cut them into the flour using a pastry blender or fork until most pieces are quite small but still clearly visible. Aim for bits around the size of small lentils rather than blending the butter completely into the flour.
STEP 3: In a separate bowl, whisk the pumpkin purée with the egg, vanilla, and heavy cream. Pour this pumpkin mixture into the dry ingredients and stir gently just until a soft dough begins to form. Stop mixing once there are no large pockets of dry flour.
STEP 4: Transfer the dough to the parchment-lined baking sheet and gently pat it into an approximately 8-inch circle. Pumpkin dough can be sticky, so dust your hands and the surface with a small amount of flour when necessary. Cut the circle into eight equal wedges and carefully move them apart so air can circulate around each piece.
STEP 5: Place the entire baking sheet in the freezer for at least 30 minutes. Near the end of the chilling time, preheat the oven to 400°F (200°C). Chilling firms both the dough and the butter, which helps the wedges spread less once they hit the hot oven.
STEP 6: Remove the chilled scones from the freezer and lightly brush their tops with heavy cream. Sprinkle with turbinado sugar if you want extra surface crunch. Bake for 25 to 28 minutes, until the tops and edges are golden and a toothpick inserted into a thick section comes out clean.
STEP 7: While the scones bake, whisk the confectioners’ sugar with maple syrup, milk, and a tiny pinch of salt until smooth. Let the baked scones cool on the pan for about 5 to 10 minutes, then drizzle the glaze over the tops while they are still pleasantly warm.
What to Serve with Pumpkin Scones
These pumpkin scones work well as part of a simple breakfast or a more generous weekend brunch. Because they already have a sweet maple topping, the best pairings are usually uncomplicated.
- Fresh fruit: Apples, pears, berries, or orange slices add freshness alongside the buttery, spiced scones.
- Eggs: Scrambled eggs or a simple egg dish can turn one scone into a more complete breakfast.
- Coffee or tea: Hot coffee, black tea, or lightly spiced tea complements the pumpkin, cinnamon, and maple flavors particularly well.
Why should the butter stay cold?
Cold butter creates small pockets throughout the dough. As those pieces melt in the hot oven, they release steam and help form a more layered, flaky texture. If the butter becomes completely soft before baking, the scones are more likely to spread and bake with a denser texture.
Can I prepare the scones the night before?
Yes. Shape and cut the scones, arrange them on the baking sheet, cover them well, and refrigerate overnight. You can brush them with cream immediately before baking. For the firmest wedges, a short freezer chill while the oven preheats is still helpful.
Helpful Tips
- Handle the dough lightly. Stir and shape only as much as necessary. Excessive mixing develops more gluten and can make the finished scones tougher instead of tender.
- Do not skip the chilling step. Thirty minutes in the freezer firms the butter and makes soft pumpkin dough easier to bake into distinct wedges.
- Adjust the glaze gradually. If it is too thick to drizzle, add milk in very small amounts. If you prefer a stronger maple flavor, use a touch more maple syrup while keeping the glaze thick enough to cling to the scones.

Can homemade pumpkin purée be used?
Homemade pumpkin purée can work well as long as it has a consistency similar to canned purée. If it is noticeably watery, drain off excess moisture first. Too much liquid can make the dough overly sticky and may cause the scones to spread more during baking.
Keeping Leftovers Fresh
Allow leftover scones to cool completely before storing them so condensation does not soften the exterior. Keep them in a tightly sealed container in the refrigerator for up to about 4 days. For the nicest texture, bring them toward room temperature before serving or warm them briefly.
To reheat a scone, place it in a 300°F oven for roughly 5 to 8 minutes, just until warmed through. A microwave also works for a quicker option, although the exterior will be softer.
For longer storage, freeze completely cooled scones in an airtight freezer container or freezer-safe bag for up to 2 to 3 months. Freezing them before adding the maple glaze gives you the best texture. Thaw at room temperature, warm gently if desired, and glaze after reheating.
You can also freeze the shaped, unbaked wedges. Once firm, transfer them to a freezer-safe container with parchment between layers. Baking chilled dough straight from a very cold state may require a few additional minutes in the oven, so check the centers before removing them.
How do I know when pumpkin scones are done?
Look for golden tops, lightly browned edges, and a surface that feels set rather than wet or doughy. Because the wedges are fairly thick, checking the center with a toothpick is useful. It should come out clean or with only a few tender crumbs attached.
Can I leave off the maple glaze?
Absolutely. The scones have brown sugar, pumpkin, vanilla, cinnamon, and pumpkin pie spice in the dough, so they are flavorful even without icing. For an unglazed finish, brushing the tops with heavy cream and adding turbinado sugar before baking gives them a pleasant lightly crisp crust.
Pumpkin Scones with Heavy Cream
Ingredients
For the Pumpkin Scones
- 1/2 cup unsalted butter thoroughly chilled and sliced into 1/2-inch cubes
- 3 tablespoons heavy whipping cream
- 1/2 cup pumpkin purée canned or homemade, such as Libby’s
- 2 teaspoons baking powder
- 1 large egg brought to room temperature
- 1/2 teaspoon fine salt
- 1 1/2 teaspoons pure vanilla extract
- 1 teaspoon pumpkin pie spice blend
- 1/3 cup firmly packed light brown sugar
- 2 cups all-purpose flour plus a small amount for handling the dough
- 1 teaspoon ground cinnamon
- Additional heavy cream for brushing the tops
- Turbinado sugar optional, for sprinkling
For the Maple Glaze
- 1 tablespoon maple syrup
- Small pinch of salt
- 1 cup confectioners’ sugar
- 1 1/2 tablespoons milk
Instructions
- Cover a sheet tray with parchment paper and place it aside. The parchment will keep the scones from adhering to the pan and simplify cleanup.
- In a large mixing bowl, whisk the all-purpose flour with the brown sugar, baking powder, cinnamon, pumpkin pie spice, and salt until evenly distributed.
- Add the chilled butter cubes to the flour mixture. Using a pastry blender or fork, work the butter into the dry ingredients until the pieces are approximately lentil-sized. Leave visible bits of butter throughout the mixture, as these help create a flaky finished texture.
- In a separate bowl, whisk the pumpkin purée, room-temperature egg, vanilla extract, and 3 tablespoons of heavy cream until well blended.
- Pour the pumpkin mixture into the bowl containing the dry ingredients. Mix gently only until the ingredients come together. Avoid excessive stirring or kneading, which can make the scones less tender.
- Transfer the soft dough directly to the parchment-lined tray. Pat it into a roughly 8-inch round. If the dough clings to your hands, lightly dust the surface and your hands with additional all-purpose flour.
- Using a sharp knife or bench scraper, divide the round into 8 equal wedges. Carefully separate the pieces so there is space around each wedge on the baking tray.
- Transfer the entire tray to the freezer and chill the scone wedges for no less than 30 minutes. This resting period allows the dough to firm up, helping the scones maintain their shape and develop a flakier consistency during baking.
- While the scones are chilling, heat the oven to 400°F (200°C).
- Once the 30-minute chilling period is complete, remove the tray from the freezer. Lightly coat the top of each wedge with additional heavy cream.
- If desired, scatter turbinado sugar over the cream-brushed surfaces to create a crisp, sparkling topping.
- Place the tray in the preheated oven and bake for 25–28 minutes, or until the scones have developed a golden exterior and a toothpick inserted into the center comes out clean.
- While the scones bake, whisk together the confectioners’ sugar, maple syrup, milk, and a small pinch of salt. Continue mixing until the glaze becomes smooth and fluid enough to drizzle.
- The glaze may be refrigerated while the scones finish baking.
- Allow the baked scones to rest on the tray for 5–10 minutes. Drizzle the maple glaze over the still-warm scones before serving.
Notes
Avoid overmixing once the wet and dry mixtures are combined.
Lightly flour your hands if the pumpkin dough is sticky during shaping.
Freezing the cut scones for at least 30 minutes helps them maintain their wedge shape while baking.
Turbinado sugar is optional but provides additional crunch on the surface.
A slightly larger amount of maple syrup may be used in the glaze when a stronger maple flavor is preferred.