Oven-Roasted Corn on the Cob is the ultimate side dish to celebrate summer’s sweetest harvest. It’s quick to prep, loaded with buttery goodness, and roasted to tender, caramelized perfection.
Each juicy ear bursts with flavor from rich garlic butter and a kick of Creole seasoning, making this recipe an effortless favorite for backyard dinners or weeknight meals.
What You Need for Perfect Oven-Roasted Corn on the Cob
- Fresh corn on the cob – The star of this recipe, delivering sweet, juicy bites that roast beautifully in the oven.
- Butter – Adds luscious moisture and rich flavor, melting into every kernel.
- Garlic – Infuses the butter with deep, savory notes that make each bite irresistible.
- Creole seasoning – Brings a zesty, mildly spicy punch that pairs perfectly with the sweetness of the corn.
- Salt and pepper – Essential for balancing flavors and enhancing the corn’s natural taste.
How to Make Oven-Roasted Corn on the Cob
Start by preheating your oven nice and hot so the corn roasts evenly and gets that slight caramelization. Mix softened butter with minced garlic and Creole seasoning until smooth and fragrant.
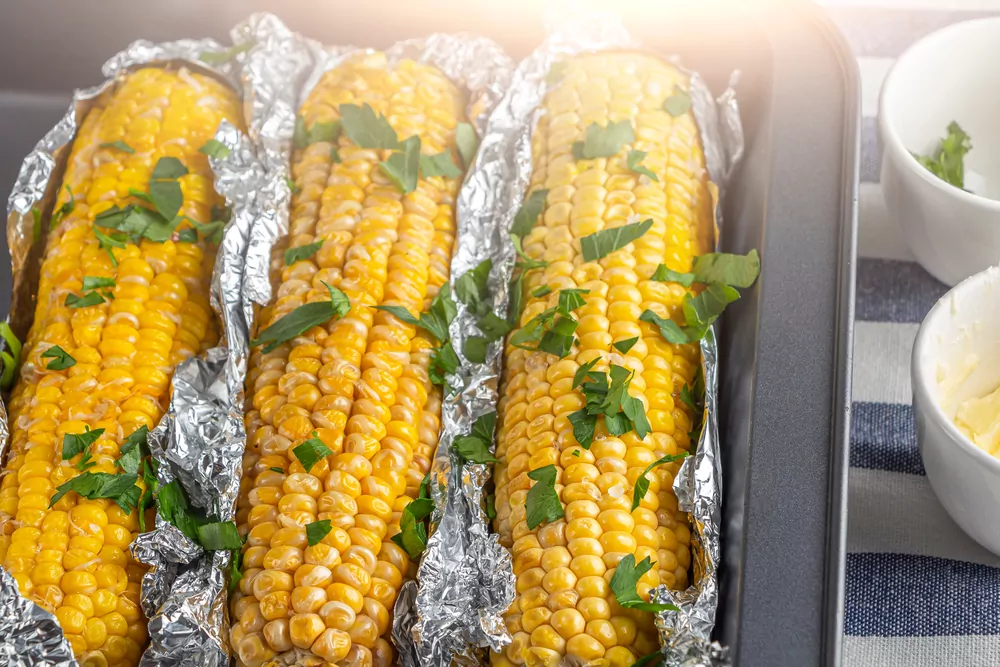
Wrap each ear of corn in foil, slather generously with the seasoned garlic butter, and place them snugly on a baking sheet. Roast until tender and golden, turning halfway for even cooking.
Once done, carefully unwrap the steaming corn and brush with a final layer of garlic butter if you crave extra flavor. Serve warm and watch them disappear fast!

Tips & Flavor Twists for Oven-Roasted Corn on the Cob
For a smoky twist, sprinkle a pinch of smoked paprika into the garlic butter before slathering it on. If you want a cheesy finish, top your roasted corn with grated Parmesan just after baking for an added savory bite.
No foil? Place husked corn straight on the oven rack for a slightly charred, roasted taste. If time is tight, skip the husking and roast the corn in their husks; just peel and season afterward for a fuss-free version that’s equally delicious.
How to Store and Reheat Oven-Roasted Corn on the Cob
Store leftover roasted corn in an airtight container in the fridge for up to three days. To reheat, wrap the corn in foil again and warm it in a 350°F oven for about 10 minutes until heated through.
If you prefer a quicker method, microwave covered with a damp paper towel for about a minute. Avoid freezing fully roasted corn, as its texture may suffer—fresh is best for this summery treat!
Oven-Roasted Corn on the Cob
Ingredients
- Salt and freshly ground black pepper
- 4-6 ears fresh corn husks and silk removed
- 1-2 teaspoons Creole seasoning
- 2-3 tablespoons garlic butter or plain unsalted butter
Instructions
- Preheat your oven to 425℉ (218℃). In a small mixing bowl, blend together the garlic butter and Creole seasoning, then reserve. Individually wrap each prepared ear of corn in foil, generously coating with the garlic butter mixture and seasoning before sealing. Arrange the wrapped corn on a baking sheet. Roast in the preheated oven for 20-25 minutes, remembering to rotate the tray midway through cooking. Remove from the oven, allow to cool slightly, and brush with additional garlic butter if preferred.