
These old fashioned dinner rolls bake up soft, tender, and beautifully golden with a buttery homemade flavor. Honey, eggs, and butter create a delicate crumb, while two steady rises give the rolls reliable lift for holiday dinners, Sunday meals, and family gatherings.
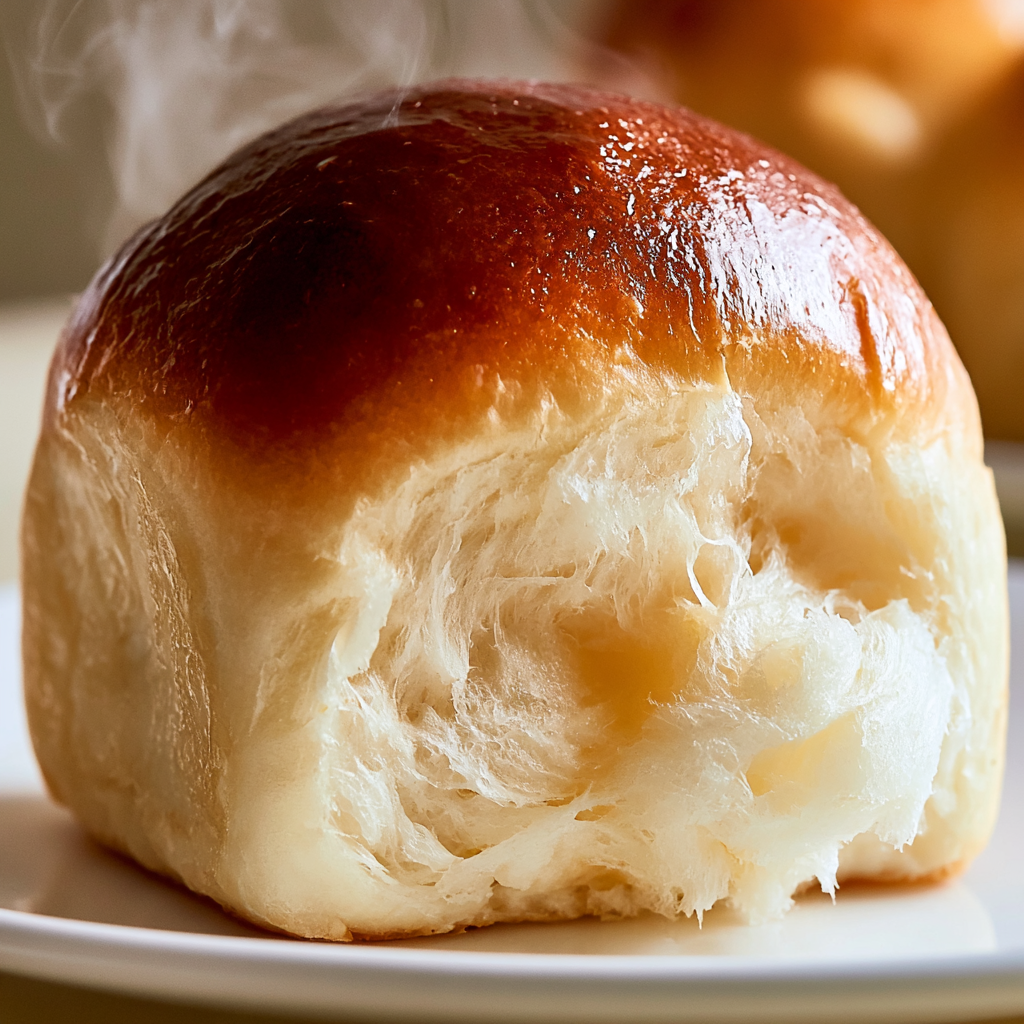
There is something especially satisfying about bringing a pan of warm homemade rolls to the table. These have the soft pull-apart texture you want in a classic dinner roll, with just enough honey to round out the flavor without turning the bread noticeably sweet.
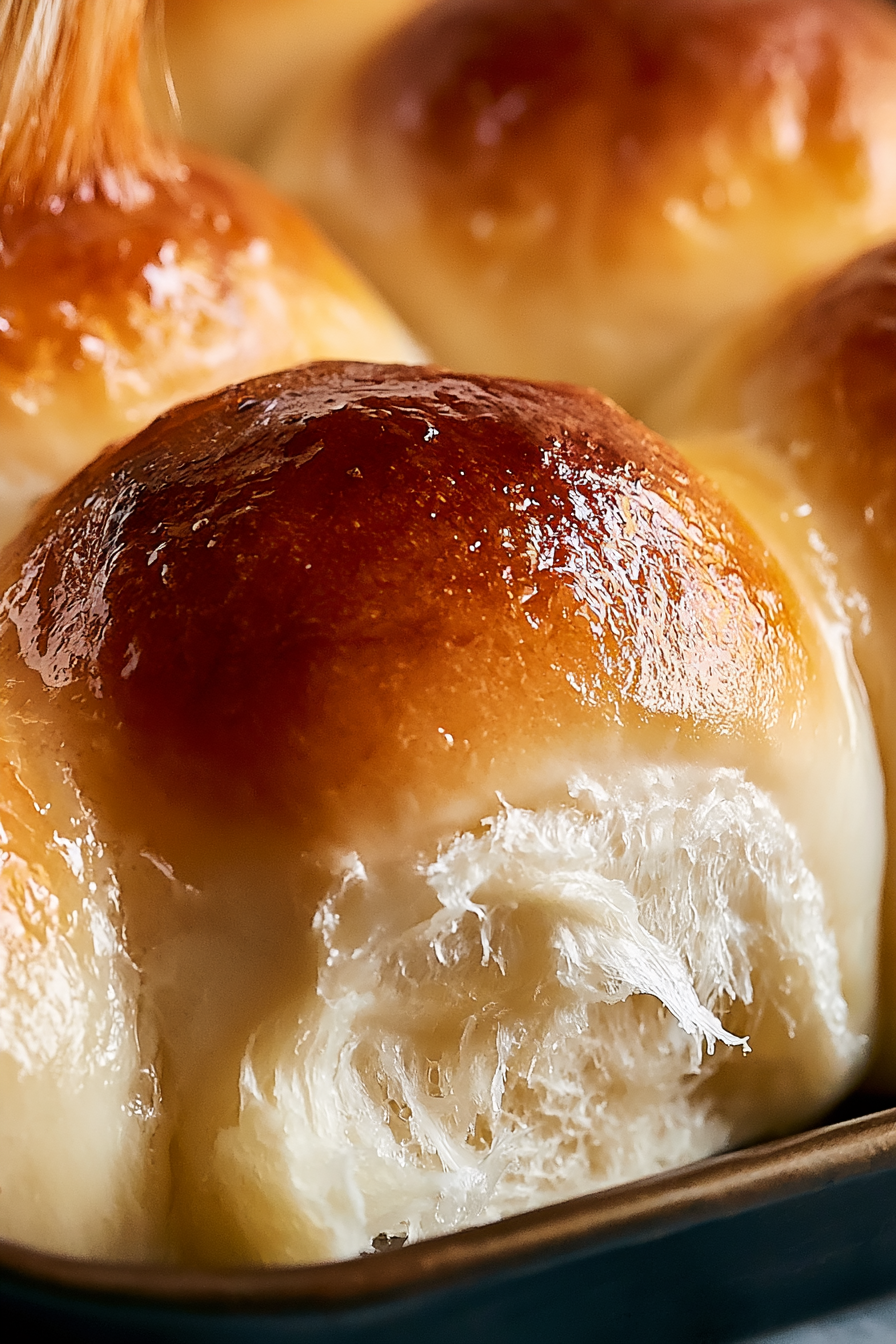
The method is straightforward, but the two rising periods matter. The first gives the dough time to become light and airy, while the second allows the shaped rolls to expand into one another before baking. Brush them generously with melted butter while they are still hot, and the tops stay soft instead of becoming overly crusty.
This batch makes about 30 rolls, so it is particularly useful when you are feeding a crowd. Serve them straight from the pan with butter, use them to soak up gravy, or split leftover rolls for small sandwiches the next day.
Ingredients
You only need a handful of familiar baking ingredients to make these classic homemade rolls.
- All-purpose flour: Provides enough structure for rolls that rise well while maintaining a tender interior.
- Active dry yeast: Gives the dough its lift during the two proofing periods. Make sure your yeast is fresh for dependable results.
- Warm water: Activates the yeast and provides the moisture needed to bring the dough together. Keep it between 100°F and 110°F.
- Honey: Gently sweetens the dough and gives the finished rolls a rounded, traditional flavor.
- Salted butter: Adds richness and helps create a softer crumb. Let it soften before mixing it into the dough.
- Eggs: Enrich the dough and contribute to its soft texture and attractive golden color.
- Salt: Balances the honey and strengthens the overall bread flavor.
- Melted butter: Brushed over the freshly baked rolls for a rich finish and softer tops.
- Oil and pan grease: Keep the dough from sticking while it rises and bakes.
Cooking Steps
STEP 1: Pour the warm water into a large mixing bowl and stir in the honey until it dissolves. Sprinkle the active dry yeast over the surface and leave it alone for about 5 minutes. Fresh yeast should begin looking foamy or creamy as it activates.
STEP 2: Add the softened butter, room-temperature eggs, and salt. Begin adding the flour gradually, stirring between additions. Continue until the mixture forms a cohesive dough that is soft and slightly tacky rather than wet.
STEP 3: Knead the dough until it becomes smooth and elastic. By hand, this generally takes about 7 to 10 minutes. With a stand mixer and dough hook, approximately 5 to 7 minutes at medium speed should be sufficient. Resist adding excessive flour just because the dough feels slightly tacky.
STEP 4: Lightly oil a large clean bowl. Place the dough inside and turn it so the surface receives a thin coating of oil. Cover the bowl loosely with plastic wrap or a damp kitchen towel and leave it somewhere warm and free from drafts for about 1 hour. The dough should roughly double in size.
STEP 5: Transfer the risen dough to a lightly floured work surface and divide it into 30 similar portions. Shape each piece into a smooth ball by gently pulling the outer surface underneath and rolling it against the counter. Creating a little surface tension gives the finished rolls a neater shape.
STEP 6: Grease a 9 × 13-inch baking dish and arrange the dough balls inside. Leave a little room between them, but do not worry if they are fairly close together. Cover the pan and let the rolls rise for another hour, or until noticeably puffy and beginning to touch.
STEP 7: During the final 10 to 15 minutes of rising, heat the oven to 375°F. Bake the rolls for approximately 15 to 16 minutes, watching for evenly golden tops. The centers should be fully baked while remaining soft.
STEP 8: Remove the pan from the oven and immediately brush the warm rolls with melted butter. Let them cool briefly before serving, or bring them to the table while they are still pleasantly warm and especially soft.
Can I prepare the rolls ahead of time?
Yes. For the simplest make-ahead option, bake the rolls earlier in the day and keep them well covered once completely cool. Warm them briefly before serving and brush with a little additional melted butter if desired.
You can also prepare and shape the dough in advance, although yeast dough continues developing as it rests. If refrigerating shaped rolls overnight, cover them carefully and allow enough time for them to become visibly puffy before baking.
Why didn’t my dinner rolls rise?
The most common cause is yeast that is old or inactive. The temperature of the water is also important. Water significantly hotter than 110°F can damage the yeast, while cold water can make the rising process considerably slower.
A cold kitchen may also extend proofing time. Watch the size and appearance of the dough rather than relying only on the clock.
How do I know when the dough has risen enough?
After the first rise, look for dough that has approximately doubled in volume. After shaping, the individual rolls should look noticeably fuller and should begin touching one another in the baking dish.
The exact proofing time can change depending on room temperature, so visible expansion is a better guide than minutes alone.
Can I use unsalted butter?
Yes. Unsalted butter can work in the dough, but the original formula uses salted butter. Because the dough already contains measured salt, changing the butter may slightly alter the overall seasoning rather than the structure of the rolls.
For the butter brushed on top, either salted or unsalted butter can be used according to your preference.
How can I keep homemade rolls soft?
Avoid overbaking them, and brush the tops with melted butter immediately after they come from the oven. Once the rolls have completely cooled, keep them tightly covered so they are not exposed to dry air.
Reheating them gently rather than at very high heat also helps preserve their tender texture.
Pro Tips for Old Fashioned Dinner Rolls
- Measure the water temperature carefully. Keeping it around 100°F to 110°F gives active dry yeast a warm environment without exposing it to damaging heat.
- Keep the dough slightly tacky. Adding too much extra flour may make the dough easier to handle, but it can also produce heavier, drier rolls.
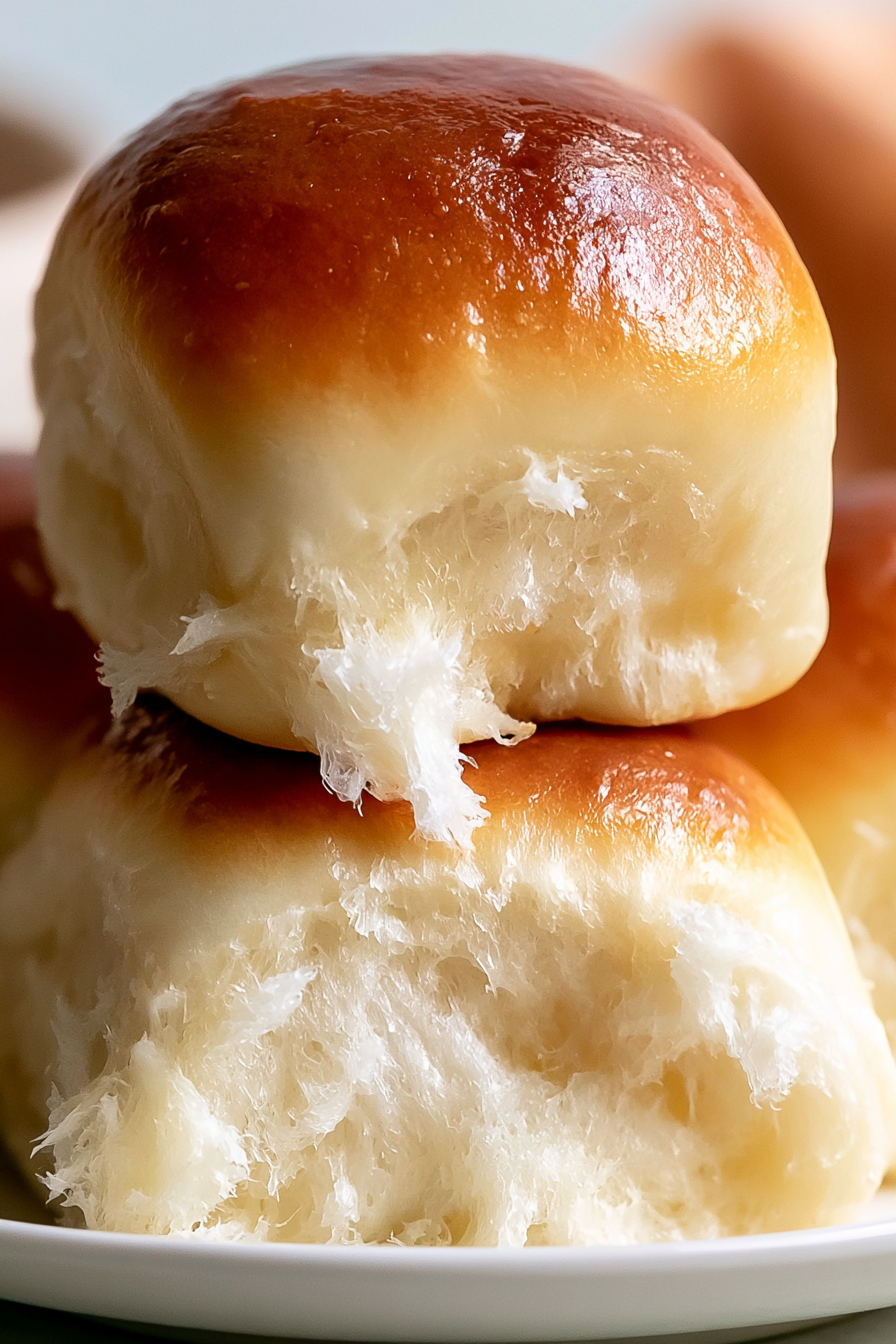
- Give the second rise enough time. Well-proofed rolls should look plump before they enter the oven. That final expansion contributes significantly to their light pull-apart texture.
Serving Ideas for Old Fashioned Dinner Rolls
These soft rolls are especially good alongside a roast dinner, where they can be used for soaking up gravy and pan juices. Their mild honey-and-butter flavor also works naturally with roasted chicken, turkey, beef, or pork.
For a comforting everyday meal, pair them with soup or stew. A warm roll is perfect for dipping into a rich broth or serving alongside a hearty vegetable or meat-based soup.
They are also a natural addition to holiday dinners. Set out softened butter so everyone can split a warm roll at the table, or use leftovers for small sandwiches filled with roasted meat and other dinner leftovers.
How to Store & Reheat
Allow the rolls to cool completely before storing them. Keeping warm rolls in an airtight container can trap excess condensation and make their surfaces damp.
At room temperature, place the rolls in an airtight container or tightly sealed bag and use them within about 2 to 3 days. For slightly longer storage, refrigerate them for up to about 5 days, although refrigeration can gradually make bread feel firmer.
For longer storage, freeze the completely cooled rolls in a freezer-safe container or bag for up to 2 to 3 months. Freezing individual rolls or separating layers with parchment makes it easier to remove only the amount you need.
To reheat several rolls, loosely cover them and warm them in a 300°F to 325°F oven until heated through. Individual rolls can also be warmed briefly in the microwave. A light brushing of melted butter after reheating helps restore some of that just-baked softness and makes these classic homemade dinner rolls especially inviting at the table.
Old Fashioned Dinner Rolls
Ingredients
For the dough:
- ½ cup salted butter softened to room temperature
- ¼ cup honey preferably raw
- 2 large eggs brought to room temperature
- 2½ teaspoons salt
- 4 teaspoons fresh active dry yeast
- 2 cups warm water between 100°F and 110°F
- 7 cups all-purpose flour
For finishing:
- 3 –4 tablespoons butter melted, for brushing over the rolls
For the bowl and pan:
- Oil as needed, for lightly coating the rising bowl
- Grease as needed, for preparing the baking pan
Instructions
- Pour the warm water into a large mixing bowl. Add the honey and stir until it has completely dissolved.
- Scatter the active dry yeast evenly over the sweetened water. Leave the mixture undisturbed for 5 minutes so the yeast can bloom and become active.
- While the yeast is resting, cut the softened salted butter into small pieces.
- After the 5-minute activation period, add the butter pieces, room-temperature eggs, and salt to the yeast mixture. Gradually incorporate the all-purpose flour while stirring until a cohesive dough forms.
- Knead the dough by hand for 7–10 minutes. Alternatively, knead it in a stand mixer at medium speed for 5–7 minutes. Continue until the dough is smooth and elastic. The finished dough should feel slightly tacky without being excessively sticky.
- Lightly oil a large bowl and transfer the kneaded dough into it. Turn the dough once so that a thin coating of oil covers its surface, helping prevent the exterior from drying during the rise.
- Loosely cover the bowl with plastic wrap or a damp kitchen towel. Place it in a warm location away from drafts and allow the dough to rise for approximately 1 hour, or until it has roughly doubled in volume.
- Transfer the risen dough to a clean work surface that has been lightly dusted with flour.
- Portion the dough into 30 equally sized pieces. Dividing the dough into halves and then progressively smaller sections can make it easier to obtain consistently sized portions.
- Shape each portion into a compact, smooth ball. Cup your hand around the dough and roll it gently toward yourself to create surface tension. This technique produces evenly shaped rolls with a tidy, traditional appearance.
- Grease a 9 × 13-inch baking pan or another similarly sized baking dish. Arrange the 30 shaped dough balls inside, leaving only a small amount of space between them so they can expand as they rise.
- Cover the pan loosely with plastic wrap or a damp kitchen towel. Let the rolls rise in a warm place for approximately 1 hour, until noticeably puffy and touching one another.
- Approximately 10–15 minutes before the second rise is complete, preheat the oven to 375°F.
- Place the fully risen rolls in the preheated oven and bake at 375°F for 15–16 minutes, until the tops have developed a golden-brown color and the rolls are cooked through while remaining tender. When tapped on the bottom, they should produce a slightly hollow sound.
- Remove the pan from the oven. While the rolls are still hot, generously brush their tops with the melted butter.
- Serve the rolls warm for their softest texture and fullest flavor.