
Dutch Apple Pie is a cozy, make-ahead dessert with tender spiced apples, flaky pastry, and a buttery brown sugar crumble. Precooking the filling helps every slice stay thick, flavorful, and beautifully structured.
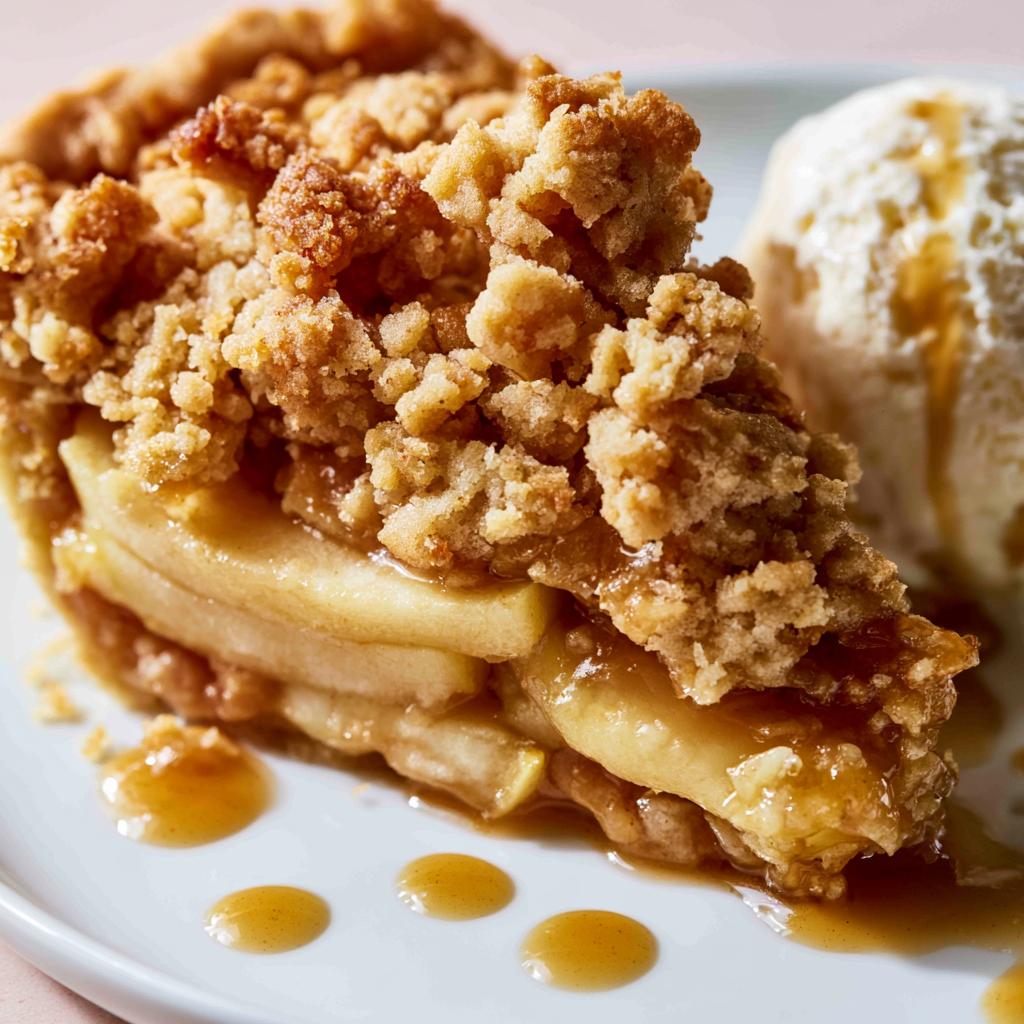
This is the kind of pie worth making when you want a dependable dessert for holidays, weekend baking, or any meal that calls for something classic. The combination of tart and sweet apples gives the filling more depth than using a single variety, while cinnamon, nutmeg, lemon, and optional cardamom keep the flavor warm without overpowering the fruit.
What really makes this version work is the preparation method. Cooking the apples before assembling the pie removes some excess moisture and lets you control their tenderness before they ever reach the oven. Cooling that filling completely also protects the pastry from becoming soft underneath all those juicy apples.
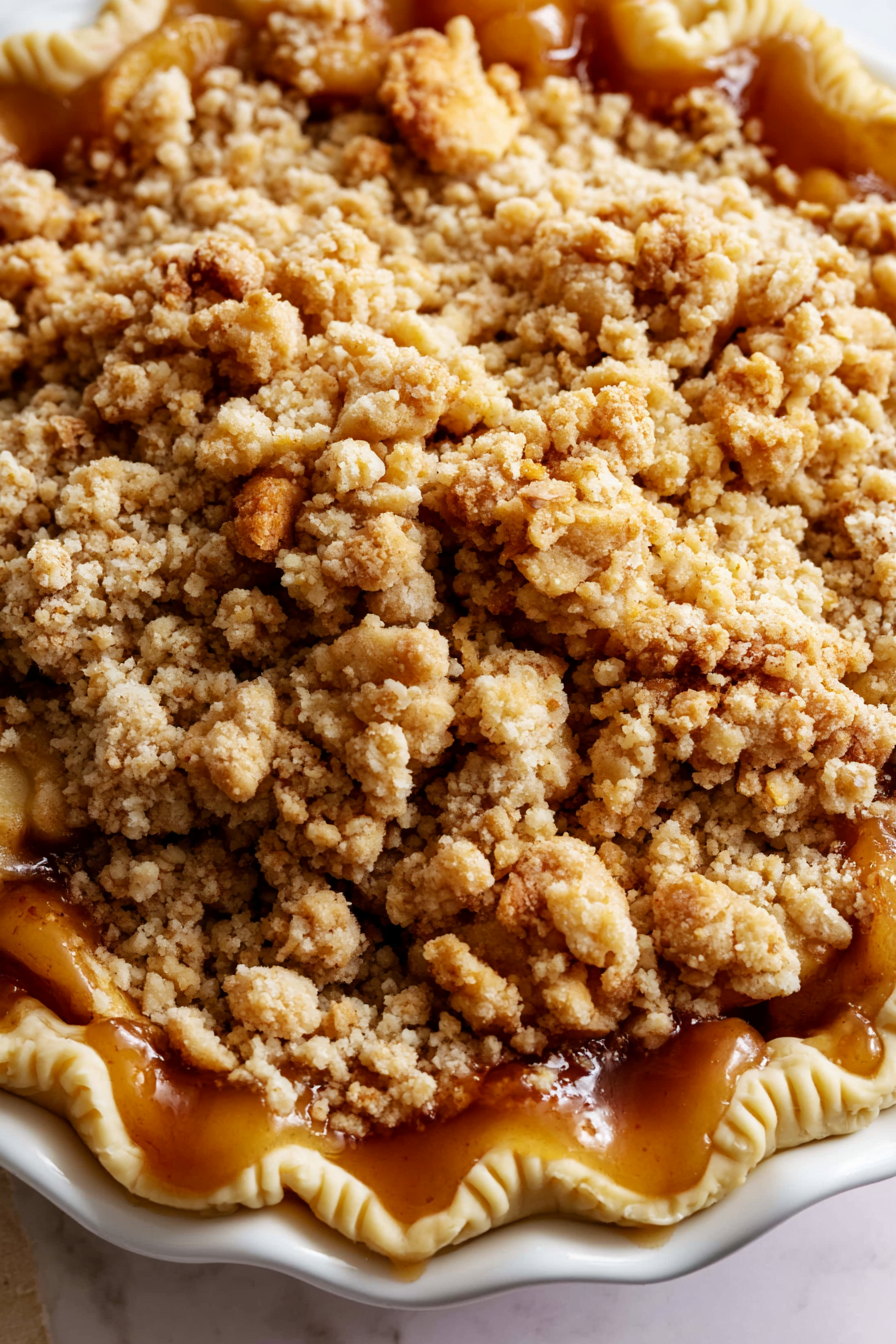
Then there is the crumble. Instead of a second pastry crust, the apples are covered with buttery brown sugar crumbs that bake into a crisp, golden topping. Adding part of the crumble later in the baking process helps prevent it from becoming too dark before the crust and filling are finished.
Dutch Apple Pie Ingredients
You do not need a complicated ingredient list for a flavorful apple pie, but the balance of fruit, spices, sugar, and butter matters.
- Single-crust pie dough: Forms the flaky base and sturdy edge that holds the generous apple filling.
- Apples: A combination of firm tart and sweet apples works particularly well because the slices hold their shape while providing balanced flavor.
- Brown sugar: Adds deeper caramel notes to both the fruit filling and the crumb topping.
- Granulated sugar: Sweetens the apples while keeping their natural flavor front and center.
- All-purpose flour: Thickens the juices released by the apples and also gives the crumble its structure.
- Unsalted butter: Melted butter binds the flour and sugars into rich, irregular crumbs.
- Fresh lemon juice and zest: Brighten the apples and balance the sweetness while helping freshly cut fruit retain its color.
- Cinnamon and nutmeg: Provide the familiar warm spice profile that works so naturally with baked apples.
- Cardamom: An optional addition that adds a lightly floral, warming note without changing the classic character of the pie.
- Vanilla extract: Stirred into the cooked fruit for a smooth finishing flavor.
- Kosher salt: Keeps both the filling and crumble from tasting overly sweet.
How to Make This Dutch Apple Pie
STEP 1: Start with the crumble so it has time to chill. Stir flour, granulated sugar, brown sugar, and salt together, then work in the melted butter with a fork until moist crumbs form. Keep a mixture of small and larger pieces for better texture, then refrigerate.
STEP 2: Prepare the apple filling in a large skillet. Briefly warm the lemon juice and zest, then add peeled, cored, thinly sliced apples. Sprinkle in the sugars, flour, cinnamon, nutmeg, salt, and cardamom if you are using it. Toss gently so the slices are evenly coated.
STEP 3: Cover and cook the apples over medium heat for about 20 minutes, stirring regularly. You want the slices to become tender without collapsing into applesauce. Remove the skillet from the heat and stir in the vanilla.
STEP 4: Spread the cooked apples across a sheet pan so they cool quickly and evenly. Refrigerate for at least 2 hours, or chill them in the freezer for about 30 minutes. Do not assemble the pie while the filling is still warm.
STEP 5: Roll the pie dough to roughly 1/8-inch thickness and fit it into a 9-inch pie plate without stretching the pastry. Trim and shape the edge, then refrigerate the prepared crust for about 30 minutes. Meanwhile, heat the oven to 425°F.
STEP 6: Spoon the cold apple mixture into the chilled pastry shell. Cover the fruit with most of the crumble while leaving a little of the filling visible and reserving some topping. Bake for 15 minutes at 425°F, then reduce the temperature to 350°F and continue baking for another 10 minutes.
STEP 7: Add the reserved crumble so the apples are now completely covered. Shield the pastry edge with foil and continue baking at 350°F for roughly 25 to 35 minutes. The topping should be golden and you should see a little bubbling around the edges. Cool the finished pie for at least 4 hours before slicing.
Keeping Leftovers Fresh
Once the pie has cooled completely, cover it well or transfer individual slices to airtight containers. It can be refrigerated for about 4 days. Keeping it chilled also helps the apple filling stay firm, making leftover slices particularly easy to serve neatly.
For longer storage, freeze completely cooled slices in well-wrapped individual portions. They are best enjoyed within about 2 months. Thaw frozen pie overnight in the refrigerator before reheating.
To restore some of the crumble’s crisp texture, warm slices in a 300°F oven until heated through. An oven or toaster oven works better than the microwave when maintaining the crumb topping is important. The microwave is fine for a quick serving, but it will soften both the pastry and crumble.
Why should the apple filling be cooled first?
Cooling is one of the most important steps in this pie. Warm filling begins softening the butter in the pastry before baking starts, which can make the bottom crust less crisp. A completely cold filling also thickens slightly, making the pie easier to assemble without excess liquid spreading into the crust.
Serving Ideas for Dutch Apple Pie
This pie has enough buttery crumble and warm spice to be served completely on its own, especially once it has rested and the apple filling has properly set.
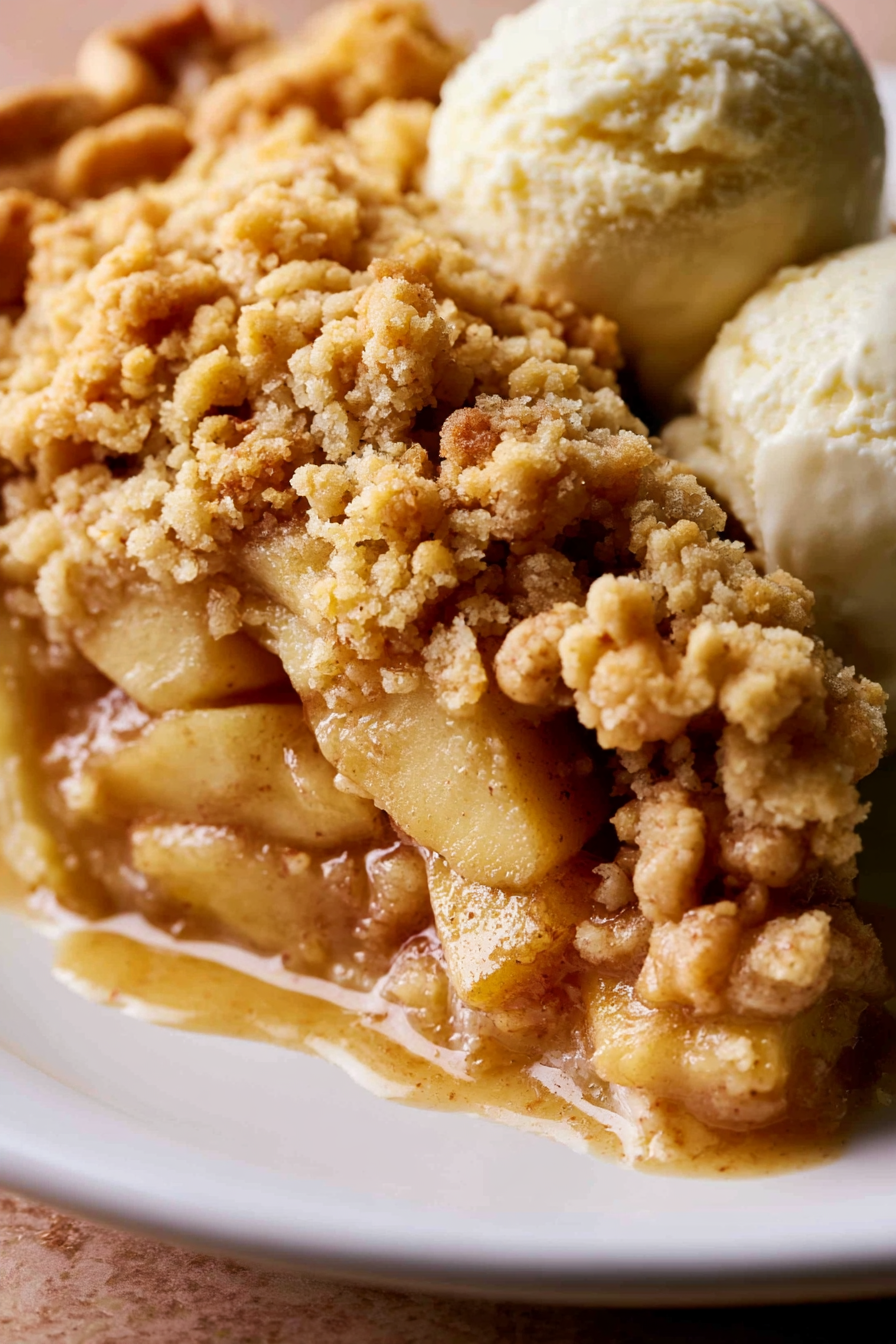
For a classic dessert, add a scoop of vanilla ice cream to a slightly warm slice. The cold, creamy ice cream contrasts nicely with the spiced fruit and crunchy topping.
A spoonful of lightly whipped cream is another simple choice when you want something less rich than ice cream. It complements the apples without covering up their flavor.
You can also serve the pie at room temperature with coffee or tea, which makes it especially convenient for holiday dessert tables because it does not need to be served straight from the oven.
Can I prepare the pie ahead of time?
Yes. In fact, this pie benefits from advance preparation because it needs at least 4 hours of cooling after baking. You can bake it earlier in the day or the evening before serving. Once fully cooled, cover it and refrigerate it until needed.
Helpful Tips
- Use apples that stay firm when cooked. A combination of tart and sweeter varieties creates more interesting flavor while reducing the chance of ending up with a soft, one-note filling.
- Keep every component cold before assembly. The cooked apples, shaped pastry, and crumble should all be chilled. This makes the pie easier to assemble and helps the crust and topping bake with better texture.
- Watch the browning near the end. Foil around the outer pastry prevents the rim from becoming too dark while the center finishes baking. Remove it briefly at the end only when the crust needs additional color.
How do I know when the pie is finished baking?
Look for a golden brown crumble, a well-colored crust, and gentle bubbling from the filling near the edges. The apples have already been precooked, so the final baking period is mainly about finishing the pastry, thickening the filling, and properly browning the topping.
Resist judging the texture while the pie is still hot. The juices remain loose immediately after baking and continue to set as the pie cools.
Can I leave out the cardamom?
Absolutely. Cardamom adds another layer of warm, slightly aromatic flavor, but it is optional. Leaving it out gives you a more traditional cinnamon-and-nutmeg apple pie flavor without requiring any other changes to the filling.
Why does the pie need to cool for four hours?
Freshly baked apple filling contains hot, fluid juices that have not yet fully thickened. Cutting the pie too soon can cause those juices to run across the plate and make the remaining pie lose its structure.
A long cooling period allows the flour-thickened juices to settle around the apple slices. Once the pie reaches room temperature, you can cut cleaner wedges that hold together while still keeping the filling tender and moist. That little bit of patience is one of the simplest ways to make a homemade Dutch apple pie look as good on the plate as it tastes.
Dutch Apple Pie
Ingredients
Pie Crust
- 1 homemade single-crust pie dough thawed if previously frozen
Apple Filling
- 5 pounds apples preferably a combination of Granny Smith and Honeycrisp, peeled, cored, and cut into 1/4-inch slices
- 1 teaspoon vanilla extract
- 1/2 cup firmly packed brown sugar
- 2 tablespoons fresh lemon juice approximately the juice from 1/2 lemon
- 1 1/2 teaspoons ground cinnamon preferably freshly ground
- 1/3 cup all-purpose flour such as King Arthur
- 3/4 teaspoon ground nutmeg
- 1/2 teaspoon kosher salt
- 1/2 cup granulated sugar
- 1/4 teaspoon finely grated fresh lemon zest
- 1/2 teaspoon ground cardamom optional
Crumble Topping
- 3/4 cup unsalted butter melted; Kerrygold may be used for a particularly rich flavor
- 1 1/2 cups all-purpose flour
- 3/4 cup firmly packed brown sugar
- 1/2 teaspoon kosher salt
- 1/3 cup granulated sugar
Instructions
- Prepare the dough and crumble.
- If the pie dough is frozen, remove it from the freezer and allow it to thaw as needed.
- Combine the 1 1/2 cups flour, 1/3 cup granulated sugar, 3/4 cup packed brown sugar, and 1/2 teaspoon kosher salt in a mixing bowl. Pour the melted butter over the dry ingredients and blend with a fork until coarse crumbs form, leaving some pieces approximately the size of peas.
- Refrigerate the prepared crumble while completing the remaining components.
- Prepare and cook the apple filling.
- Place the lemon zest and lemon juice in a large skillet over medium heat and warm them for approximately 30 seconds.
- Meanwhile, peel, core, and slice the apples to roughly 1/4-inch thickness, working efficiently to limit browning. Transfer the prepared apples to the skillet and toss them with the warmed lemon mixture.
- Add the packed brown sugar, granulated sugar, 1/3 cup flour, kosher salt, cinnamon, nutmeg, and optional cardamom. Stir gently until the apples are evenly coated.
- Cover the skillet and cook over medium heat for about 20 minutes, stirring frequently. The apples should become tender while retaining their shape.
- Take the skillet off the heat and stir in the vanilla extract.
- Spread the cooked apple mixture over a sheet pan. Refrigerate it for a minimum of 2 hours, or place it in the freezer for 30 minutes, until completely cooled.
- Shape and chill the crust.
- On a lightly floured work surface, roll the thawed pie dough to approximately 1/8-inch thickness. Make the round large enough to line a 9-inch pie plate with a small amount of dough extending beyond the rim.
- Carefully position the pastry in the pie dish and press it lightly against the bottom and sides without stretching it. Trim away unnecessary excess and crimp the perimeter decoratively if desired.
- Refrigerate the pastry-lined pie dish for 30 minutes. This resting period allows the dough to chill and the gluten to relax, helping minimize shrinkage during baking.
- Assemble the pie and begin baking.
- Preheat the oven to 425°F. Position a baking sheet on the lowest oven rack to collect any possible drips.
- Remove the chilled crust from the refrigerator and spoon the fully cooled apple filling into it, distributing the apples evenly.
- Take the crumble from the refrigerator and scatter approximately 1 to 2 cups over the apples, reserving about 1 cup for a later stage. At this point, some of the filling should remain visible.
- Place the pie on the middle oven rack and bake at 425°F for 15 minutes, allowing the crust to begin setting.
- Lower the baking temperature.
- After the first 15 minutes, reduce the oven temperature to 350°F without removing the pie. Continue baking for another 10 minutes. The lower temperature allows the filling to continue cooking without causing the crumble to brown excessively.
- Add the remaining crumble and finish baking.
- Remove the pie from the oven. Carefully distribute the reserved crumble over any exposed sections of apple filling so the surface is completely and evenly covered.
- Protect the outer crust with foil, then return the pie to the 350°F oven. Bake for an additional 25 to 35 minutes, or until the crumble is golden brown and the apple filling shows slight bubbling around the edges.
- For a deeper golden finish, the protective foil may be removed during the final 5 to 10 minutes, while monitoring the crust carefully to prevent excessive browning.
- Cool before serving.
- Transfer the finished pie to a wire cooling rack and allow it to stand for at least 4 hours before cutting. This extended cooling period gives the filling sufficient time to set and helps produce clean slices.
- Serve the pie at room temperature or slightly warmed. Vanilla ice cream or whipped cream may accompany each serving.