
Christmas cookies with salted butter are tender, buttery cut-out cookies with rich vanilla flavor, neat edges, and a dough that rolls and shapes beautifully. They’re festive, dependable, and perfect for frosting and decorating.

If you want a dependable holiday cookie for decorating sessions, cookie exchanges, or Christmas dessert trays, this is a great dough to keep on hand. Salted butter gives the cookies a balanced buttery flavor, while plenty of vanilla makes them fragrant without requiring a long list of ingredients.
The dough is also pleasantly straightforward to work with. It stays firm enough for cookie cutters, can be rerolled after cutting, and doesn’t require complicated preparation. Rolling it a little thicker gives you soft, substantial cookies that hold up especially well under buttercream frosting.
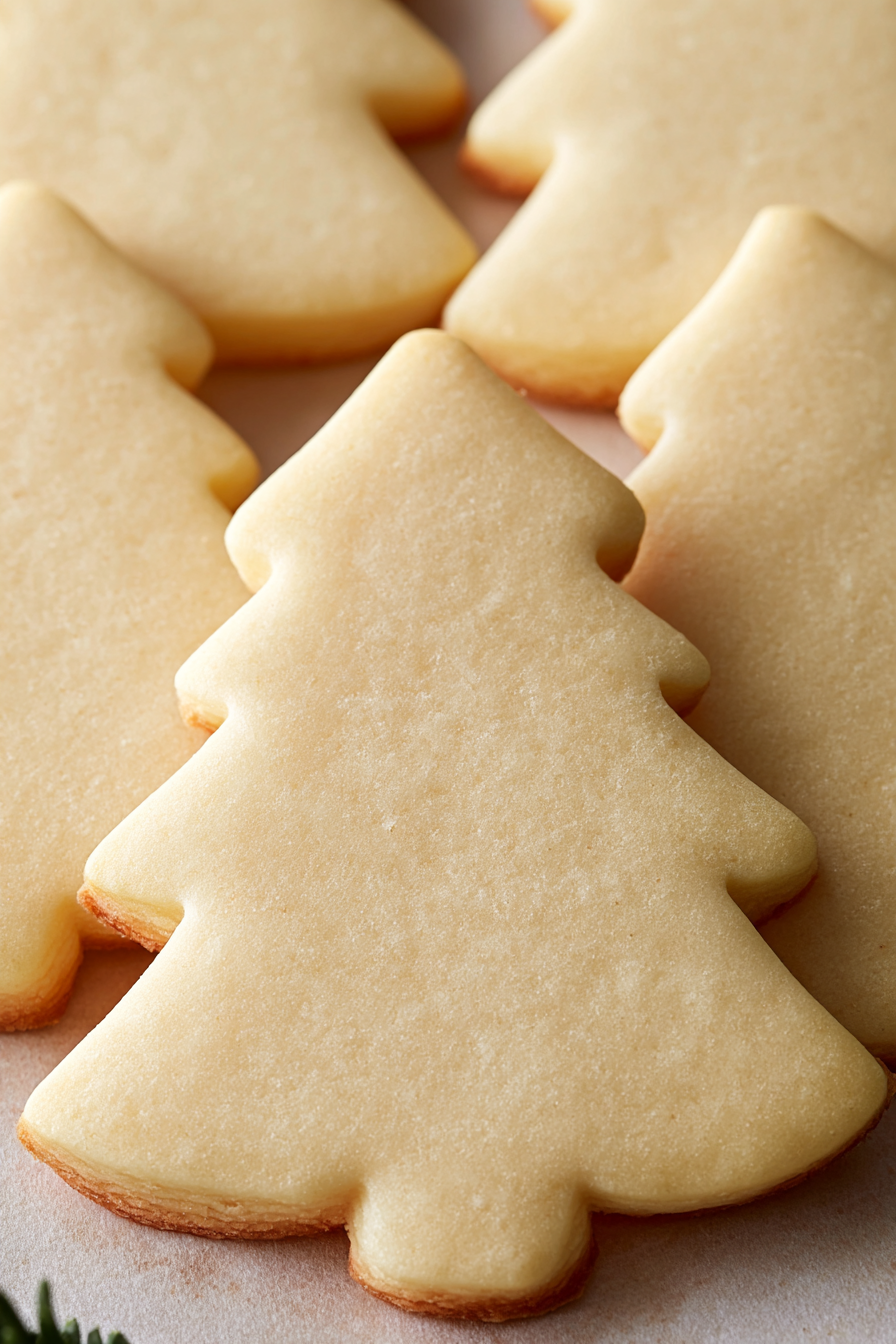
The most important part is watching the oven closely. These cookies are at their tender best when they’re removed as soon as they look set and the edges are barely beginning to turn golden.
Christmas Cookie Ingredients
Salted butter: Provides the rich buttery base while adding enough salt to balance the sweetness without requiring additional salt in the dough.
Granulated sugar: Sweetens the cookies and creams with the butter to help create a lighter, tender texture.
Large eggs: Bind the dough and provide enough moisture and structure for cookies that can be rolled and cut cleanly.
Vanilla extract: Used generously here to give these simple sugar cookies their distinctive vanilla-forward flavor and aroma.
All-purpose flour: Creates the structure needed for a firm, rollable dough that maintains its shape during baking.
Baking powder: Gives the cookies a small amount of lift so they remain tender rather than becoming excessively dense.
Step-by-Step Christmas Cookies with Salted Butter
STEP 1: Bring the salted butter to the right consistency before mixing. It should be soft enough that your finger can make an indentation but should still feel cool rather than greasy or warm. Place the butter and granulated sugar in a mixer bowl and beat on medium-high speed for about 3 minutes, until thoroughly combined and slightly lighter.
STEP 2: Add the eggs and vanilla extract to the creamed butter mixture. Continue beating for roughly 3 minutes. The mixture should become lighter and fluffier as the eggs are incorporated. Scrape down the bowl when necessary so everything mixes evenly.
STEP 3: Add the baking powder and mix just until distributed. Begin adding the all-purpose flour gradually rather than dumping it in all at once. Working with roughly 2 cups at a time makes the large quantity easier to incorporate. Once the flour goes in, keep mixing to a minimum so the cookies stay tender.
STEP 4: Check the consistency before rolling. The finished dough should be firm and cohesive without feeling crumbly. If it seems unusually dry and will not hold together when pressed, add only a teaspoon of milk or additional vanilla at a time. Avoid adding too much liquid, since a softer dough can make detailed cookie shapes harder to maintain.
STEP 5: Roll portions of dough on a suitable work surface to approximately 3/8 inch thick. Cut out your Christmas shapes and transfer them carefully to a baking sheet. Gather the remaining scraps, reroll them, and continue cutting until the dough has been used. Try to keep the thickness consistent so cookies on the same tray finish baking together.
STEP 6: Bake the cookies at 350°F (175°C) for approximately 6–10 minutes, depending on their size and thickness. Smaller shapes may need only 6–7 minutes, while thicker cookies can take closer to 9–10 minutes. Take them out once the surfaces look set and the edges have only the faintest golden color.
STEP 7: Let the cookies cool before decorating. They will continue to firm slightly as they cool, so resist the temptation to leave them in the oven until they look deeply browned. Once completely cool, decorate with your preferred buttercream frosting and holiday colors.
Keeping Leftovers Fresh
Once the cookies have cooled completely, place them in an airtight container. Keeping air away from the cookies is one of the simplest ways to preserve their soft, tender texture.
Unfrosted cookies can generally be kept at room temperature for about 4–5 days when properly covered. If you have already decorated them with buttercream, storage will depend somewhat on the type of frosting you use. A standard butter-based frosting is usually suitable for short-term room-temperature storage in a cool kitchen, but frosting containing ingredients that require refrigeration should be chilled.
These cookies can also be frozen. Place completely cooled, unfrosted cookies in a freezer-safe container with parchment between layers and freeze for up to 2–3 months. Thaw them in the container at room temperature before decorating. Freezing them without frosting usually makes stacking and storage easier.
Why is salted butter good for Christmas cookies?
Salted butter provides both richness and seasoning in a single ingredient. Because the dough contains a considerable amount of sugar and flour, that small amount of salt helps balance the sweetness and makes the vanilla and butter flavors more noticeable without making the cookies taste salty.
Do I need to chill this cookie dough?
This particular dough is designed to be firm enough for rolling and cutting without a specified chilling period. If your kitchen is very warm or the butter has become overly soft, however, briefly chilling the dough can make it easier to handle and help your cut shapes stay neat.
How thick should I roll cut-out Christmas cookies?
A thickness of about 3/8 inch works especially well for these cookies. It produces a substantial cookie with a tender center while still allowing the shapes to bake evenly. If you roll them noticeably thinner, start checking them earlier because they can finish several minutes faster.
How do I know when the cookies are done?
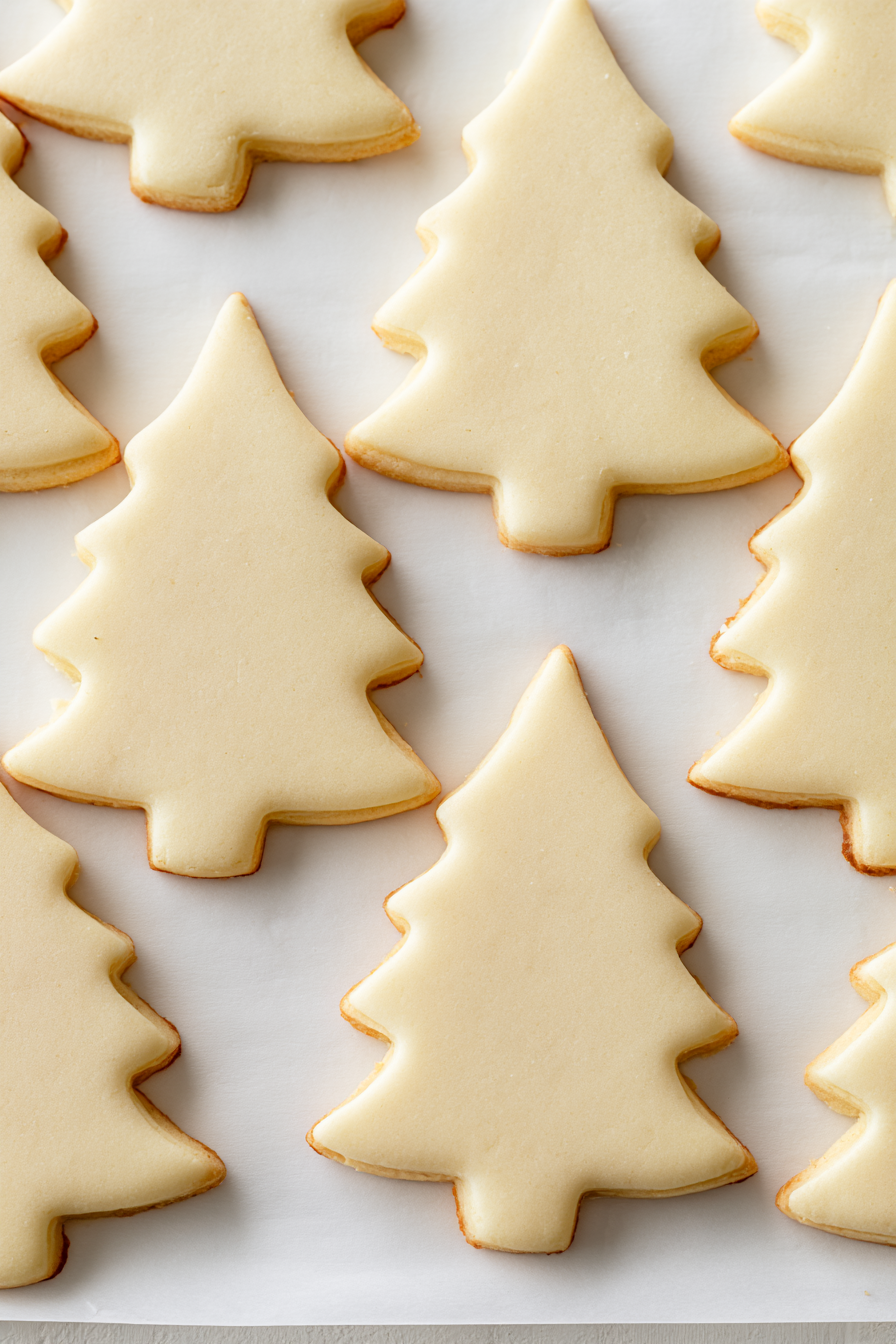
Watch the edges instead of waiting for the entire cookie to brown. The cookies should look set, with edges that are just beginning to take on a pale golden shade. Taking them out at this point helps prevent the finished cookies from becoming dry or overly crisp.
Can I make these cookies before Christmas?
Yes. You can bake the cookies a few days before you plan to decorate or serve them and keep them tightly covered. For longer make-ahead storage, freeze the baked cookies without frosting, thaw them completely, and then decorate closer to your celebration.
Helpful Tips
- Keep the butter cool. Softened butter should still feel cool and hold its shape. Warm, greasy butter can make the dough softer and more difficult to roll neatly.
- Stop mixing once the flour disappears. Excessive mixing after adding the flour can make cut-out cookies firmer than intended.
- Group similar shapes together. Large Christmas trees and small stars may not bake at the same speed, so placing similarly sized cookies on each baking sheet makes it easier to remove every batch at the right moment.
Perfect Pairings
These vanilla-forward cookies are ideal with buttercream frosting, especially when you want to pipe borders, add festive colors, or let children decorate their own Christmas shapes.
Serve them alongside hot cocoa for a classic holiday treat. Their buttery vanilla flavor is simple enough to pair nicely with a rich chocolate drink without competing with it.
They also work beautifully on a Christmas cookie platter with contrasting cookies such as gingerbread, chocolate cookies, or peppermint-flavored treats. Their clean vanilla flavor and customizable shapes make them an especially useful centerpiece for a mixed holiday cookie tray.
Christmas Cookies with Salted Butter
Ingredients
- 6 cups all-purpose flour
- 2 tablespoons vanilla extract
- 2 large eggs brought to room temperature
- 4 teaspoons baking powder
- 2 cups salted butter softened while remaining cool to the touch
- 2 cups granulated white sugar
Instructions
- Place the 2 cups of softened salted butter and 2 cups of granulated sugar in the bowl of a mixer. The butter should yield when pressed with a finger while still feeling cool rather than warm.
- Beat the butter and sugar together on medium-high speed for approximately 3 minutes, or until the two ingredients are thoroughly blended.
- Add the 2 tablespoons of vanilla extract and both eggs to the creamed butter mixture.
- Continue mixing for approximately 3 minutes, until the dough mixture becomes noticeably lighter and fluffy. The substantial quantity of vanilla contributes both flavor and moisture to the cookies.
- Mix in the 4 teaspoons of baking powder until evenly incorporated.
- Add the 6 cups of all-purpose flour gradually, working in approximately 2 cups at a time. Once the flour is introduced, avoid excessive mixing; blend only until no dry flour remains and a cohesive dough forms.
- The completed dough should feel firm without becoming dry or crumbly. If it seems unusually dry, mix in a very small quantity of vanilla extract or milk, beginning with 1 teaspoon.
- Transfer a portion of dough to a prepared work surface and roll it to approximately 3/8 inch thick.
- Cut the rolled dough into the desired shapes with cookie cutters. Collect the remaining scraps, roll them out again, and continue cutting until the dough has been used.
- Preheat the oven to 350°F (175°C).
- Arrange the cut cookie shapes on a baking sheet and bake for 6–10 minutes, adjusting the baking time according to their size and thickness.
- Thicker cookies generally require approximately 9–10 minutes, while smaller or thinner shapes may be ready after 6–7 minutes. Remove the cookies when they are set and the edges are only beginning to develop a faint golden color.
- Do not overbake, as additional baking can cause the cookies to become dry.
- Allow the baked cookies to cool completely before decorating.
- Finish the cooled cookies with buttercream frosting. The frosting may be tinted as desired for holiday decorations and provides a smooth, creamy topping.