Loaded Cheesy Beef Chimichangas bring crispy tortillas, seasoned beef, and gooey cheese together for a crave-worthy Tex-Mex dinner at home.
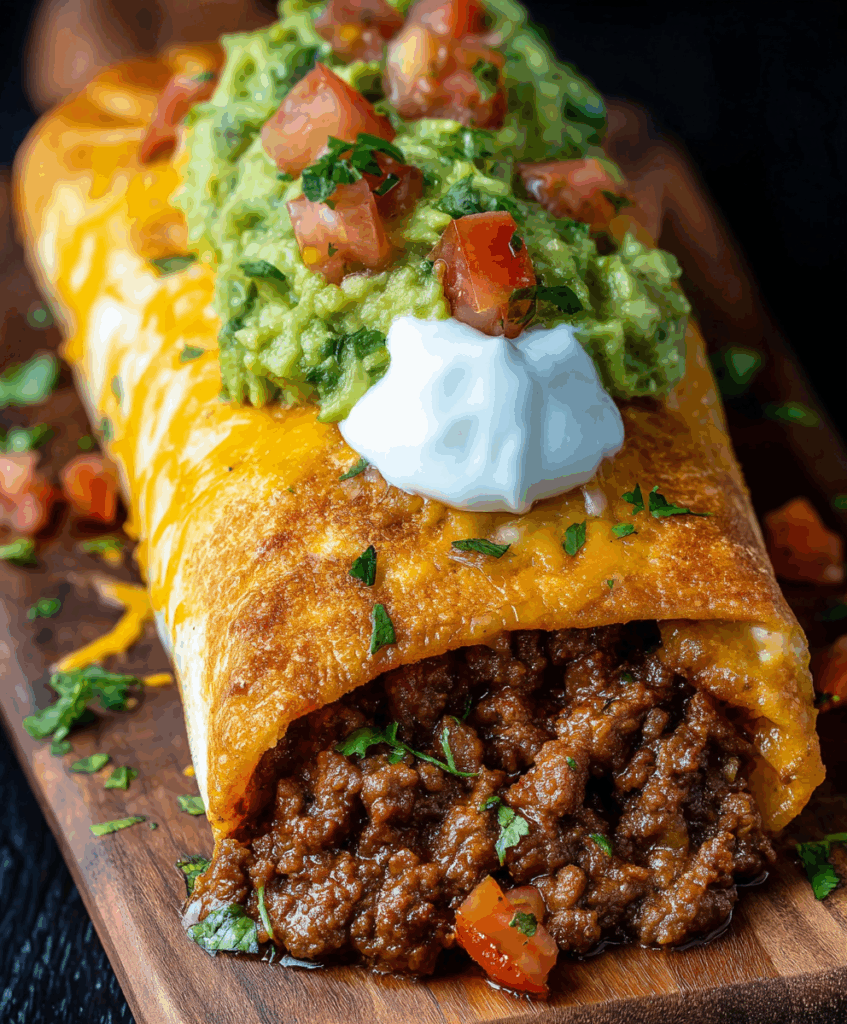
If you love the idea of restaurant-style chimichangas without leaving your kitchen, you’re in the right place. These Loaded Cheesy Beef Chimichangas are stuffed with saucy taco-seasoned beef, creamy beans, and plenty of melty cheese, then baked or pan-fried until crunchy and golden.
You can keep them weeknight-simple with jarred salsa and store-bought beans, or dress them up with all your favorite toppings. Either way, they’re the kind of family-pleasing meal that disappears fast and makes everyone excited for “Mexican night” at home.
The best part? You get to choose your cooking method. Bake them for a lighter take, or fry them in a skillet for that ultra-crispy Tex-Mex crunch you’d expect from your favorite restaurant platter.
What You Need to Make These Loaded Cheesy Beef Chimichangas
You don’t need anything fancy here—just classic pantry staples that deliver big flavor and a hearty, satisfying filling.
- Ground beef (1 lb) – The hearty base of the filling; use regular or lean beef and drain any excess fat so the chimichangas stay crisp.
- Small onion, finely diced – Adds sweetness and savory depth as it softens and cooks with the beef.
- Garlic, minced – Brings that warm, savory aroma that makes the kitchen smell incredible.
- Taco seasoning packet (1 oz) – The shortcut to bold Tex-Mex flavor; homemade or store-bought both work.
- Salsa (½ cup) – Adds moisture, tang, and a gentle kick; choose mild or hot depending on your spice preference.
- Refried beans (1 cup) – Creates a creamy, sturdy layer that helps hold everything together inside the tortilla.
- Shredded cheddar or Mexican blend cheese (1½ cups) – Melts into the filling and forms those irresistible, cheesy pockets.
- Large flour tortillas, burrito-size (6) – Big enough to hold plenty of filling and roll tightly without tearing.
- Vegetable oil (about 2 tablespoons) – Used for brushing before baking or for shallow frying to get that golden, crispy exterior.
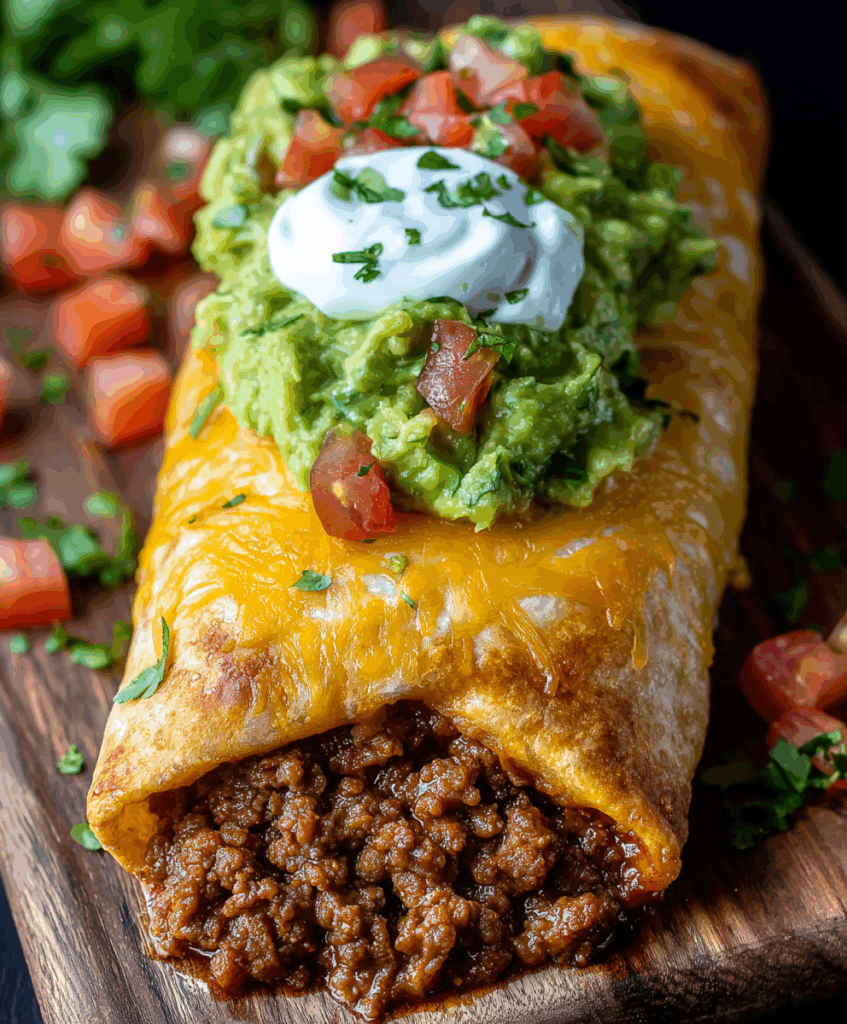
- Optional toppings: sour cream, guacamole, shredded lettuce, extra salsa – Finish your chimichangas with cool, fresh, and creamy contrast.
Step-by-Step Loaded Cheesy Beef Chimichangas
STEP 1: Start the filling by heating a large skillet over medium heat. Add the ground beef and diced onion. Cook, breaking up the meat, until the beef is browned and the onion is soft and translucent.
STEP 2: Drain off any excess grease so the filling doesn’t make the tortillas soggy. Stir in the minced garlic, taco seasoning, and salsa. Let the mixture simmer for a few minutes, stirring often, until thickened and well combined. Remove from heat.
STEP 3: While the beef mixture cools slightly, warm your flour tortillas so they’re soft and flexible. You can wrap them in foil and heat briefly in the oven, or stack and microwave them for a few seconds until pliable.
STEP 4: To assemble, spread a generous strip of refried beans down the center of each tortilla. Spoon some of the beef mixture over the beans, then sprinkle a good handful of shredded cheese on top. Don’t overfill or the chimichangas will be hard to roll.
STEP 5: Fold the sides of the tortilla over the filling, then roll up tightly from the bottom, just like a burrito, keeping the seam on the underside. Arrange the filled chimichangas seam-side down on a plate or tray while you finish the rest.
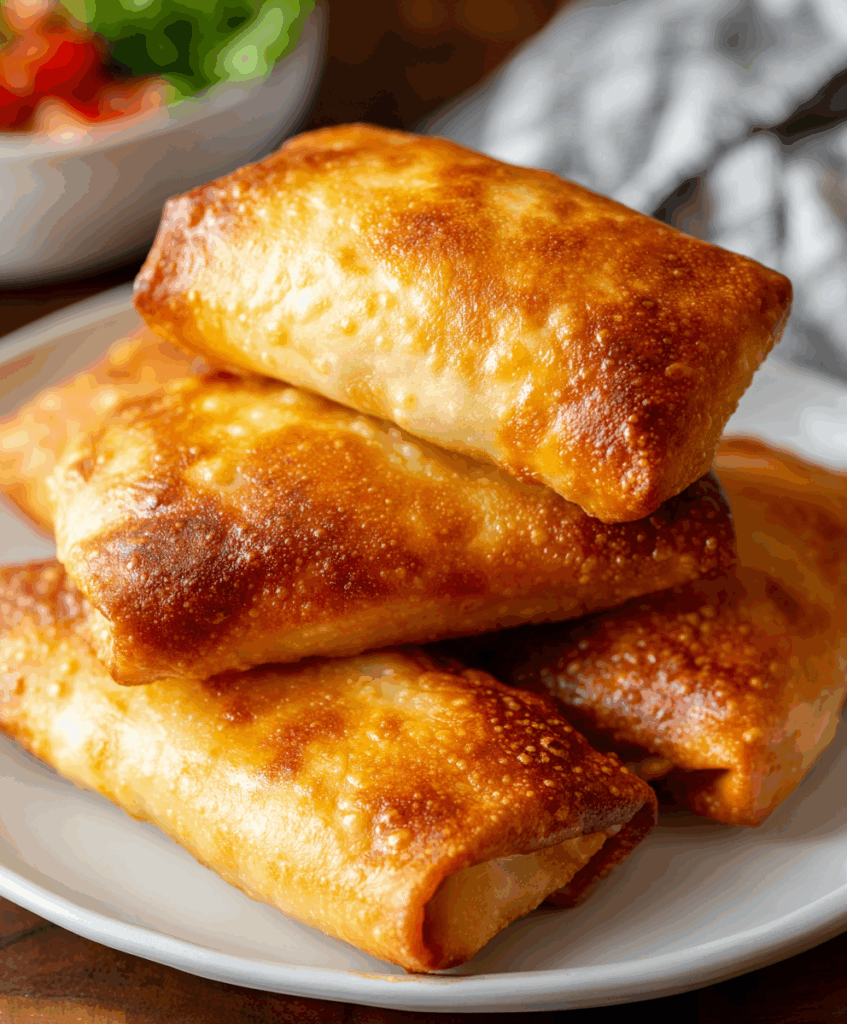
STEP 6: For the baked version, preheat your oven to 400°F (200°C). Place the chimichangas seam-side down on a lightly greased or parchment-lined baking sheet. Brush or lightly rub each one with vegetable oil. Bake for about 18–20 minutes, turning once halfway through, until crisp and nicely browned.
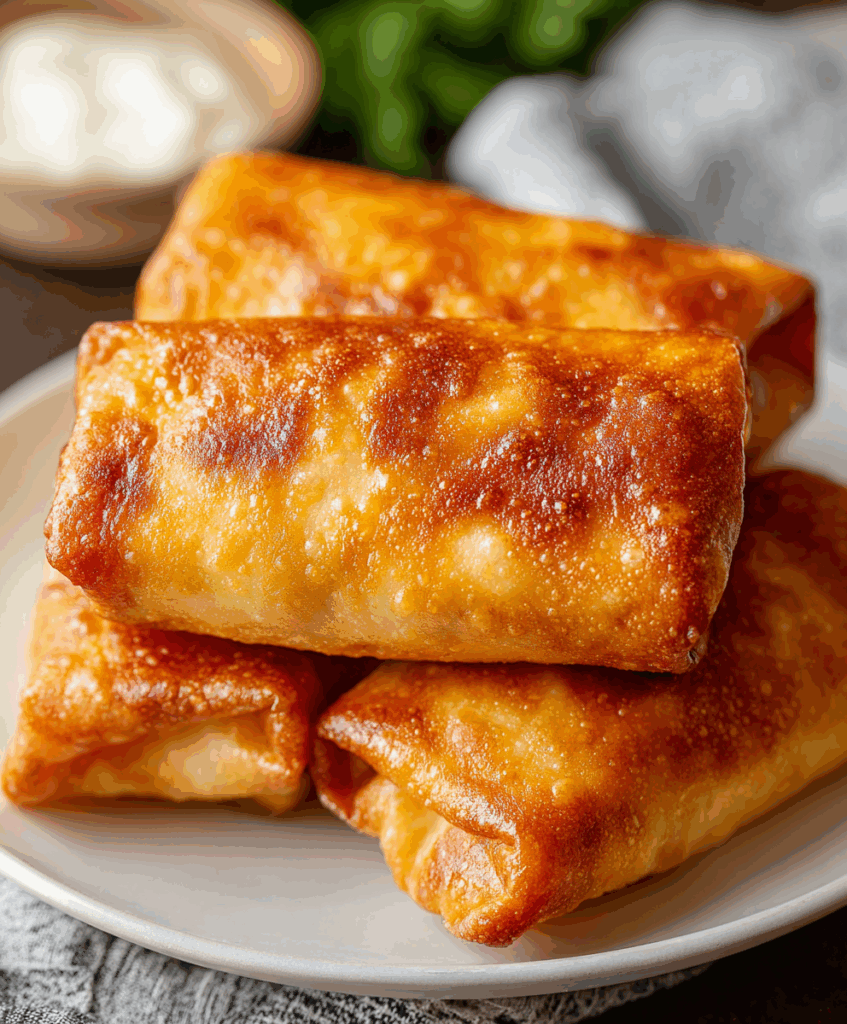
STEP 7: For a crispier skillet version, heat a thin layer of oil in a large skillet over medium heat. Place the chimichangas seam-side down and cook for a couple of minutes per side, turning carefully, until all sides are golden and crunchy. Let them rest for a couple of minutes, then add toppings and serve warm.
Pro Tips for Loaded Cheesy Beef Chimichangas
- Keep the filling thick. If the beef mixture looks too saucy, cook it a bit longer. A thicker filling stays put and keeps the tortillas from getting soggy.
- Seal them tightly. Roll firmly and always start cooking seam-side down so the chimichangas stay closed. Toothpicks can help if your tortillas are very soft.
- Work in batches. When pan-frying, avoid overcrowding the skillet. Cooking a few at a time keeps the oil hot and the chimichangas extra crisp.
Can I make these chimichangas ahead of time?
Yes. Assemble them, place on a tray, and refrigerate for up to 24 hours. Bake or pan-fry just before serving. Add a couple of extra minutes to the cooking time if they’re very cold.
Are these chimichangas spicy?
They’re usually mild to medium, depending on your salsa and taco seasoning. Use mild salsa and seasoning for a family-friendly version. Crave more heat? Add chopped jalapeños or a spicier salsa to the filling.
Can I freeze cooked chimichangas?
Absolutely. Let them cool completely, then wrap individually and freeze. Reheat in the oven or air fryer straight from frozen until hot and crisp again; no need to thaw first.
How do I keep the tortillas from tearing?
Warm tortillas are key. Heat them briefly until pliable, don’t overfill, and place the beans and beef in a tight line. Roll firmly, tucking the sides in as you go to prevent splitting.
Serving Ideas for Loaded Cheesy Beef Chimichangas
Loaded Cheesy Beef Chimichangas are hearty enough to be the star of the table, but a few simple sides turn them into a full Tex-Mex feast.
Serve them with a scoop of Mexican rice or cilantro-lime rice to soak up any extra salsa and juices on the plate. The fluffy grains pair perfectly with the crispy tortillas and rich filling.
A bright side salad with lettuce, tomato, corn, and avocado adds freshness and crunch. You can drizzle it with a simple lime vinaigrette or a creamy ranch–salsa mix to echo the flavors in the chimichangas.
For something fun and casual, add a chips and dip platter to the spread. Think warm queso, guacamole, and a couple of different salsas. It turns dinner into a laid-back, build-your-own Tex-Mex night that everyone enjoys.
How to Store & Reheat
If you somehow end up with leftover chimichangas, they store and reheat surprisingly well, especially if you use the oven or air fryer instead of the microwave.
For short-term storage, let the chimichangas cool to room temperature, then place them in an airtight container. Keep them in the refrigerator for up to 3 days. If possible, store toppings like lettuce and sour cream separately so the chimichangas stay crisp.
For longer storage, cool completely and wrap each chimichanga tightly in plastic wrap or foil. Place them in a freezer bag or container and freeze for up to 2 months. Label with the date so you know when they were made.
To reheat from the fridge, place chimichangas on a baking sheet and warm in a 350°F (175°C) oven or in an air fryer until heated through and crisped back up, usually 10–15 minutes. From frozen, add extra time and reheat until the center is hot and the outside is crunchy again.
Avoid microwaving if you can; it will warm them quickly but tends to make the tortillas soft rather than crispy. If you do use the microwave, crisp them afterward for a few minutes in a hot skillet or air fryer to bring back some crunch.

Loaded Cheesy Beef Chimichangas
Ingredients
- 6 extra-large flour wraps burrito style
- 2 tablespoons neutral oil for frying or brushing
- 1 cup mashed refried pinto beans
- 1 small yellow onion minced finely
- 2 cloves garlic pressed or finely minced
- 1 pound lean ground beef
- 1½ cups shredded cheddar or a Mexican-style cheese blend
- ½ cup tomato-based salsa
- 1 ounce 1 packet taco seasoning mix, store-bought or homemade
Instructions
- In a wide skillet set over medium heat, brown the ground beef together with the finely chopped onion. Cook until the meat is no longer pink and the onion has softened.
- Drain any rendered fat from the pan. Stir in the minced garlic, taco seasoning, and salsa. Let the mixture simmer for 3 to 4 minutes, stirring occasionally, until fully incorporated and thickened.
- To assemble, spoon a layer of refried beans along the center of each tortilla. Add a generous portion of the beef mixture on top, followed by a handful of shredded cheese.
- Fold the sides inward and roll each tortilla tightly to form a secure burrito shape.
For a Baked Version:
- Preheat your oven to 400°F (200°C). Arrange the chimichangas seam-side down on a baking tray. Lightly coat them with oil using a brush. Bake for 18 to 20 minutes, flipping halfway through, until golden and crisp.
For a Skillet Version:
- Warm 2 to 3 tablespoons of oil in a skillet over medium heat. Place the chimichangas seam-side down and fry each side for 2 to 3 minutes until evenly browned and crispy.
- Allow the chimichangas to rest for about 2 minutes after cooking.
- Serve warm, optionally garnished with toppings like sour cream, chopped lettuce, guacamole, or additional salsa.