This Old-Fashioned Creamy Depression Water Pie turns pantry staples into a silky, nostalgic dessert with a surprisingly rich, custard-like filling.
There’s something deeply comforting about a dessert that comes from almost nothing. This vintage water pie was born in leaner times, when home cooks still insisted on a little sweetness after supper, even with limited ingredients on hand. Today, it feels both thrifty and charmingly old-fashioned.
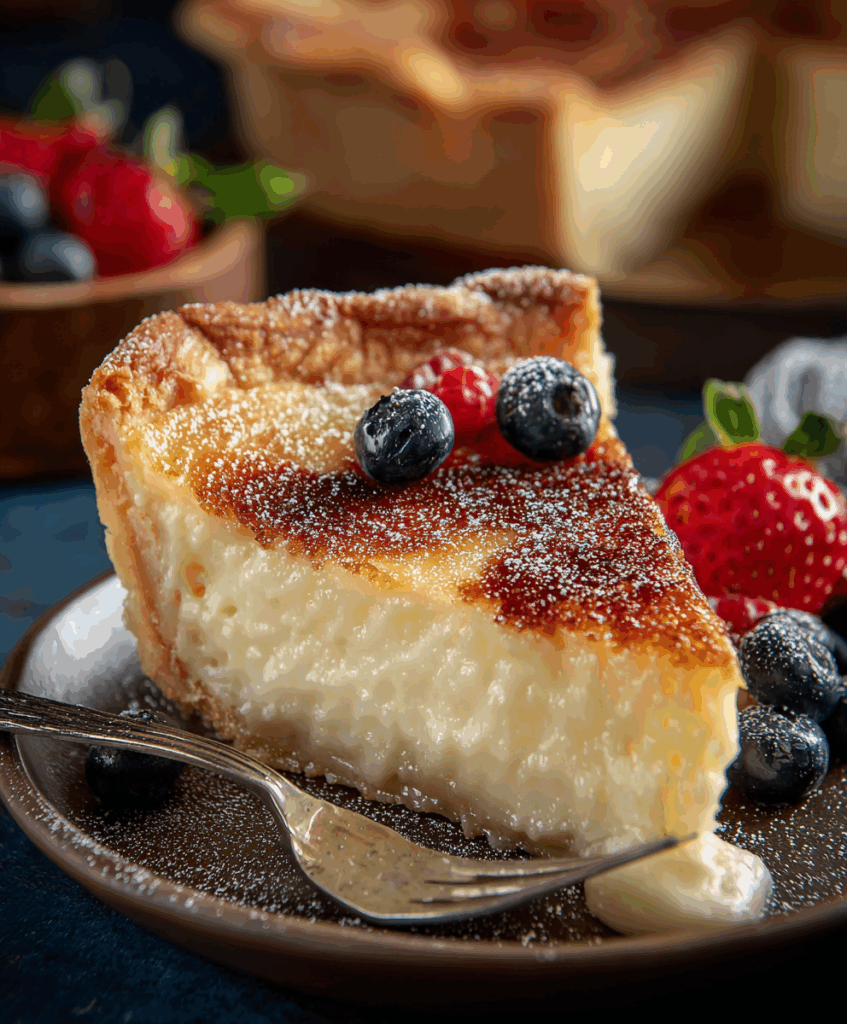
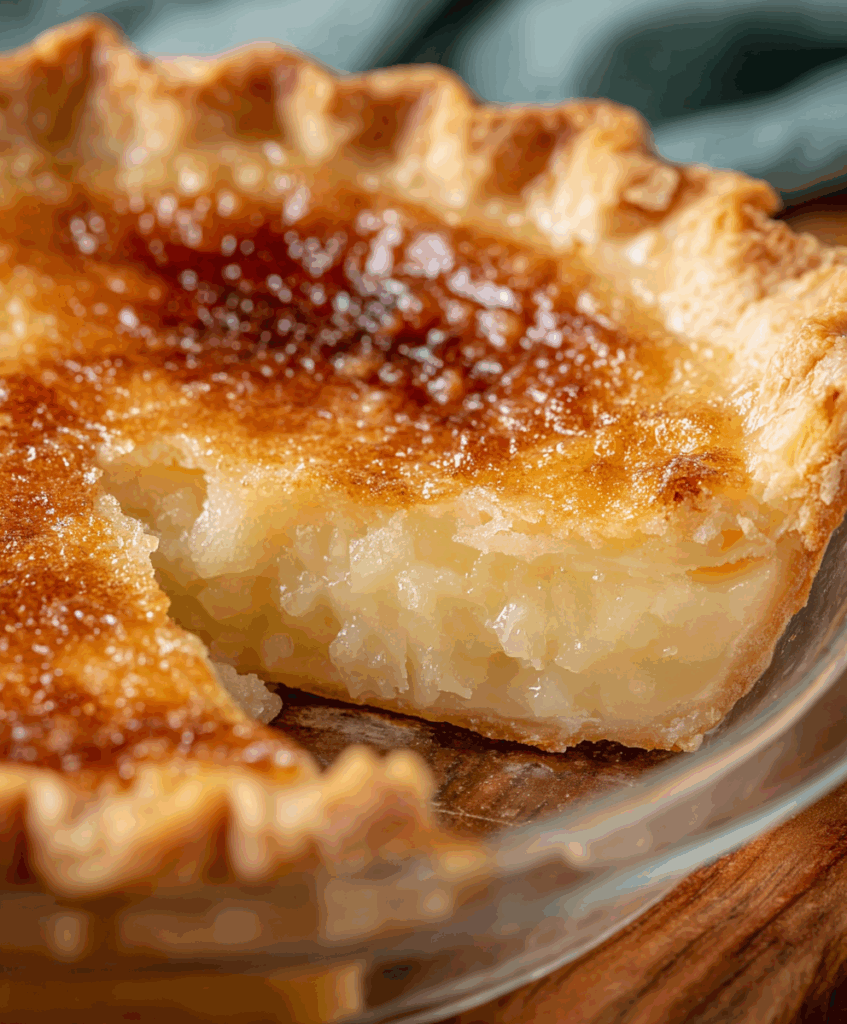
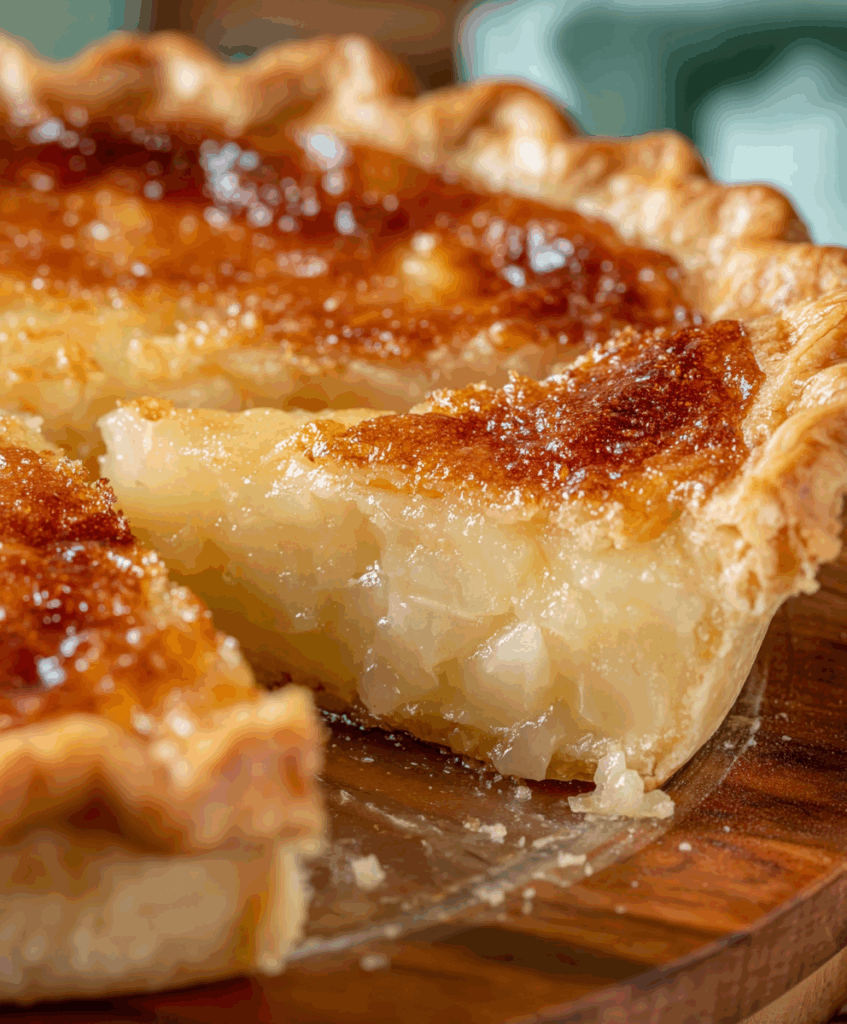
You whisk together just flour, sugar, and salt, pour them over plain water in a simple pie crust, and let butter and heat work their magic. As it bakes, the filling transforms from thin and watery into a soft, custard-like center that slices beautifully once cooled.
It’s the kind of dessert that makes people raise an eyebrow when you explain how it’s made—and then ask for seconds once they taste it. Serve it at a casual family dinner or bring it to a potluck when you want something simple, cozy, and full of history.
Depression Water Pie Ingredients
- Unbaked 9-inch pie crust – Your flaky foundation, holding the soft filling. A regular pastry crust, homemade or store-bought, works perfectly.
- Water – About 1½ cups of room-temperature water is the surprising base that becomes the “custard” once thickened and baked.
- All-purpose flour – Just enough flour gently thickens the water so the pie sets instead of staying liquid.
- Granulated sugar – Sweetens the filling and helps create that glossy, almost pudding-like texture in the center.
- Unsalted butter – Sliced and scattered on top, it melts down into the filling, adding richness and buttery flavor.
- Vanilla extract – Brings warmth and aroma, making the pie taste like a simple vanilla custard.
- Salt – A small pinch balances the sweetness and keeps the flavors from tasting one-note.
- Optional cinnamon or nutmeg – A light dusting over the top adds a hint of spice and color if you want a cozier flavor.
How to Make This Depression Water Pie
STEP 1: Preheat your oven to 400°F (200°C). Fit the unbaked pie crust into a 9-inch pie dish, pressing it gently into the sides and crimping the edges. Set the dish on a baking sheet for easier moving.
STEP 2: Pour the room-temperature water directly into the prepared crust. It will look completely wrong at this stage—that’s part of the magic. Don’t worry and don’t stir anything yet.
STEP 3: In a separate bowl, whisk together the flour, granulated sugar, and a pinch of salt until evenly combined. Slowly sprinkle this mixture over the surface of the water, making sure it covers the top as evenly as possible without clumping. Still no stirring.
STEP 4: Drizzle the vanilla extract over the top of the water and sugar layer. If you’re using cinnamon or nutmeg, lightly dust it across the surface. Arrange the small slices of butter all over the top so they’re fairly evenly spaced.
STEP 5: Carefully transfer the baking sheet with the pie to the oven. Bake at 400°F (200°C) for about 30 minutes. The crust will start to brown, and the filling will bubble and look a bit foamy around the edges.
STEP 6: Reduce the oven temperature to 375°F (190°C) and continue baking for another 15–20 minutes. The center will still have a gentle wobble, but it should no longer look like loose liquid. The top may have golden or lightly caramelized spots.
STEP 7: Remove the pie from the oven and place it on a cooling rack. Let it cool completely at room temperature; this cooling time is when the filling truly sets. For the cleanest slices and a firmer texture, chill it in the refrigerator for a few hours before serving.
Recipe Tips
- Be patient with cooling time. The filling finishes setting as it cools; cutting too early will make slices look runny and messy.
- Protect the crust if needed. If the edges brown too quickly, shield them with a strip of foil or a pie crust shield partway through baking.
- Don’t be tempted to stir. The layered method—water on the bottom, dry mix on top—is what gives this pie its unique, softly set texture.
What to Serve with Old-Fashioned Creamy Depression Water Pie
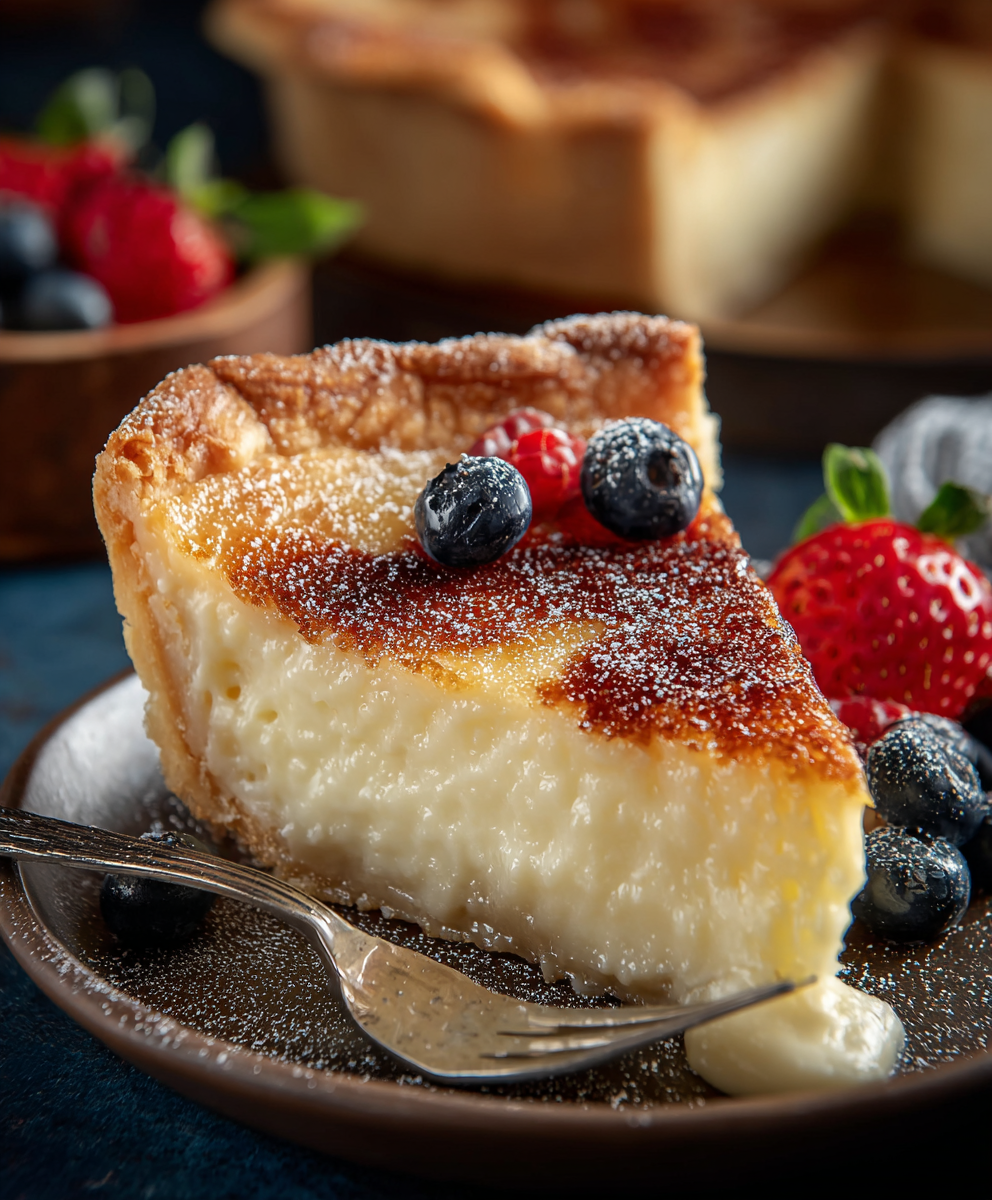
Lightly sweetened whipped cream is a lovely match. A small spoonful on each slice keeps the dessert feeling airy and highlights the vanilla flavor without overwhelming it.
Fresh berries, such as strawberries, raspberries, or blueberries, add a bright, juicy contrast. Their natural tartness cuts through the sweetness of the filling and makes the plate look extra inviting.
Coffee or black tea pairs beautifully with this old-time dessert. A warm, slightly bitter drink balances the simple, buttery sweetness and turns a humble slice into a cozy moment.
Can I make this water pie ahead of time?
Yes. Bake it earlier in the day or the night before, let it cool completely, then refrigerate. It slices more neatly and the flavor deepens slightly after resting.
How do I know when the filling is set?
Look for a gentle jiggle, not a slosh. The edges should look slightly thickened and lightly golden, while the center moves like soft gelatin rather than liquid.
Can I add spices or extra flavorings?
Absolutely. A pinch of cinnamon or nutmeg on top is classic, but you can also add almond extract or extra vanilla. Keep additions modest so the pie still sets well.
Why did my crust get too brown?
Your oven may run hot, or the crust was close to the heating element. Next time, tent the edges with foil midway through baking or move the pie to a slightly lower rack.
How to Store & Reheat
Once the pie has cooled completely, cover the dish tightly with plastic wrap or foil and store it in the refrigerator. It will keep well for about four to five days, and the texture often improves after chilling overnight.
This pie is best enjoyed chilled or at cool room temperature rather than reheated. Warming it can cause the custard-like filling to soften too much and lose its structure. If you prefer it not cold from the fridge, let slices sit out for 20–30 minutes before serving so they’re pleasantly cool, creamy, and ready to enjoy.
Old-Fashioned Creamy Depression Water Pie
Ingredients
- 1 cup white granulated sugar
- 4 tablespoons unsalted butter cut into thin pats
- 1 ½ cups lukewarm water
- 1 unbaked 9-inch pastry shell homemade or store-bought
- A tiny pinch of fine salt
- 5 tablespoons plain all-purpose flour
- 1 teaspoon vanilla essence
- Optional: a light sprinkle of cinnamon or ground nutmeg for added warmth
Instructions
- Preheat your oven to 400°F (200°C). Line a 9-inch pie plate with the unbaked crust, pressing it gently into the dish and forming a decorative edge as desired.
- Pour the measured water directly into the crust-lined pie plate. Do not stir or mix.
- In a separate small bowl, whisk together the flour, sugar, and a pinch of salt until thoroughly combined. Gently distribute this dry blend over the surface of the water in the crust, ensuring even coverage without mixing.
- Evenly drizzle the vanilla extract across the top of the filling.
- Arrange the butter slices over the filling so they are spaced across the surface. They will melt and spread during baking.
- Place the pie carefully in the preheated oven. Bake at 400°F (200°C) for 30 minutes.
- Lower the oven temperature to 375°F (190°C) and continue baking for an additional 15 to 20 minutes. The pie is ready when the filling appears set and the edges take on a light golden hue.
- Remove from the oven and allow the pie to cool completely at room temperature. The custard-like filling will continue to firm as it cools.
- Once cooled and set, slice and serve. Enjoy plain or with a light topping of whipped cream if desired.