Rich cocoa fudge squares are smooth, chocolatey bites of candy that set up into neat, giftable pieces perfect for holidays, parties, and special dessert trays.
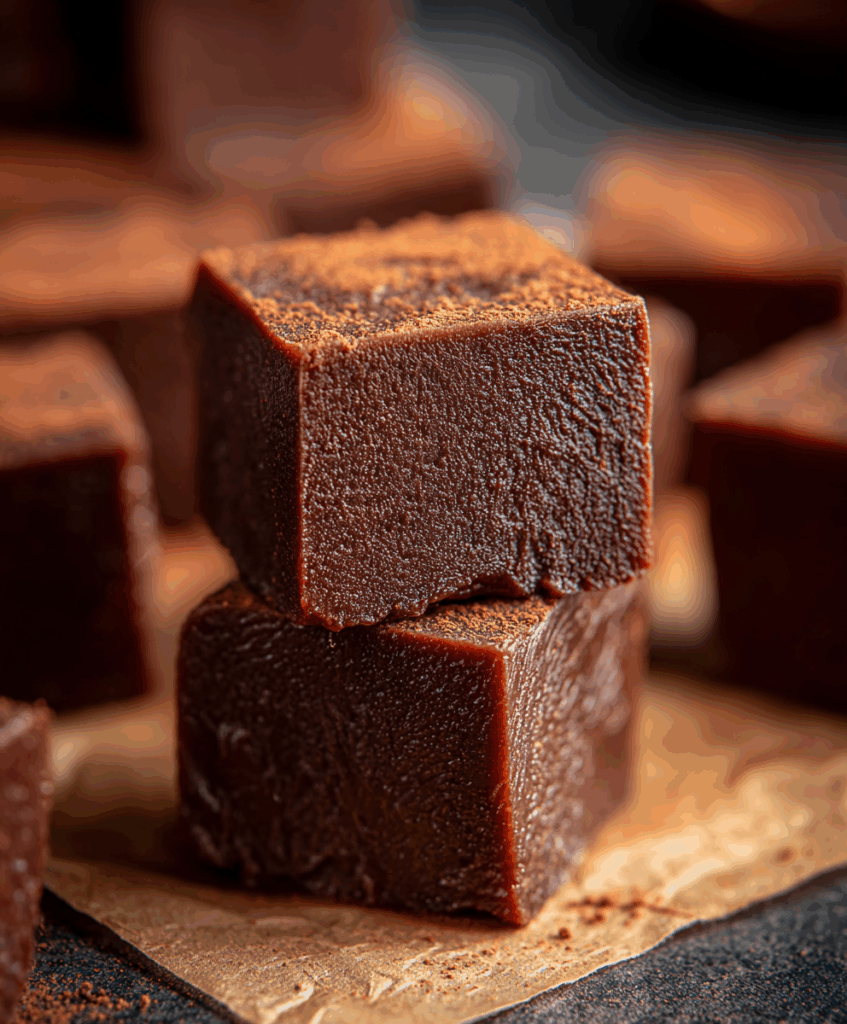
There’s something wonderfully old-fashioned about a pan of stovetop cocoa fudge cooling on the counter. The kitchen fills with the smell of chocolate and butter, and you know that once it sets, every square will deliver that dense, melt-in-your-mouth bite you’re craving.
This version keeps things simple: pantry ingredients, a saucepan, and a little patience. You’ll cook the mixture to the classic soft-ball stage, let it cool, then beat it until it loses its shine and turns thick and creamy. From there, you just press, slice, and try not to eat half the pan as “taste tests.”
Whether you’re making homemade candy boxes, adding something special to a cookie tray, or just treating your family, these rich cocoa fudge squares are the kind of timeless recipe you’ll reach for again and again.
How to Make This Rich Cocoa Fudge
STEP 1: Start by getting your pan ready so you’re not scrambling later. Lightly butter an 8-inch square pan, or line it with parchment and grease the paper. This makes it much easier to lift the set fudge out for clean slicing.
STEP 2: In a heavy-bottomed saucepan, whisk together the unsweetened cocoa powder, granulated sugar, and a pinch of salt. Gradually pour in the milk while stirring, making a smooth, lump-free mixture. A sturdy pan and even mixing help prevent scorching as it cooks.
STEP 3: Set the pan over medium heat and stir constantly until the mixture comes to a full boil and the sugar has dissolved. Once it’s bubbling steadily, stop stirring. Clip on a candy thermometer and let the mixture cook undisturbed until it reaches about 234°F, the classic soft-ball stage.
STEP 4: As soon as the temperature hits that mark, remove the pan from the heat. Add the butter and vanilla extract on top, but resist the urge to stir. Let everything sit quietly until the fudge cools down to lukewarm, around 110°F; this cooling time helps the texture turn smooth instead of grainy.
STEP 5: When the mixture has cooled, grab a wooden spoon and begin beating. Stir steadily until the fudge thickens, loses its glossy shine, and starts to hold its shape. This can take several minutes of elbow grease, but it’s exactly what creates that dense, creamy texture.
STEP 6: Once the fudge looks matte and quite thick, quickly scrape it into your prepared pan and spread it into an even layer. Smooth the top as best you can, then leave it at room temperature until completely firm. When set, lift it from the pan if lined, cut into squares, and store in an airtight container.
What You Need to Make This Rich Cocoa Fudge
- Unsweetened cocoa powder – Provides deep, classic chocolate flavor and that signature dark color in every square.
- Granulated sugar – Sweetens the fudge and helps create the firm, sliceable texture once it’s cooked and cooled.
- Salt – Just a pinch to balance the sweetness and sharpen the chocolate flavor.
- Whole milk – Adds richness and enough moisture to dissolve the sugar and cocoa into a smooth mixture.
- Unsalted butter – Brings silky mouthfeel and a subtle buttery flavor; it also contributes to the fudge’s creamy structure.
- Pure vanilla extract – Rounds out the chocolate and adds that warm, bakery-style aroma.
Helpful Tips
- Use a heavy pan: A thick-bottomed saucepan distributes heat more evenly, which keeps the sugar from burning and helps your fudge cook consistently.
- Watch the thermometer: Soft-ball stage (around 234°F) is key. Too low and your fudge may stay soft; too high and it can turn dry or crumbly.
- Beat at the right time: Don’t start stirring until the mixture has cooled to lukewarm. Beating too hot can cause graininess, while waiting too long can make it seize in the pan.
Can I make cocoa fudge without a candy thermometer?
You can, but it’s trickier. Use the soft-ball test: drop a little hot mixture into cold water and see if it forms a soft, squishy ball. For reliable results, a thermometer is still best.
Why did my fudge turn grainy?
Grainy fudge usually happens when sugar crystals form on the sides of the pan or when it’s stirred while still too hot. Avoid scraping crystallized bits into the pan and only beat once the mixture has cooled.
Can I add nuts or mix-ins?
Absolutely. Once the fudge has thickened and just before spreading it into the pan, fold in chopped nuts, mini marshmallows, or chocolate chips. Work quickly so everything distributes evenly before it sets.
Can I make this fudge ahead of time?
Yes, fudge is perfect for making ahead. Prepare it a day or two before you need it, store it in an airtight container at room temperature, and cut it just before serving or packing into gift boxes.
Can I freeze cocoa fudge squares?
You can freeze them for longer storage. Wrap the fudge tightly in layers of plastic and place it in a freezer-safe container. Thaw in the fridge or at room temperature before serving for the best texture.
What to Serve with Rich Cocoa Fudge Squares
- Coffee or espresso: The bitterness of a hot cup of coffee or espresso cuts through the sweetness and makes each bite of fudge feel even more luxurious.
- Vanilla or caramel ice cream: Serve a small square of fudge alongside a scoop of ice cream, or crumble it over the top for a simple, impressive dessert.
- Fresh berries and fruit: Pair fudge squares with strawberries, raspberries, or slices of orange. The natural acidity of fruit brightens the rich, chocolatey flavor.
Keeping Leftovers Fresh
Once your cocoa fudge squares are completely cool and cut, store them in an airtight container at room temperature. Separate layers with parchment or wax paper so the pieces don’t stick together. They’ll stay delicious on the counter for about a week, making them great for gifting and snacking.
If your kitchen is very warm, you can refrigerate the fudge instead. Keep it in a tightly sealed container to prevent it from drying out, and let the squares sit at room temperature for a few minutes before serving so they soften slightly.
For longer storage, freeze the fudge in well-wrapped blocks or pre-cut squares. Thaw in the refrigerator or on the counter, still wrapped, to avoid condensation forming on the surface and altering that lovely, velvety texture.

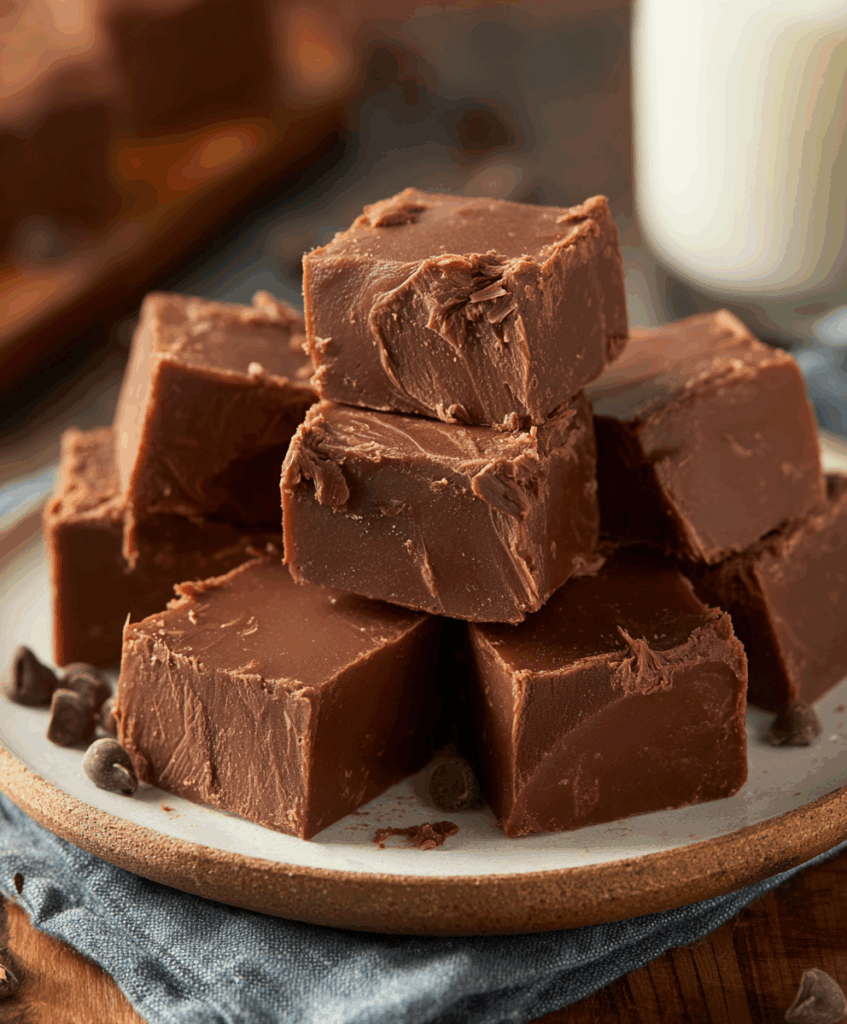
Rich Cocoa Fudge Squares
Ingredients
- ¼ cup equivalent to half a stick of unsalted butter, added without stirring
- 3 cups of white granulated sugar
- 1 ½ cups of full-fat milk
- 1 teaspoon of high-quality vanilla extract
- 2/3 cup of natural unsweetened cocoa powder
- 1/8 teaspoon of fine salt
Instructions
- Lightly grease an 8-inch square baking pan or line it neatly with parchment paper, ensuring it covers the sides for easy removal. Set it aside.
- In a medium-sized saucepan with a heavy base, combine the cocoa powder, sugar, and salt. Stir thoroughly until evenly mixed. Gradually pour in the milk while continuously stirring to achieve a smooth consistency.
- Place the pan over medium heat. Stir constantly as the mixture heats up and begins to boil, ensuring the sugar completely dissolves. Once it starts boiling, stop stirring.
- Insert a candy thermometer into the mixture and continue heating until it reaches 234°F, the soft-ball stage.
- Remove the pan from the heat as soon as the correct temperature is reached. Carefully add the butter and vanilla extract on top, but do not stir. Allow the mixture to sit undisturbed until it cools to approximately 110°F.
- Once the fudge reaches lukewarm temperature, use a wooden spoon to beat it vigorously. Continue mixing until the texture thickens, the sheen disappears, and the fudge starts to hold shape. This may take 8 to 10 minutes.
- Immediately transfer the fudge into the prepared pan. Spread it out evenly and smooth the surface. Let it sit at room temperature until fully firm.
- Once the fudge has set, slice it into squares and store in an airtight container at room temperature.