
This homemade apple cider is a cozy, beginner-friendly fall drink made by slowly cooking sweet and tart apples with cinnamon, allspice, and brown sugar. Double straining gives you smooth cider with deep apple flavor and warm spice.
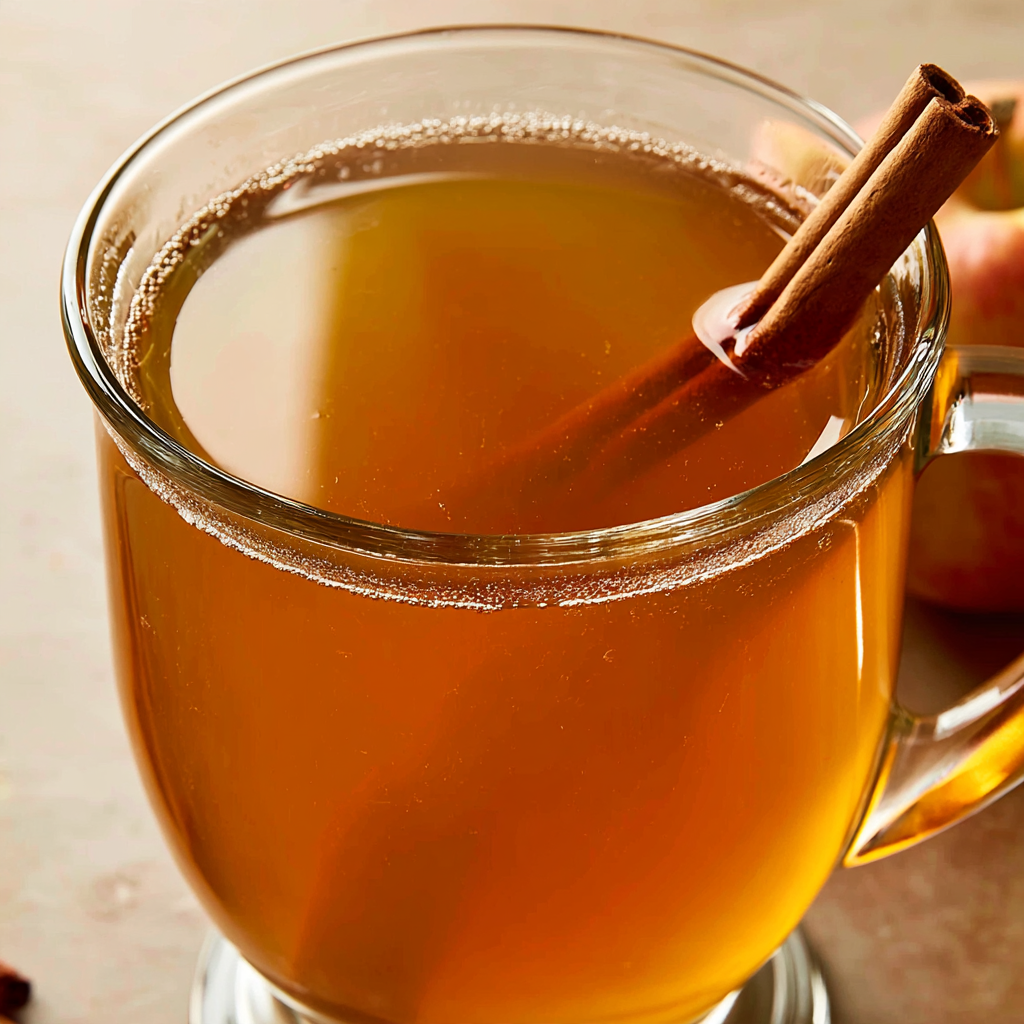
When you want a comforting drink for a cool afternoon, holiday gathering, or relaxed weekend at home, this stovetop cider is a wonderful choice. The combination of naturally sweet apples and sharper tart varieties keeps the flavor balanced rather than overly sugary.
The long cooking time is what makes this method work so well. An initial boil starts breaking down the fruit quickly, then a gentle covered simmer extracts more apple flavor while allowing the cinnamon and allspice to infuse the liquid.
You also do not need any specialized cider-making equipment. A large stockpot and a fine-mesh sieve or cheesecloth are enough to turn whole apples into a fragrant batch of fresh apple cider that you can enjoy warm or chilled.
Homemade Apple Cider Ingredients
Apples: Ten medium apples form the entire foundation of the cider. Combining sweet apples with tart ones creates a fuller, more balanced drink than relying on just one variety.
Light brown sugar: A half cup adds gentle caramel-like sweetness that complements the cooked apples without completely overpowering their natural flavor.
Cinnamon sticks: Whole cinnamon slowly releases warm spice during the long cooking process while keeping the finished cider easier to strain.
Ground allspice: This adds another layer of classic autumn spice and gives the cider a warmer, more rounded aroma.
Water: Add enough to cover the apples by roughly 2 inches when they are gently pressed beneath the surface. The exact amount will depend on the size and shape of your stockpot.
Cooking Steps
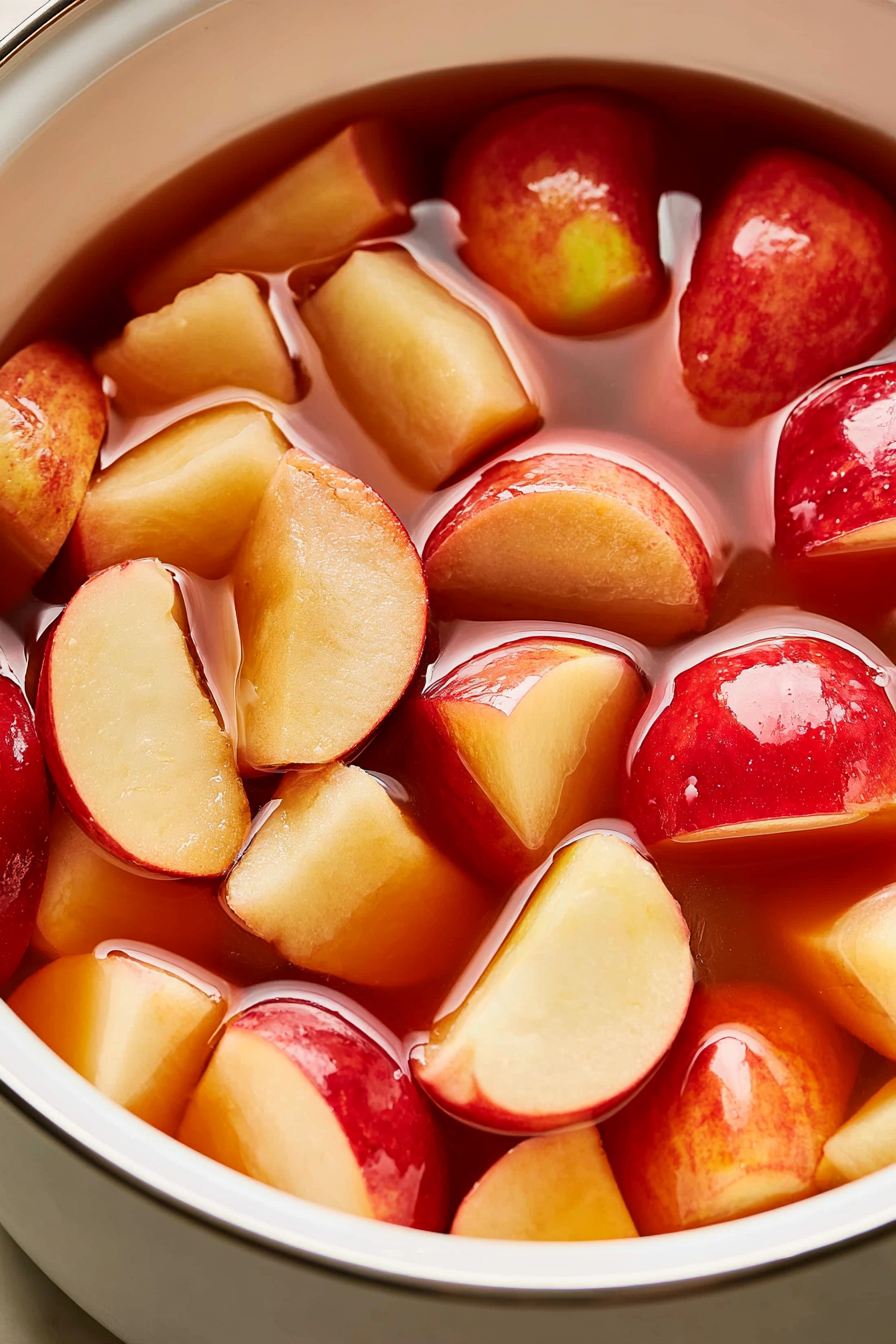
STEP 1: Quarter the apples and place them in a large, sturdy stockpot. There is no need to cut them into tiny pieces because they will soften considerably during the three-hour cooking process. A mixture of sweet and tart varieties will give the finished cider more dimension.
STEP 2: Pour water into the stockpot until it would sit about 2 inches above the apples when they are gently pushed down. Because fresh apple pieces naturally float, judge the water level while pressing them lightly beneath the surface rather than trying to keep them submerged.
STEP 3: Add the firmly packed brown sugar, cinnamon sticks, and ground allspice. Stir the pot well so the sugar begins dissolving and the spices disperse throughout the water.
STEP 4: Place the uncovered pot over high heat and bring everything to a strong boil. Continue boiling for about 1 hour. Stir from time to time, particularly around the bottom of the stockpot, so dissolved sugar and softened fruit do not settle and stick.
STEP 5: After the first hour, cover the stockpot and reduce the heat to low. Let the apples simmer gently for another 2 hours. The fruit should become extremely soft during this stage, and the cooking liquid will gradually take on a deeper apple and spice flavor.
STEP 6: Remove the pot from the heat and let the mixture cool briefly until it is safer and more comfortable to handle. Set a fine-mesh sieve or cheesecloth-lined strainer over a large heat-safe bowl, then carefully strain the cider. Gently press the softened apples to extract additional liquid without forcing excessive pulp through the strainer.
STEP 7: Discard the cooked solids, then strain the collected cider a second time. This additional pass removes small pieces of apple and spice sediment and produces a noticeably smoother drink. Serve it warm, allow it to cool for later, or chill it thoroughly before serving cold.
Helpful Tips
- Use more than one apple variety. A combination of sweeter apples and tart apples gives you a noticeably better balance of flavor and reduces the need for excessive added sugar.
- Keep the second stage at a gentle simmer rather than a vigorous boil. Slow cooking gives the apples and spices time to infuse the liquid without unnecessarily reducing it.
- Press the cooked apples gently when straining. Firm pressure helps recover flavorful liquid, but aggressively forcing the pulp through the sieve can make your cider cloudier and thicker.
Can I leave the apple skins on?
Yes. The apples cook for several hours and are eventually strained out, so peeling them is unnecessary. Leaving the skins on also saves considerable preparation time. Just wash the apples thoroughly before quartering them and adding them to your stockpot.
Why does homemade apple cider need to cook so long?
The extended cooking time helps break the apples down and extract their flavor into the water. The first hour of boiling softens the fruit quickly, while the slower two-hour simmer gives the apple, cinnamon, brown sugar, and allspice flavors time to blend.
Why should I strain the cider twice?
The first straining removes the large pieces of cooked apple and the cinnamon sticks. A second pass catches smaller particles and spice sediment that remain in the liquid. It is particularly useful when you want a smoother cider that is pleasant to drink directly from a mug.
Can I serve apple cider cold?
Absolutely. Although warm cider is especially comforting during cooler weather, this batch can also be refrigerated and served chilled. Let it cool before transferring it to a covered container, then refrigerate until cold. Stir it before serving if a small amount of natural sediment settles at the bottom.
Can I adjust the sweetness?
Yes. Apples vary considerably in natural sweetness, especially when you mix different varieties. The listed brown sugar gives the cider noticeable sweetness, but you can taste the finished strained cider and decide whether its balance suits you before serving.
Perfect Pairings
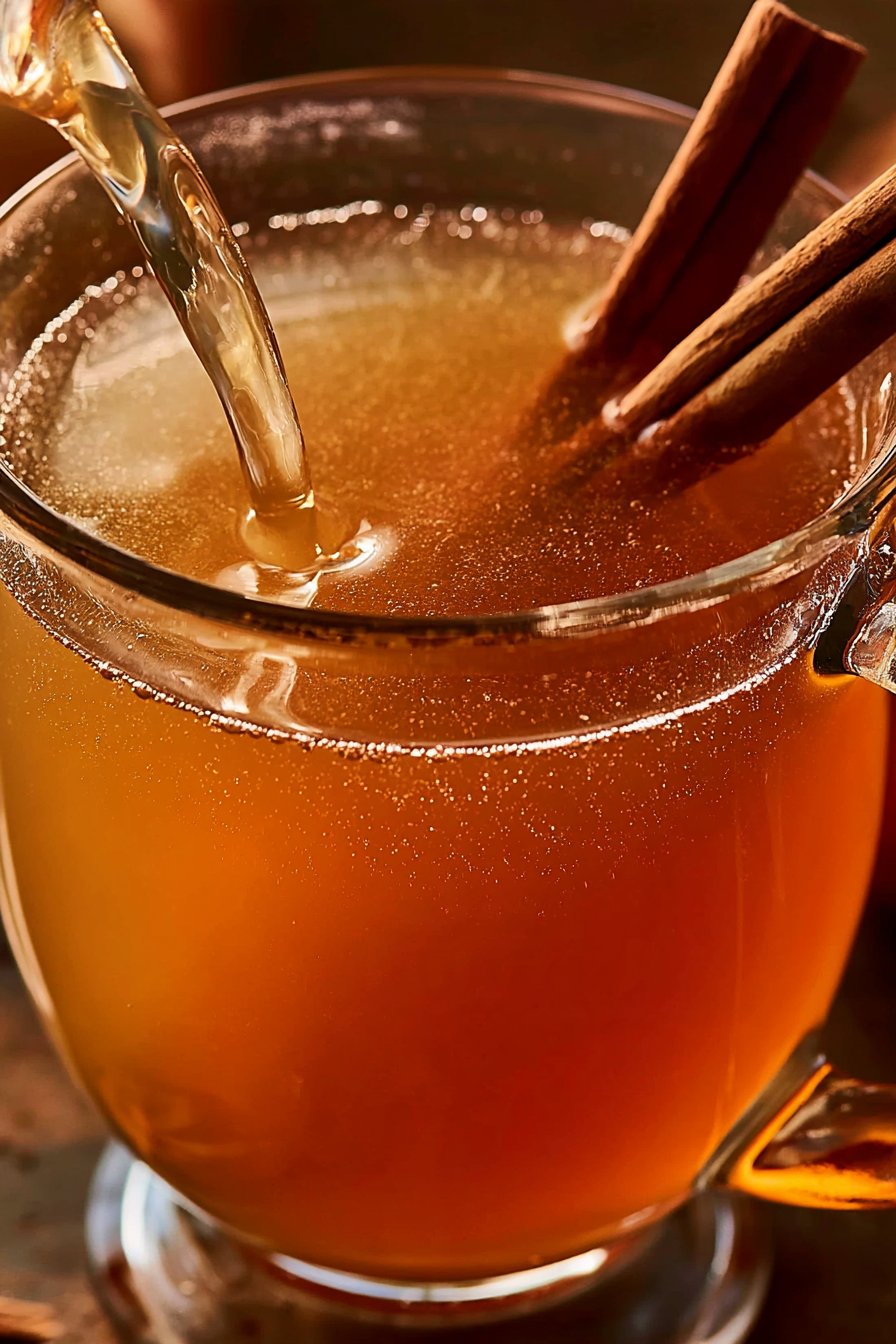
Fresh apple cider works especially well alongside warm baked treats. Serve it with lightly spiced muffins or a slice of simple apple cake when you want a cozy afternoon snack without competing too much with the drink’s cinnamon flavor.
It is also a natural addition to a fall or holiday breakfast. Pair warm mugs with French toast, pancakes, or a breakfast casserole for a relaxed brunch that can feed several people.
For something simpler, serve the cider alongside crisp butter cookies or lightly sweetened shortbread. Their mild flavor gives the apple and spice notes plenty of room to stand out.
How to Store & Reheat
Allow leftover cider to cool before transferring it to clean, airtight containers or covered glass jars. Keep it refrigerated and use it within about 5 to 7 days. Because this is a fresh homemade drink without commercial preservatives, it should not be stored at room temperature for extended periods.
For longer storage, freeze the cooled cider in freezer-safe containers for up to about 3 months. Leave some empty space at the top of each container because liquids expand when frozen. Smaller portions can be especially convenient when you only want to thaw enough cider for one or two servings.
To serve refrigerated cider warm, pour the amount you need into a saucepan and heat it gently over medium-low heat until steaming. Avoid an extended hard boil, which can reduce the liquid and concentrate its sweetness. Individual mugs can also be reheated in the microwave in short intervals, stirring between each one.
If the cider was frozen, thaw it overnight in the refrigerator before warming. A little settling is normal after storage, particularly because the apples and ground spice naturally leave behind very fine particles even after double straining. Give the cider a good stir before pouring, then enjoy it warm or chilled depending on the occasion.
Homemade Apple Cider
Ingredients
- 4 whole cinnamon sticks
- 1 tablespoon ground allspice
- 10 medium apples cut into quarters; for balanced flavor, use a combination of sweet and tart varieties such as Fuji, Honeycrisp, and Granny Smith
- 1/2 cup firmly packed light brown sugar
- Water enough to cover the pressed-down apples by approximately 2 inches
Instructions
- Place the quartered apples in a large stockpot. Pour in enough water so that, when the floating apples are gently pushed beneath the surface, they are covered by roughly 2 inches of water.
- Add the packed light brown sugar, cinnamon sticks, and ground allspice. Stir until the sugar and spices are evenly incorporated throughout the mixture.
- Set the uncovered stockpot over high heat and bring the apple mixture to a vigorous boil. Continue boiling for approximately 1 hour, stirring occasionally so the sugar dissolves thoroughly and the ingredients do not adhere to the bottom of the pot.
- After the 1-hour boiling period, cover the stockpot with a lid and reduce the heat to low. Allow the mixture to simmer gently for 2 hours, checking periodically to ensure it maintains a quiet simmer without boiling over. During this stage, the apples should become very soft and the flavors will fully infuse the liquid.
- Remove the pot from the heat and allow the cooked apple mixture to cool slightly so it is easier to handle.
- Position a cheesecloth-lined strainer or a fine-mesh sieve over a large bowl. Carefully pour the apple mixture through the strainer, gently pressing the softened solids to release as much liquid as possible.
- Discard the remaining apple solids. Pass the collected liquid through the cheesecloth or fine-mesh sieve once more to remove any remaining particles and produce a smoother, clearer cider.
- Serve the finished homemade apple cider as desired.