
This Mexican Christmas Cookies Recipe makes colorful, tender holiday cookies with a rich crumb, crisp sugar coating, and cheerful crackled tops. The dough is simple to prepare ahead, chills well, and bakes into generously sized cookies that stay pale and soft rather than overly browned.
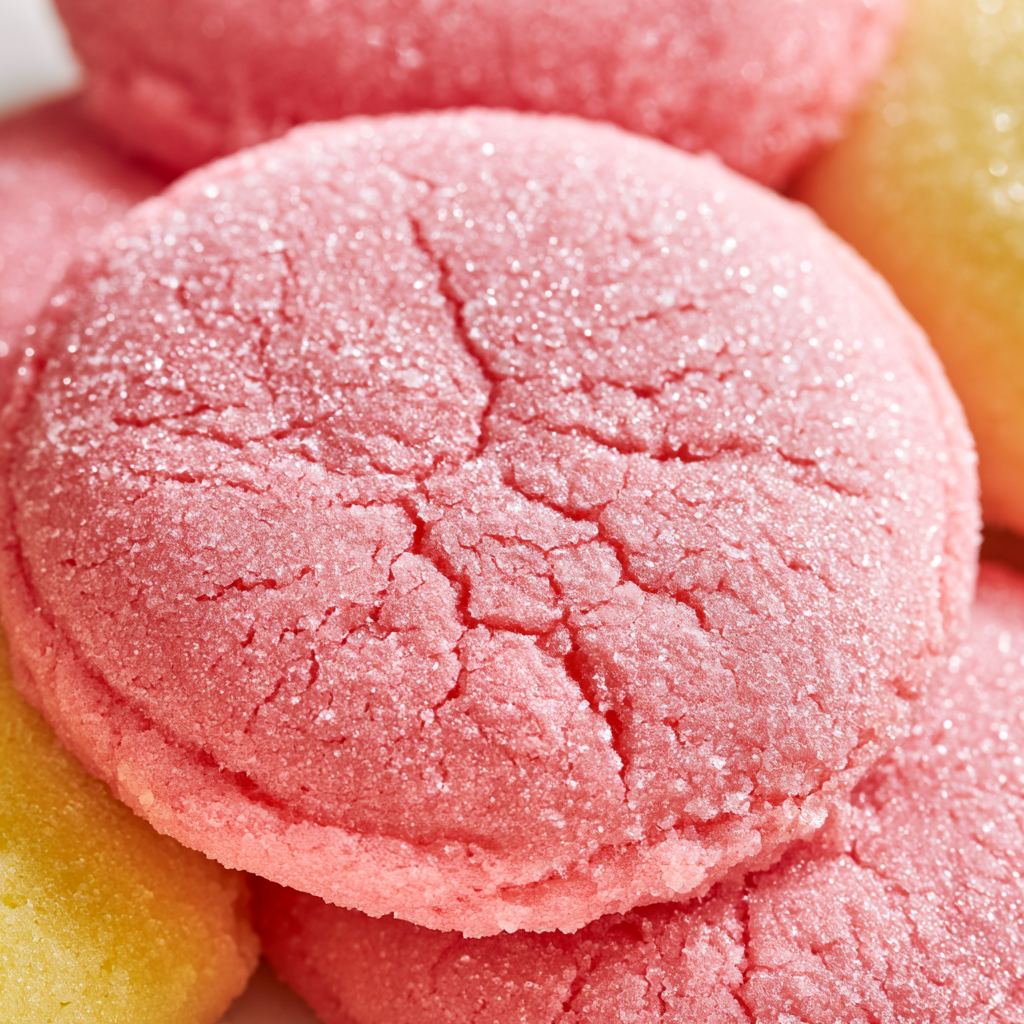
These cookies are a fun choice when you want something bright and festive for Christmas cookie trays, holiday parties, or homemade gifts. Dividing the dough into different colors gives each batch a playful look without changing the buttery vanilla flavor.
The combination of shortening, sugar, eggs, and vanilla creates a tender cookie that holds together nicely while still developing those characteristic cracks in the oven. A quick roll in coarse cane sugar adds sparkle and a delicate crunch around the outside.
Because the dough needs an hour in the refrigerator, you can also prepare it earlier in the day and bake the cookies when your kitchen is ready. Just watch them closely near the end of baking. Their pale color is part of what keeps the centers tender.
Mexican Christmas Cookies Ingredients
All-purpose flour: Provides enough structure for the large cookies to spread without becoming thin or fragile.
Butter-flavored shortening or lard: Creates the rich, tender crumb. Lard can be used when you prefer a more traditional flavor.
Granulated sugar: Sweetens the dough and helps create soft interiors with lightly crisp edges.
Large eggs: Bind the dough and contribute moisture so the cookies remain tender.
Vanilla extract: Gives the simple cookie dough a warm, familiar flavor that works well with every color.
Baking soda: Encourages spreading and contributes to the crackled appearance across the tops.
Baking powder: Adds a little lift so the cookies do not bake completely flat.
Kosher salt: Balances the sweetness and brings out the vanilla flavor.
Gel food coloring: Lets you divide the dough into festive colors without adding much extra liquid.
Cane sugar: Forms the sparkling exterior coating and gives the finished cookies a lightly crunchy texture.
How to Make This Mexican Christmas Cookies
STEP 1: Whisk the flour, baking soda, baking powder, and kosher salt together in a large bowl. Mixing these ingredients thoroughly before they meet the wet ingredients helps distribute the leavening evenly throughout the dough.
STEP 2: Beat the shortening with the granulated sugar and vanilla using a stand mixer and paddle attachment. Continue mixing for about 2 minutes, until the mixture looks lighter and fluffy. Add the eggs one at a time, mixing well after each addition.
STEP 3: Turn the mixer to low and gradually add the dry mixture. Work in manageable additions rather than adding all the flour at once. Stop mixing once you have a thick, evenly combined cookie dough.
STEP 4: Divide the dough according to how many colors you would like to make. Work a small amount of gel coloring into each portion until the color is evenly distributed. Wrap the portions securely and refrigerate them for 1 hour so the dough firms up enough for shaping.
STEP 5: Preheat the oven to 350°F and line your baking sheets with parchment paper. Scoop the chilled dough into generous portions of about 1/4 cup each. Roll them between your palms until smooth.
STEP 6: Roll each dough ball thoroughly in cane sugar. Space about five cookies on each baking sheet because these large cookies will spread. Press each ball gently with the back of a measuring cup to flatten it slightly, then add another light sprinkle of sugar.
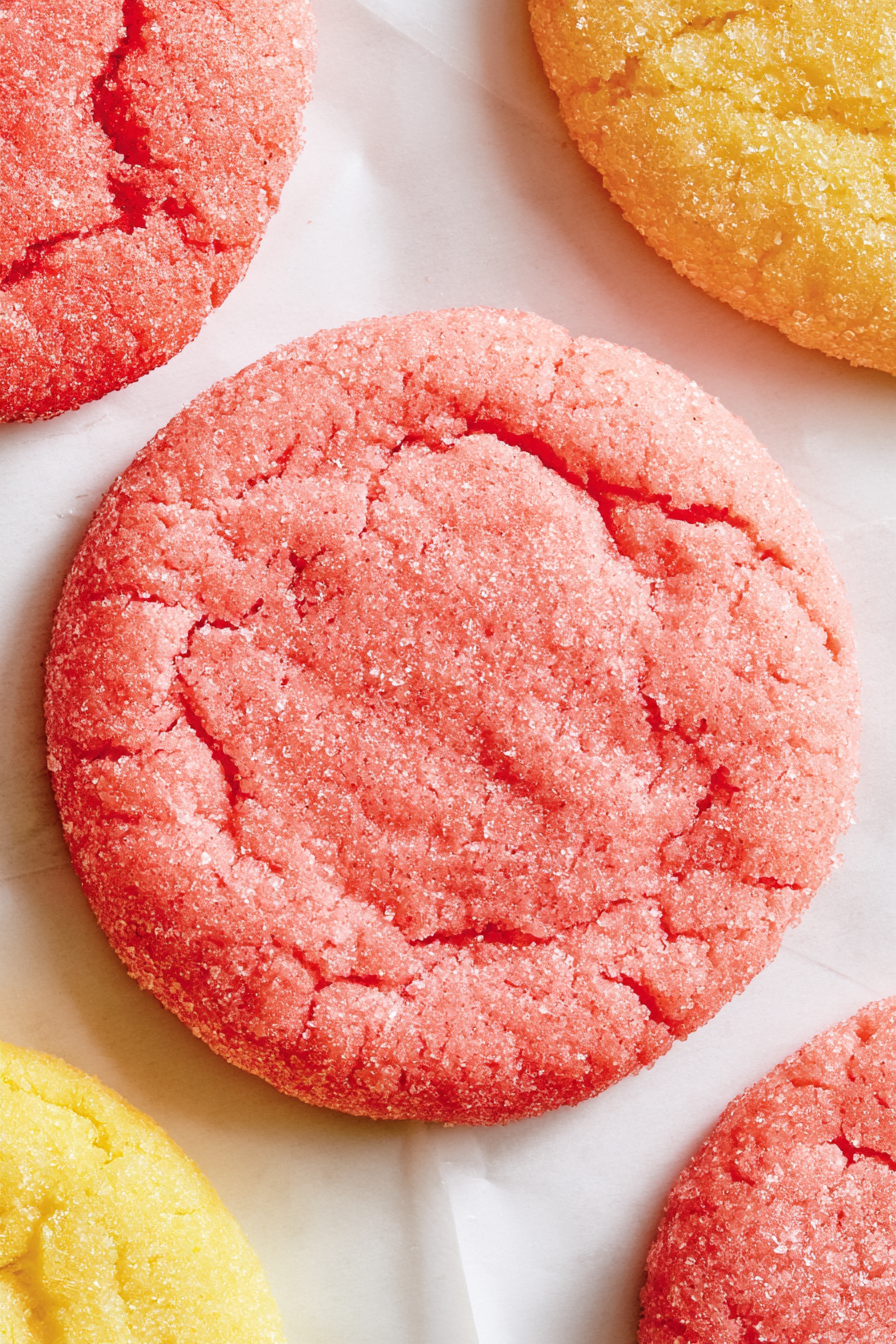
STEP 7: Bake one sheet at a time for 12 to 14 minutes. Look for cookies that have spread and developed noticeable cracks while still remaining pale. Leave them on the hot baking sheet for 5 minutes before carefully transferring them to a wire rack to finish cooling.
Helpful Tips
- Keep the cookies pale. Browning is not the goal here. Pull them from the oven once they have spread and crackled so the centers remain tender.
- Use gel coloring sparingly. Gel gives you strong holiday colors without loosening the dough as much as liquid coloring might.
- Leave plenty of space. These are large cookies, so limiting each pan to about five helps them bake and spread without touching.
Can I use lard instead of shortening?
Yes. Lard can replace the butter-flavored shortening in the dough and may give the cookies a more traditional flavor. The texture should remain rich and tender. Use the same amount and make sure it is soft enough to cream smoothly with the sugar before adding the eggs.
Why does the cookie dough need to chill?
Chilling firms the fat and makes the colored dough much easier to scoop and roll. It also helps control spreading once the cookies enter the hot oven. Give the dough the full hour whenever possible, particularly if your kitchen is warm or the dough feels very soft after coloring.
How do I know when the cookies are finished baking?
Watch the surface rather than waiting for deep golden color. The cookies should spread, develop visible cracks, and look set around the outside while remaining pale. If you continue baking until they are browned, they can lose some of their characteristic tender texture.
Can I make the dough ahead of time?
Yes. Preparing the dough in advance works especially well for busy holiday baking days. Keep each colored portion tightly wrapped in the refrigerator. When you are ready to bake, let especially firm dough sit briefly at room temperature only if needed to make scooping and rolling easier.
Can I make several colors from one batch?
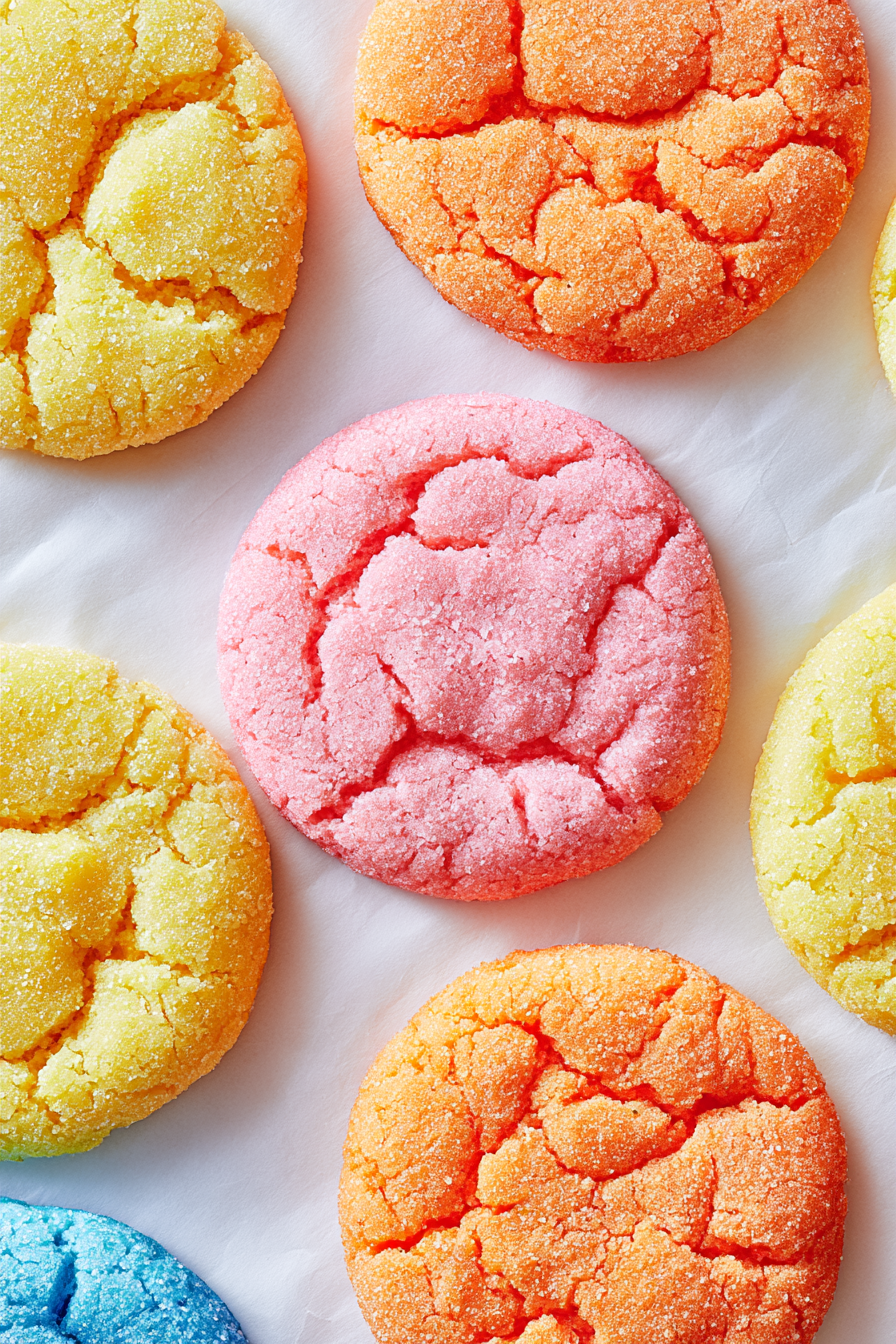
Absolutely. You can divide the finished dough into as many portions as you like before chilling. Red and green are natural choices for Christmas, but you can use any combination that suits your cookie platter. Try to keep the portions similar in size if you want roughly equal numbers of each color.
Perfect Pairings
Serve these cookies as part of a mixed Christmas cookie platter alongside simpler butter cookies or spiced holiday cookies. Their bright colors make them especially useful when the rest of your cookie assortment is more neutral.
A cup of coffee also pairs nicely with their sweet vanilla flavor and crisp sugar coating. For children or a family dessert table, cold milk keeps the pairing simple and classic.
You can also arrange different-colored cookies together on a serving plate. Alternating the colors gives you an instantly festive presentation without requiring frosting or elaborate decorations.
Keeping Leftovers Fresh
Let the Mexican Christmas cookies cool completely before storing them. Putting warm cookies into a sealed container can trap moisture and soften the sparkling sugar coating.
Once cool, transfer them to an airtight container and keep them at room temperature for about 4 to 5 days. If you are stacking several layers, placing parchment paper between them can help protect the crackled tops and reduce sticking.
For longer storage, freeze the completely cooled cookies in a freezer-safe container for up to about 2 months. Separate layers with parchment and protect them from being crushed, especially because these are generously sized cookies.
Thaw frozen cookies at room temperature while still loosely covered. They generally do not need reheating, but if you enjoy a slightly warmer cookie, place one in a low oven for just a few minutes. Avoid overheating it, since the goal is to warm the center without drying out the tender crumb.
These colorful cookies are especially useful during the Christmas season because most of the visual appeal comes directly from the dough and sparkling sugar coating. There is no need to prepare frosting, pipe decorations, or wait for icing to set. Once the dough is colored and chilled, shaping and baking the batches is straightforward.
The most important details are giving the dough enough chilling time, leaving space between the generously portioned cookies, and removing them before they brown. Follow those cues and you will have festive, crackled Christmas cookies with soft centers, lightly crisp sugar-coated exteriors, and plenty of color for your holiday dessert table.
Mexican Christmas Cookies Recipe
Ingredients
For the Cookies
- 2 large eggs
- ¾ teaspoon kosher salt
- 1¾ cups butter-flavored shortening or lard for a more traditional flavor
- 1 tablespoon vanilla extract preferably Simply Organic
- 4⅓ cups all-purpose flour
- Gel food coloring in desired colors
- 1½ cups granulated white sugar
- 1 teaspoon baking powder
- 2 teaspoons baking soda
For Rolling
- ⅓ cup cane sugar
Instructions
- Mix the dry ingredients. In a large mixing bowl, thoroughly whisk the all-purpose flour with the baking soda, baking powder, and kosher salt. Set the mixture aside.
- Cream the shortening mixture. Fit a stand mixer with the paddle attachment. Add the butter-flavored shortening, granulated sugar, and vanilla extract, then beat at medium speed for a full 2 minutes, or until the mixture becomes light and fluffy.
- Incorporate the eggs. Add the eggs individually, beating the mixture well after each one is added.
- Add the flour mixture. Reduce the mixer to low speed. Gradually incorporate the prepared dry ingredients, approximately 1 cup at a time, continuing until the cookie dough is completely combined.
- Color the dough. Separate the dough into as many portions as desired according to the number of colors being used. Add gel food coloring to each portion and work it through the dough by hand or with the stand mixer until the color is evenly distributed.
- Chill the dough. Wrap each colored portion securely in plastic wrap and refrigerate for 1 hour.
- Prepare the oven and pans. While the dough chills, preheat the oven to 350°F. Line two or more baking sheets with parchment paper.
- Form the cookies. Once chilled, portion the dough into approximately ¼-cup-sized balls using a standard ice cream scoop or a comparable utensil. Roll each portion between your hands until smooth.
- Coat with sugar. Roll every dough ball in the cane sugar, then arrange 5 cookies per prepared baking sheet. Gently press each ball with the back of a measuring cup to flatten it slightly. Scatter a small additional amount of sugar over the tops.
- Bake one sheet at a time. Place a single baking sheet in the preheated oven and bake for 12–14 minutes. The cookies are ready when they have spread and developed cracks across their surfaces but have not begun to brown.
- Cool the cookies. Leave the freshly baked cookies on the baking sheet for 5 minutes. Transfer them to a wire cooling rack and allow them to cool completely.
- Finish the remaining batches. Continue shaping, coating, baking, and cooling the remaining dough in the same manner until all of the cookies are finished.
Notes
The dough can be separated into any number of portions depending on how many cookie colors are desired.
Avoid baking until browned; the finished cookies should remain pale while displaying a spread, crackled surface.