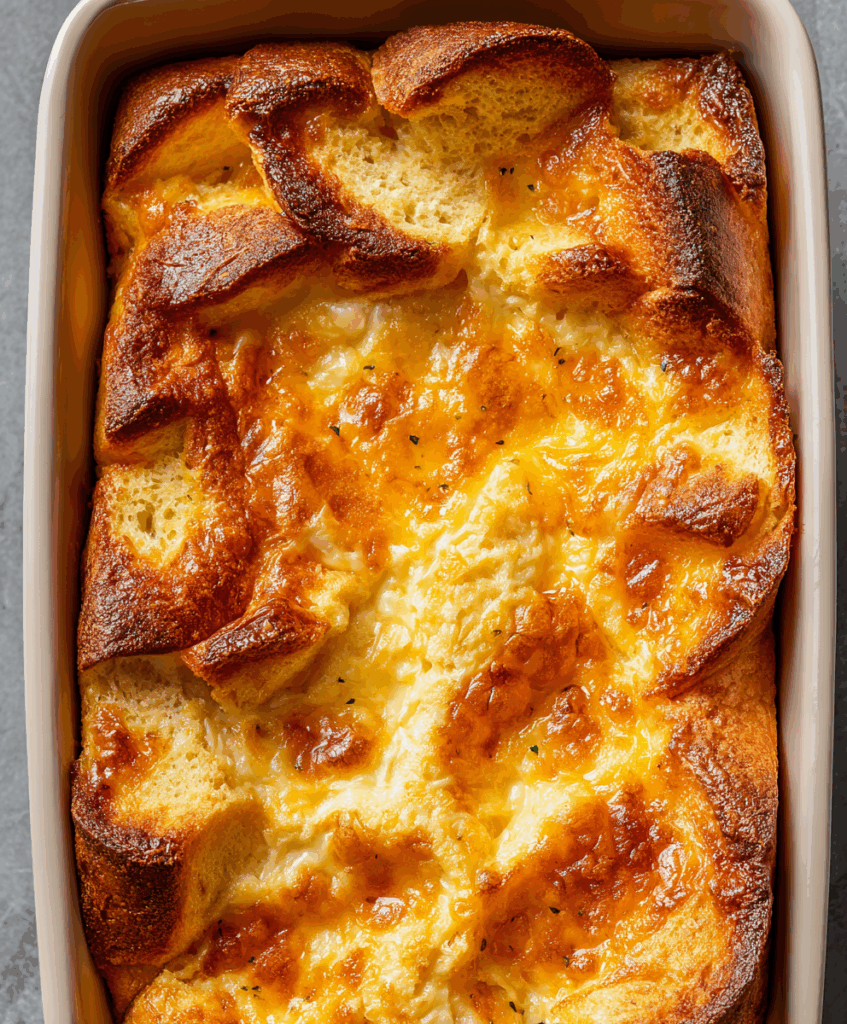
This cheesy baked sandwich bread casserole layers buttery toast, melty cheese, and savory custard into a vintage comfort dish perfect for family dinners and potlucks.

There’s something so nostalgic about a baked bread-and-cheese casserole. It feels like the kind of dish you’d find in an old Betty Crocker cookbook, baked in a well-loved pan and carried straight to the table, bubbling and golden. This cheesy baked sandwich bread casserole captures that same cozy, old-fashioned charm.
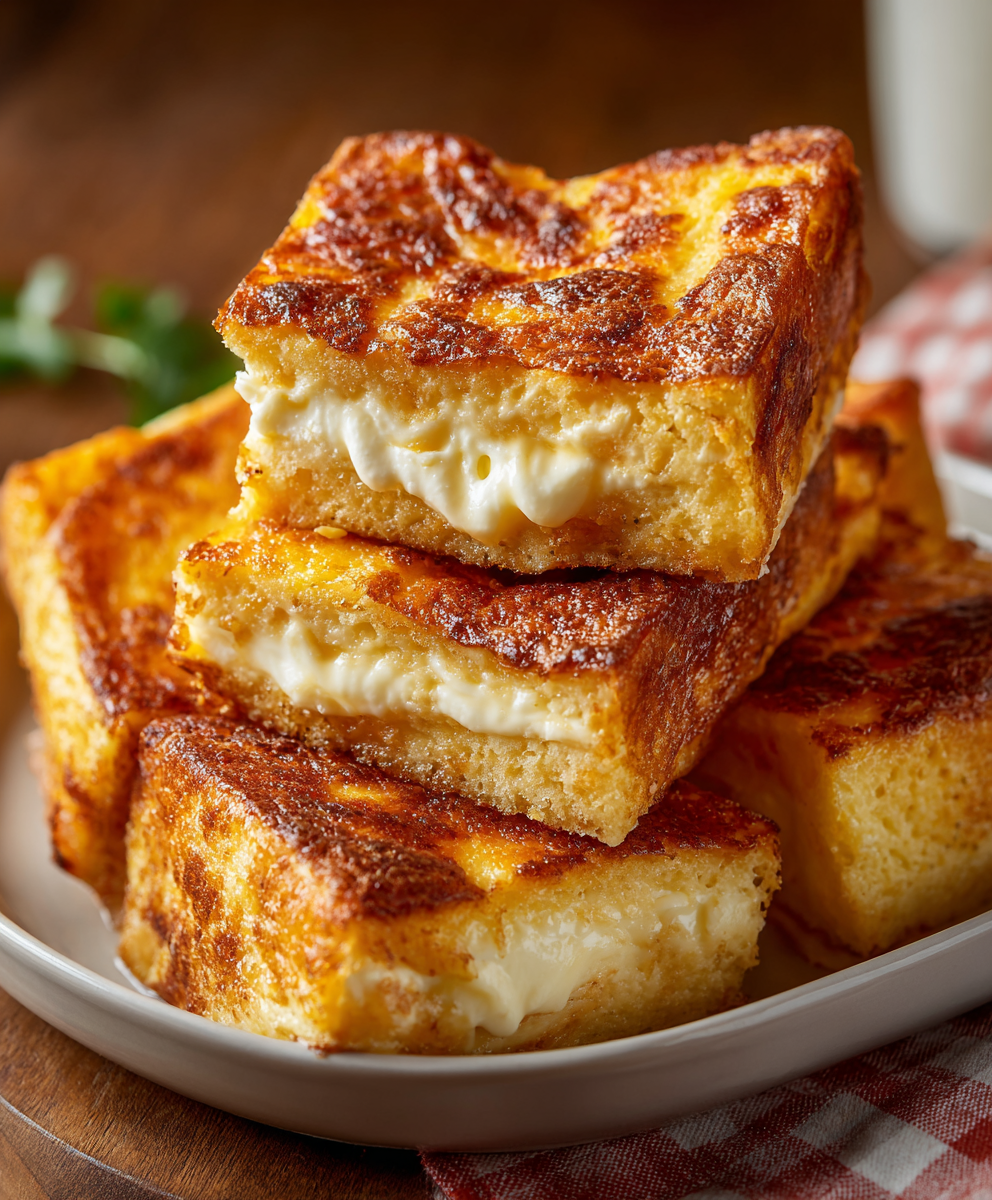
Simple pantry ingredients—sliced bread, shredded cheese, eggs, and milk—turn into a rich, custardy bake that tastes far more special than the effort it takes. It’s ideal for feeding a crowd, stretching a loaf of bread, or using up those last slices you don’t want to waste.
You can serve it for brunch, an easy meatless dinner, or bring it to a potluck where it will disappear faster than you expect. Once you know the basic method, it’s incredibly easy to adapt with different cheeses, mix-ins, and toppings to match your family’s tastes.

What You Need to Make This Cheesy Baked Sandwich Bread Casserole
White or wheat sandwich bread – Forms the hearty layers, soaking up the custard while staying pleasantly toasty around the edges.
Softened butter – Adds flavor and helps the bread toast and brown, giving that irresistible buttery crust on top and bottom.
Shredded cheddar or Colby-Jack cheese – The melty, gooey heart of the casserole that gives every bite rich, cheesy comfort.
Large eggs – Whisked into the milk to create a simple custard that binds everything together as it bakes.
Whole milk – Keeps the custard creamy and luscious, giving the casserole a soft, tender center.
Salt – Enhances all the flavors so the cheese, custard, and bread don’t taste flat.
Ground black pepper – Adds a gentle warmth and savory depth to the egg mixture.
Dry mustard (optional) – A classic vintage touch that quietly sharpens the cheese flavor without making the dish taste “mustardy.”
Finely chopped onion (optional) – Brings a subtle sweetness and extra savory flavor, especially if you enjoy a little texture in your casseroles.
Step-by-Step Cheesy Baked Sandwich Bread Casserole
STEP 1: Grease a 9×13-inch baking dish with butter or nonstick spray. Lightly butter one side of each bread slice, making sure the butter goes right to the edges.
STEP 2: Arrange half of the bread, butter-side down, in the prepared dish. Overlap the slices slightly if needed so the bottom is mostly covered without big gaps.
STEP 3: Sprinkle about half of the shredded cheese evenly over the bread layer. If you’re using onion, scatter it over the cheese so every bite gets a bit of flavor.
STEP 4: Place the remaining bread on top, this time with the butter facing up. Sprinkle the rest of the cheese over the top so you have a generous, even layer ready to melt and brown.
STEP 5: In a mixing bowl, whisk together the eggs, whole milk, salt, pepper, and dry mustard until the mixture looks smooth and well combined. Pour this custard slowly and evenly over the bread and cheese, making sure to cover all corners.
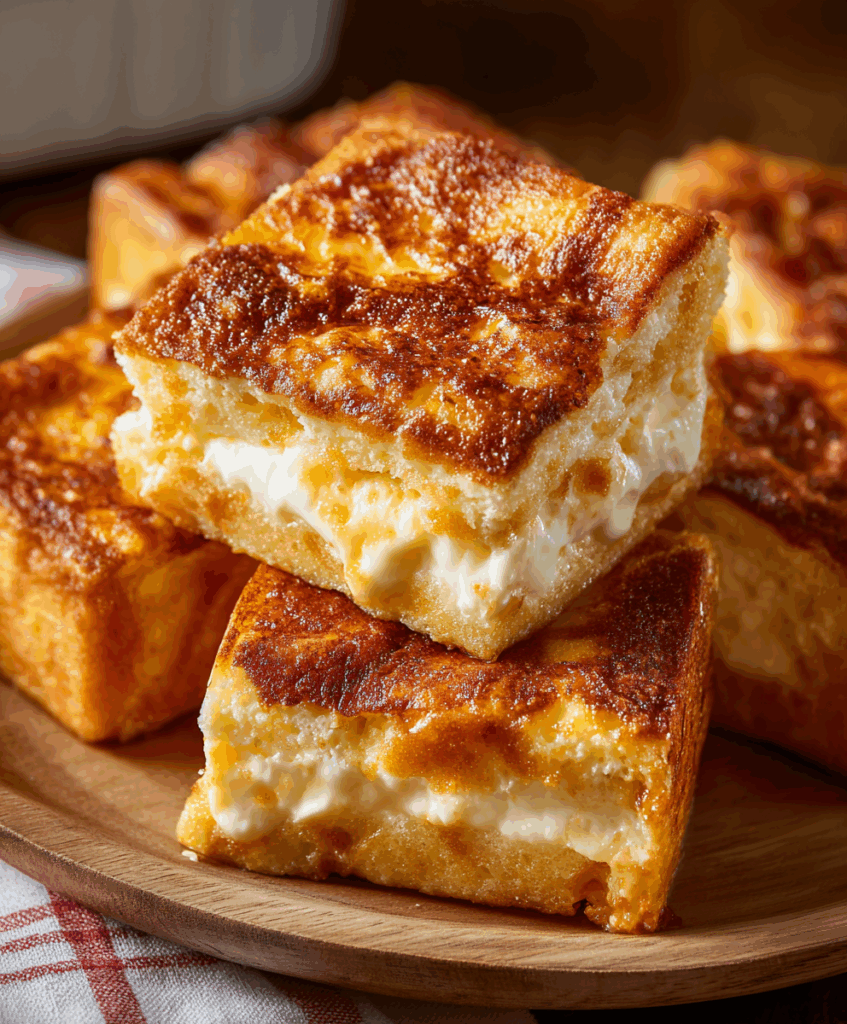
STEP 6: Let the casserole sit at room temperature for about 10 minutes so the bread can soak up some of the custard. Bake at 350°F (175°C) for 30–35 minutes, or until the top is golden, the edges are bubbling, and the center feels set when gently jiggled. Cool for a few minutes, then slice into squares and serve.
Can I assemble this casserole ahead of time?
Yes. Assemble the casserole, cover it tightly, and refrigerate for up to 12 hours. When ready to bake, let it sit at room temperature for about 20 minutes, then bake as directed.
What kind of bread works best?
Sturdy sandwich bread is ideal, either white or wheat. Slightly stale bread actually works beautifully because it absorbs the custard without becoming mushy.
Can I add meat or vegetables?
Absolutely. Crumbled cooked bacon, diced ham, or sautéed vegetables like mushrooms, peppers, or spinach can be tucked between the bread layers before you pour on the custard.
How do I prevent the casserole from turning soggy?
Use a 9×13-inch dish so the layers aren’t too thick, don’t overdo the milk, and make sure you bake until the center is fully set and the top is nicely browned.
Pro Tips for Cheesy Baked Sandwich Bread Casserole
- Don’t skip the rest time before baking. Those few minutes let the bread absorb the custard, giving you a creamy center instead of dry layers.
- Watch for color, not just time. Ovens vary, so bake until the top is deep golden and the center looks set rather than relying only on the timer.
- Shred your own cheese. Pre-shredded cheese often contains anti-caking agents that prevent smooth melting; fresh-shredded cheese gives a creamier, gooier finish.
Serving Ideas for Cheesy Baked Sandwich Bread Casserole
Pair this cheesy bake with a simple green salad dressed with a tangy vinaigrette to balance the richness and add some freshness to the plate.
For a cozy, diner-style meal, serve warm squares alongside a bowl of tomato soup. The toasty bread and gooey cheese are perfect for dipping into a creamy or chunky tomato base.
If you’re serving it for brunch, add a bowl of fresh fruit or a platter of crispy bacon or breakfast sausage on the side for a complete spread that feels special but still low effort.
How to Store & Reheat
Leftover casserole keeps well, which makes it great for planning ahead. Let any remaining pieces cool completely, then transfer them to an airtight container or cover the baking dish tightly. Store in the refrigerator for up to 3–4 days.
For longer storage, wrap individual squares in plastic wrap and place them in a freezer-safe container or bag. Freeze for up to 2 months. This makes it easy to reheat just one or two pieces for a quick lunch or light dinner.
To reheat, warm slices in a 325°F (165°C) oven until hot in the center, loosely covered with foil to prevent over-browning. For a faster option, you can microwave individual pieces in short bursts, then pop them under the broiler for a minute to crisp the top again.
Cheesy Baked Sandwich Bread Casserole
Ingredients
- 2 tablespoons of softened butter for spreading
- 2 cups grated Colby-Jack or cheddar cheese divided
- 12 slices of sandwich bread white or whole wheat
- 2 cups whole milk
- 3 eggs large
- ¼ teaspoon ground mustard powder optional, for added depth
- ¼ teaspoon ground black pepper
- 1 small onion finely diced (optional)
- ½ teaspoon fine salt
Instructions
- Coat one side of each bread slice with a thin layer of softened butter.
- Place 6 of the buttered slices into a lightly greased 9×13-inch baking dish, arranging them with the buttered side facing downward.
- Evenly scatter 1 cup of the grated cheese across the bread layer. If using, sprinkle the chopped onion over the cheese.
- Lay the remaining 6 slices of bread on top of the cheese, this time with the buttered sides facing up.
- Distribute the remaining cup of shredded cheese over the upper bread layer.
- In a separate mixing bowl, whisk together the milk, eggs, salt, black pepper, and ground mustard until well combined and smooth.
- Gently pour the egg mixture over the layered bread and cheese, ensuring even coverage throughout the dish.
- Allow the casserole to rest at room temperature for 10 minutes so the bread can absorb the liquid custard.
- Transfer to a preheated oven set at 350°F (175°C) and bake uncovered for 30 to 35 minutes, or until the center is firm and the top develops a golden crust.
- Remove from oven and allow the casserole to rest for 5 minutes before cutting into squares and serving.