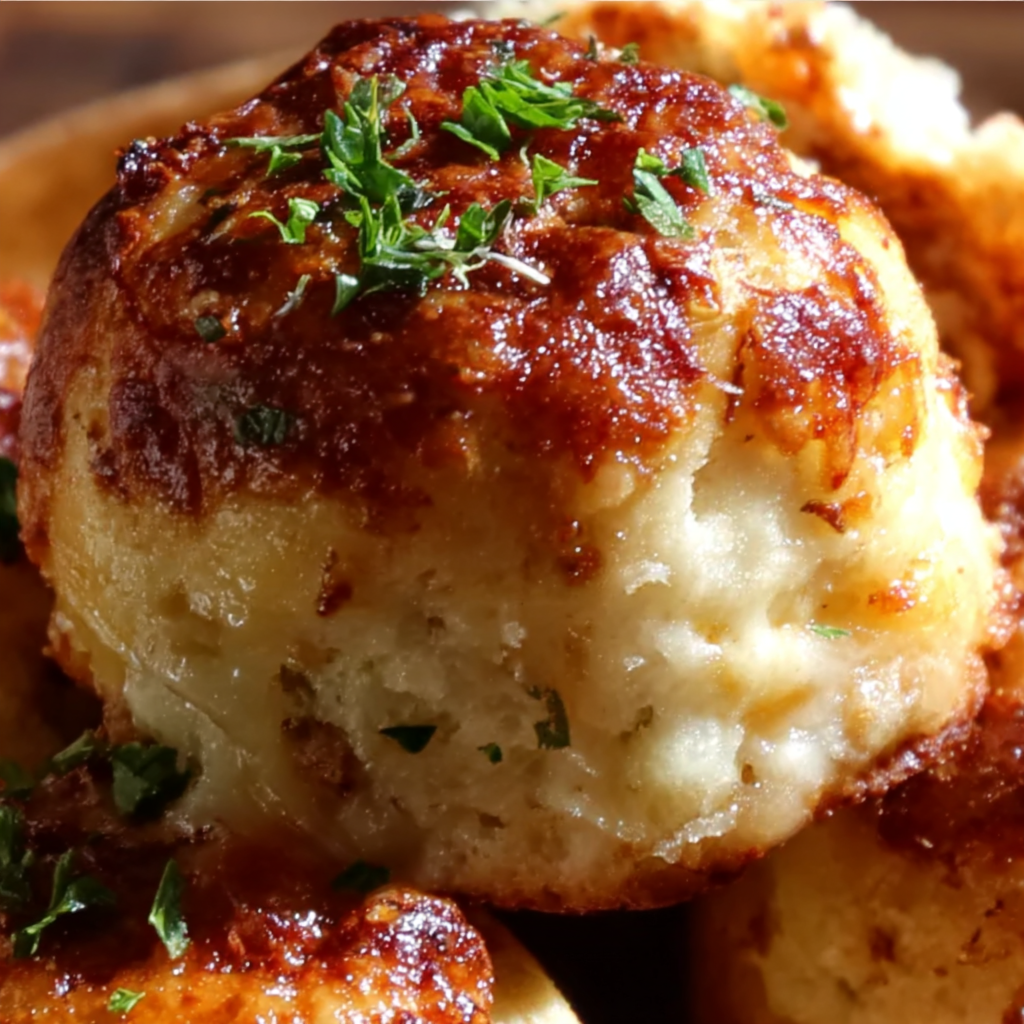
Garlic Parmesan Cheeseburger Bombs pack juicy beef and gooey cheese into buttery biscuits—mini, melty, and perfect for parties, snacks, or game day spreads.
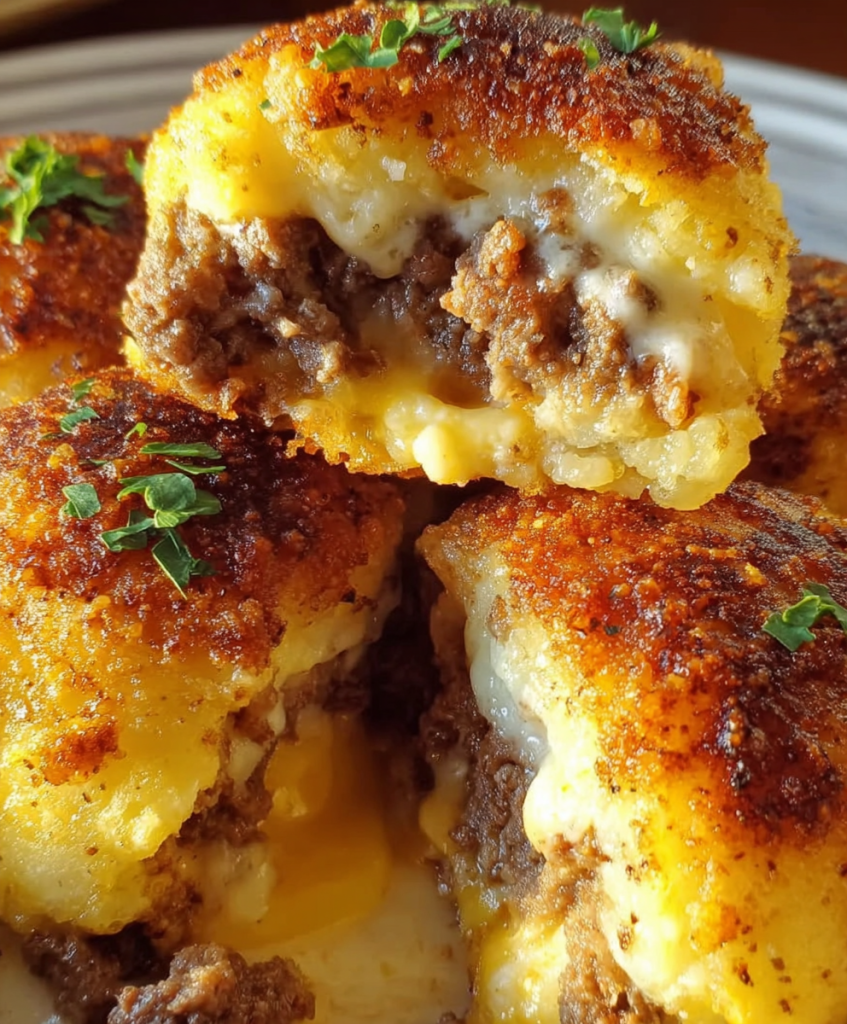
Think of these as bite-size sliders with a flaky coat. Savory ground beef gets kissed with fresh garlic, then tucked inside soft biscuit dough with cheddar and Parmesan for double-cheese bliss. A quick brush of butter bakes to golden, pull-apart goodness.
They’re weeknight-simple but company-worthy: easy to assemble, fast to bake, and endlessly dippable. Serve them warm from the tray and watch them vanish the second they hit the table.
Step-by-Step Garlic Parmesan Cheeseburger Bombs
- Heat the oven. Line a sheet pan with parchment and preheat to 375°F so the biscuits puff and brown evenly.
- Cook the filling. Brown ground beef in a skillet with minced garlic; season lightly with salt and pepper. Drain well so the centers stay cheesy, not greasy.
- Add the cheese. Off heat, fold in shredded Parmesan and small cheddar cubes so you get both creamy melt and pockets of stretch.
- Flatten the biscuits. Gently press each biscuit into a thin circle—about 4 to 5 inches—so there’s room to seal around the filling.
- Fill and seal. Spoon a mound of beef into the center, bring edges up and over, and pinch firmly. Flip seam-side down on the pan for tidy rounds.
- Butter the tops. Brush with melted butter (add a pinch of garlic powder if you like extra garlicky aroma).
- Bake and garnish. Bake 12–15 minutes until puffed and deeply golden. Rest a few minutes, then finish with chopped parsley and serve warm.
Garlic Parmesan Cheeseburger Bombs Ingredients
- Ground beef — Savory, juicy base that balances the buttery biscuit exterior.
- Fresh garlic — Blooms in the skillet and perfumes every bite.
- Parmesan — Salty umami that melts into the beef for rich depth.
- Cheddar — Melty pockets that stretch when you pull the bombs apart.
- Refrigerated biscuit dough — Flaky, reliable rise that bakes up golden.
- Butter — Brushed on top for color, shine, and extra flavor.
- Parsley — Optional, but a fresh pop of color to finish.
Helpful Tips
- Seal with confidence. Pinch seams, then give a gentle twist so cheese doesn’t escape. A light water swipe around the edge helps dough stick.
- Keep it cool. If the kitchen is warm, chill filled bombs 5 minutes before baking to hold shape and boost flake.
- Flavor boosters. Stir a spoon of Worcestershire, ketchup, or mustard into the beef for “burger joint” vibes.
Can I make these in an air fryer?
Yes. Arrange seam-side down in a single layer and cook at 350°F for 8–10 minutes, flipping once if tops brown too fast. Work in batches for even airflow and crispness.
What doughs can I swap in?
Pizza dough or crescent-roll sheets work. Roll fairly thin, fill, then seal well. Bake until deeply golden; timing varies slightly, so start checking a minute or two early.
How do I prevent leaks?
Cool the filling a few minutes, keep cheese pieces small, and don’t overfill. Pinch seams tight and place seam-side down. A brief chill firms everything before baking.
Can I add toppings inside?
Absolutely. Think finely chopped pickles, cooked bacon bits, or a dab of burger sauce. Keep add-ins small and modest so seams close easily and the dough rises properly.
Do they reheat well?
They do. Rewarm on a sheet pan at 325°F for 8–10 minutes or in an air fryer at 320°F for 4–6 minutes to re-crisp the exterior without drying the centers.
Serving Ideas for Garlic Parmesan Cheeseburger Bombs
- Dipping trio: ketchup-mayo “burger sauce,” honey mustard, and garlicky ranch.
- Fresh crunch: quick pickle chips or a simple slaw to cut the richness.
- Party platter: pair with oven fries or tater tots and a tray of cut veggies.
Storage & Reheating
Cool completely, then refrigerate in an airtight container for up to 4 days. Freeze on a tray until firm, transfer to a bag, and keep up to 2 months. Reheat from chilled at 325°F until hot; from frozen, add a few extra minutes. Air-fryer reheating (320°F) restores crisp edges fast. For make-ahead ease, assemble up to a day early, cover, and bake just before serving.
Garlic Parmesan Cheeseburger Bombs
Ingredients
- 2 tablespoons melted unsalted butter
- 1 can 16.3 ounces ready-to-bake biscuit dough, 8 portions
- ½ cup Parmesan shredded or finely chopped
- 1 pound lean ground beef
- 1 cup sharp cheddar cut into small cubes
- 1 tablespoon finely minced fresh parsley optional, for garnish
- 2 garlic cloves minced
Instructions
- Set the oven to preheat at 375°F (190°C). Prepare a baking tray by lining it with parchment or coating lightly with oil.
- In a medium skillet over medium heat, cook the ground beef together with the minced garlic until the meat is browned and fully cooked. Drain off any rendered fat.
- Take the skillet off the heat, then stir in the chopped Parmesan and cubed cheddar until thoroughly combined and slightly melted.
- Flatten each biscuit into a thin round using your hands or a rolling pin. Place a heaping tablespoon of the meat and cheese filling at the center of each dough circle. Fold the dough around the filling and pinch to secure the seams.
- Arrange the sealed dough balls, seam side down, on the prepared tray. Brush the tops with the melted butter.
- Bake in the center of the oven for 12 to 15 minutes, or until the biscuit exteriors are golden and baked through.
- Allow to cool slightly before serving. Sprinkle with chopped parsley, if using.