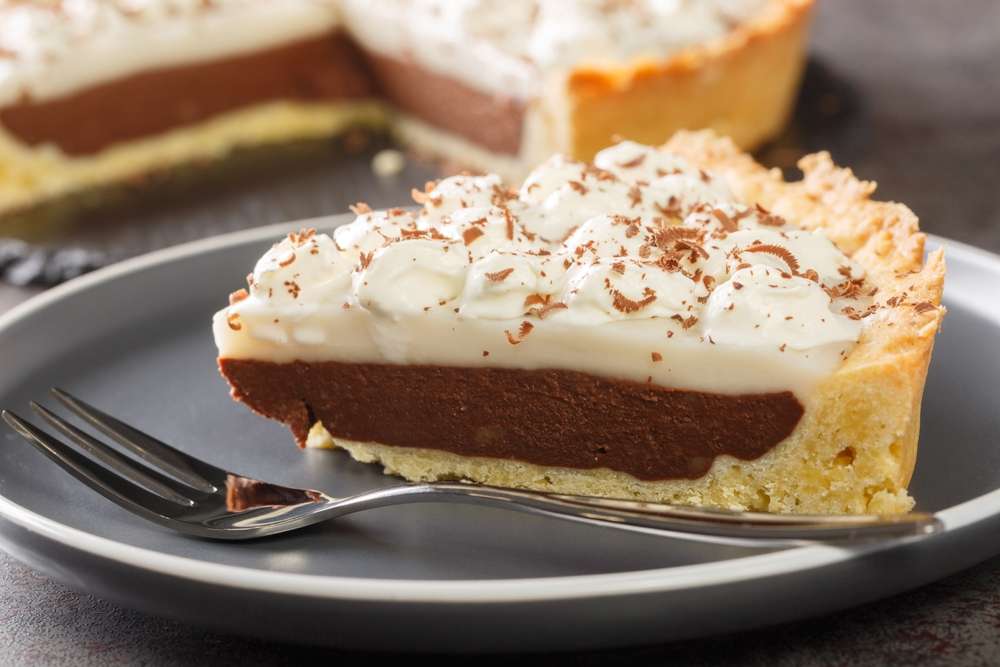
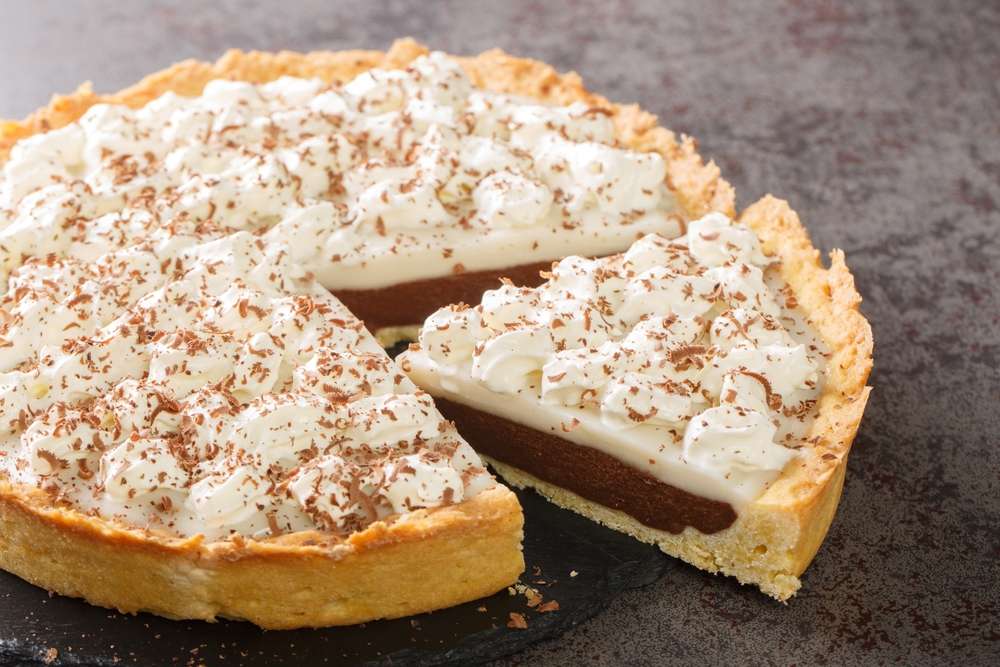
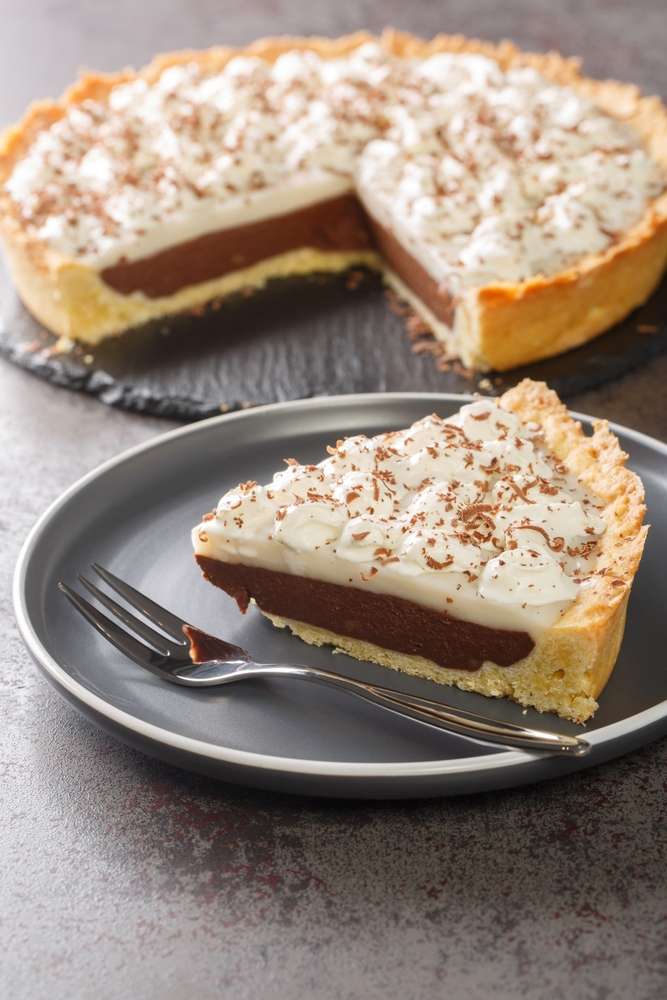
Nothing beats Old Fashioned Chocolate Pie for pure comfort: a silky cocoa custard tucked into a flaky crust, crowned with swoops of cream or meringue. Every bite tastes like home.
This approachable recipe uses pantry staples, comes together quickly on the stovetop, and chills into a sliceable dream. It’s perfect for Sunday supper, holidays, or whenever chocolate cravings strike.
What You’ll Need for Old Fashioned Chocolate Pie
- Granulated sugar – Sweetens the custard and helps the filling set to a glossy, soft slice.
- Cornstarch – The primary thickener, delivering that pudding-smooth texture without eggs over-thickening.
- Unsweetened cocoa powder – The star. Choose a good cocoa for deep, nuanced chocolate flavor.
- Whole milk – Provides body and creaminess; the fat keeps the custard lush.
- Egg yolks – Add richness, color, and a custardy finish you can’t get from starch alone.
- Butter – Finishes the filling with shine and a satiny mouthfeel.
- Salt – Balances sweetness and sharpens the chocolate notes.
- Vanilla extract – Rounds out cocoa’s bitter edges with warmth.
- Fully baked pie shell – A crisp, ready crust that stays flaky under the creamy filling.
How to Make Old Fashioned Chocolate Pie (Quick Overview)
Whisk the dry ingredients together first. Combining sugar, cocoa, and cornstarch before adding liquids prevents lumps and ensures even thickening from the very first bubble.
Blend milk and egg yolks until completely smooth, then whisk that mixture into the saucepan with the butter. The yolks enrich the texture while the butter melts in and cushions any potential graininess.
Cook gently over medium heat, whisking often. As steam builds, the cornstarch activates and the cocoa blooms, and you’re aiming for pudding thick with slow, lava-like bubbles that blur back into the surface.
Pull the pan off the heat and stir in salt and vanilla. This keeps the flavors bright and the vanilla fragrant, and a quick whirl with a hand mixer smooths any stubborn specks.
Scrape the hot filling into a fully baked crust. The warmth helps it settle into an even layer, then chill until set and sliceable.
Finish with lightly sweetened whipped cream for effortless elegance, or torch-kissed meringue for diner-style drama. Either topping turns a humble pie into a centerpiece.
Smart Tips, Variations & Flavor Twists
Use a cocoa you love. Natural cocoa reads a bit brighter and old-school; Dutch-process tastes darker and smoother, and both work beautifully.
Choose based on your mood and what’s in the pantry. If you’re after bakery-case depth, mix the two.
Mind the heat. Custards prefer steady, moderate warmth, so keep the burner at medium and whisk regularly, especially around the edges where thickening happens first.
Overheating can make custards feel chalky. Patience pays off in silk.
Prevent lumps before they start. Thoroughly whisk the cornstarch with sugar and cocoa, then fully blend the milk and yolks for a creamy finish.
Texture check. When a trail from the whisk briefly holds and a bubble pops with a gentle plop, you’re there.
The pie will firm further as it cools, so don’t chase cement on the stove. Trust the chill.
Crust choices. A classic flaky pastry shell is timeless, but a chocolate wafer or graham cracker crust leans into dessert-bar charm.
Pre-bake until crisp so it stands up to the lush filling. Blind baking keeps the bottom from softening.
Topping talk. Whipped cream keeps things light and cloudlike, while meringue adds toasty peaks and retro flair.
For a stable meringue, start with a spotless bowl, add cream of tartar, and stream in sugar slowly before broiling to golden. Gentle heat preserves gloss.
Flavor boosts. A half-teaspoon of instant espresso intensifies chocolate without tasting like coffee.
A whisper of almond extract, orange zest, or bourbon shifts the pie into signature territory while staying true to its roots. Use a light hand.
Make it extra-silky. Finish the hot custard by pressing it through a fine-mesh sieve into the crust for the smoothest possible slice.
Chocolate lovers’ upgrade. Stir a handful of finely chopped semisweet chocolate into the hot filling for hybrid cocoa-plus-chocolate richness.
Dairy swaps. If needed, use evaporated milk for a slightly sturdier set and nostalgic flavor.
For non-dairy, full-fat canned coconut milk can work, though the flavor will lean coconut; increase vanilla and add a pinch more salt to balance. Expect a subtly different finish.
Serving & Slice Success (Because Presentation Matters)
Chill the filled pie on a level shelf to encourage an even set. Slice with a thin, sharp knife dipped in hot water and wiped dry between cuts for clean edges.
Serve with a light dusting of cocoa or chocolate shavings for contrast. A sprinkle of flaky salt turns each bite into a sweet-salty crescendo.
How to Store Leftovers (And Make-Ahead Tips That Work)
Refrigerate the pie uncovered for 30 minutes to cool the surface. Press plastic wrap directly onto the filling if it’s untopped to prevent a skin.
Once chilled, cover the whole pie loosely and store for up to 5 days.
Whipped-cream-topped pies store best with the topping added just before serving. If you must top ahead, stabilize the cream with a spoonful of powdered sugar or a bit of instant pudding mix to help it hold.
Keep the pie chilled until dessert time. Cold helps the slices stay neat.
Meringue is at its best the day it’s made. The broiled peaks can soften by day two.
If you’re planning for leftovers, consider whipped cream or leave the pie naked and add the topping to individual slices right before serving. That approach keeps textures at their best.
Freezing isn’t ideal for custard pies, because the texture can weep when thawed. A fully baked pie shell, however, freezes beautifully for future use.
If you do freeze slices, wrap tightly and thaw overnight in the refrigerator. Expect a slightly softer set after thawing.
Troubleshooting, Just in Case
If the filling seems thin after reaching a simmer, give it another minute or two, because starches need time to fully gelatinize. Remember it will firm more as it cools.
If it thickens too quickly or looks curdled at the edges, remove from heat and whisk vigorously. A tablespoon of warm milk can help smooth it out.
If the crust softens after a day, brush the next crust you make with a thin layer of melted chocolate and let it set before filling. This creates a delicate barrier that keeps everything crisp without changing the classic flavor.
Final Bite
This pie captures everything beloved about a diner-style dessert: simple ingredients, quick technique, and deeply satisfying chocolate. For exact measurements and step-by-step timing, jump to the full recipe card at the end and bake a memory tonight.
Old Fashioned Chocolate Pie
Ingredients
- 2 teaspoons pure vanilla extract
- 3 large egg yolks separated from the whites and reserved
- 5 tablespoons unsalted butter cut into pieces
- 1 pre-baked pie crust 9-inch
- ½ cup unsweetened cocoa powder sifted
- ¼ teaspoon fine sea salt
- 2 cups whole milk brought to room temperature
- ¼ cup cornstarch
- 1 cup white granulated sugar
Instructions
- In a medium-sized saucepan, thoroughly combine the granulated sugar, cocoa powder, and cornstarch using a whisk until no clumps remain.
- In a separate container, beat the egg yolks with the milk until fully incorporated. Add this mixture into the saucepan along with the butter pieces.
- Place the saucepan over medium heat and cook, stirring frequently with a whisk, until the mixture thickens to a smooth, pudding-like consistency.
- Remove the pan from heat. Stir in the salt and vanilla extract until well blended. If the texture is not completely smooth, beat with an electric mixer to eliminate any remaining lumps.
- Transfer the warm chocolate filling into the prepared baked pie crust. Smooth the top and refrigerate for a minimum of 3 hours until fully set.
- Before serving, optionally garnish the chilled pie with a layer of whipped cream or meringue, prepared as outlined below.
Notes
In a large mixing bowl, combine 1 cup heavy whipping cream, 3 tablespoons sugar, and ½ teaspoon vanilla extract. Beat on medium-high until stiff peaks form. Spread generously over the chilled pie just before serving. For Meringue Topping:
Place the reserved 3 egg whites in a clean mixing bowl. Using a mixer fitted with a whisk attachment, beat the egg whites on medium-high speed until they begin to turn glossy. Add ¼ teaspoon cream of tartar, then gradually incorporate 3 tablespoons granulated sugar. Increase speed and whip until stiff peaks form. Spread the meringue over the pie, sculpting peaks with a spoon. Place under a preheated broiler, about 4–5 inches from the heat source, and broil until the meringue develops a golden hue. Store any remaining pie in the refrigerator, covered with plastic wrap, and consume within 5 days.